I’ve decided to play with nginx to see how different is from Apache. The best way to experiment is to have an end goal, e.g. a working WordPress site. I will be using FreeBSD 11.0 and for that I’ve created a public server in AWS cloud. The hostname for my server is test.iandreev.com and I also have 4 different hostnames that point to the same IP (test1, test2, test3 and test4).

Table of Contents
Installation
To install nginx, type:
pkg install nginx
Make sure it starts at boot by adding nginx_enable=”YES” in /etc/rc.conf.
To see the version, type:
nginx -v
nginx version: nginx/1.10.2
To see the modules that were installed with the package, type:
nginx -V
You can start and stop the service with the standard service command. When making changes in the config file, use reload, e.g. service nginx reload.
By default, nginx creates the log files under /var/log/nginx. There are two files, access.log and error.log. The config files are under /usr/local/etc/nginx. The main config file is nginx.conf.
Let’s start the nginx.
service nginx start
Performing sanity check on nginx configuration:
nginx: the configuration file /usr/local/etc/nginx/nginx.conf syntax is ok
nginx: configuration file /usr/local/etc/nginx/nginx.conf test is successful
Starting nginx.
If everything is OK, you can telnet localhost 80. Type something and hit ENTER and you’ll see a response.
telnet localhost 80
Trying 127.0.0.1...
Connected to localhost.
Escape character is '^]'.
asdf
HTTP/1.1 400 Bad Request
Server: nginx/1.10.2
Date: Sun, 29 Jan 2017 13:56:04 GMT
Content-Type: text/html
Content-Length: 173
Connection: close

<html>
<head><title>400 Bad Request</title></head>
<body bgcolor="white">
<center><h1>400 Bad Request</h1></center>
<hr><center>nginx/1.10.2</center>
</body>
</html>
Connection closed by foreign host.
Check the nginx process.
ps -waux | grep nginx
root     778   0.0  0.7 29640 6984  -  Is   13:55    0:00.00 nginx: master process /usr/local/sbin/nginx
www      779   0.0  0.7 29640 7452  -  I    13:55    0:00.00 nginx: worker process (nginx)
As you can see the master process runs as root, but then it forks the connections to the www user.
Single host
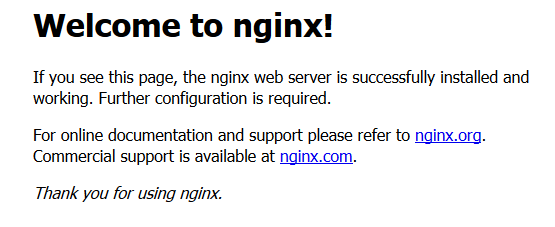
This is the easiest setup. You don’t have to do anything except the steps above. nginx works right out of the box with the default configuration. Go to http://server_IP_or_hostname and you’ll see the welcome page.
But, this scenario has no real use, so we’ll create two virtual hosts, test1 and test2.
Virtual hosts
First, we’ll create the two directories for the virtual hosts and put some index files there. I use the same root directory as Apache. Make sure that the locations of the virtual hosts are owned by the user www and group www.
cd /usr/local/www
mkdir test1.iandreev.com
mkdir test2.iandreev.com
echo "test1" > test1.iandreev.com/index.htm
echo "test2" > test2.iandreev.com/index.htm
chown -R www:www test*
Now, we have to edit the main config file and tell nginx where to look for these sites.
Go to /usr/local/etc/nginx/ and edit nginx.conf. Change the values for worker_processes from 1 to auto and uncomment gzip on directive. See what worker_processes mean here. By uncommenting gzip directive, you are enabling compression on the pages. To test if your web server serves compressed pages, check this website.
Next, we have to add our two virtual hosts. Scroll all the way down, just before the last accolade “}” and add these lines.
    server {
        access_log /var/log/nginx/test1.iandreev.access.log;
        error_log  /var/log/nginx/test1.iandreev.error.log;
        listen 80;
        server_name     test1.iandreev.com;
        location / {
            root /usr/local/www/test1.iandreev.com;
            index index.htm index.html;
        }
    }
    server {
        access_log /var/log/nginx/test2.iandreev.access.log;
        error_log  /var/log/nginx/test2.iandreev.error.log;
        listen 80;
        server_name test2.iandreev.com;
        location / {
            root /usr/local/www/test2.iandreev.com;
            index index.htm index.html;
        }
    }
Reload the config with:
service nginx reload
Performing sanity check on nginx configuration:
nginx: the configuration file /usr/local/etc/nginx/nginx.conf syntax is ok
nginx: configuration file /usr/local/etc/nginx/nginx.conf test is successful
and make sure everything is OK.
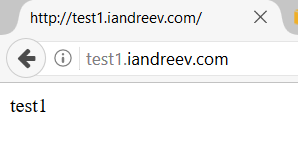
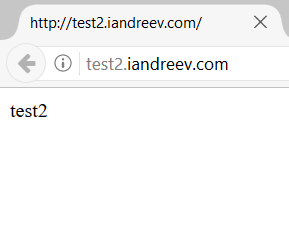
If everything is OK, you should be able to browse to your virtual sites.
If you check one of the error logs, you’ll see an error that favicon.ico is missing for the site. You can ignore this as it’s not an error, it’s just a warning that you don’t have a favicon for your site.
tail test2.iandreev.error.log
2017/01/29 14:18:59 [error] 838#100084: *4 open() "/usr/local/www/test2.iandreev.com/favicon.ico" failed (2: No such file or directory), client: 240.14.17.24, server: test2.iandreev.com, request: "GET /favicon.ico HTTP/1.1", host: "test2.iandreev.com"
You can get a favicon icon from this website or you can generate one from this one.
nginx and PHP
Unlike Apache and the php module, nginx is using PHP-FPM as a proxy to requests PHP dynamic code over FCGI protocol. PHP-FPM comes bundled with PHP, so let’s install php 5.6.
pkg install php56
Add this line in /etc/rc.conf so PHP-FPM starts on boot.
php_fpm_enable="YES"
Create the php.ini file from php.ini-production.
cp /usr/local/etc/php.ini-production /usr/local/etc/php.ini
Now, edit /usr/local/etc/php-fpm.conf and make these changes. Replace listen = 127.0.0.1:9000 with listen = /var/run/php-fpm.sock. In addition, uncomment these three lines.
listen.owner = www
listen.group = www
listen.mode = 0660
Finally, start the php-fpm service.
service php-fpm start
Performing sanity check on php-fpm configuration:
[28-Jan-2017 23:41:31] NOTICE: configuration file /usr/local/etc/php-fpm.conf test is successful
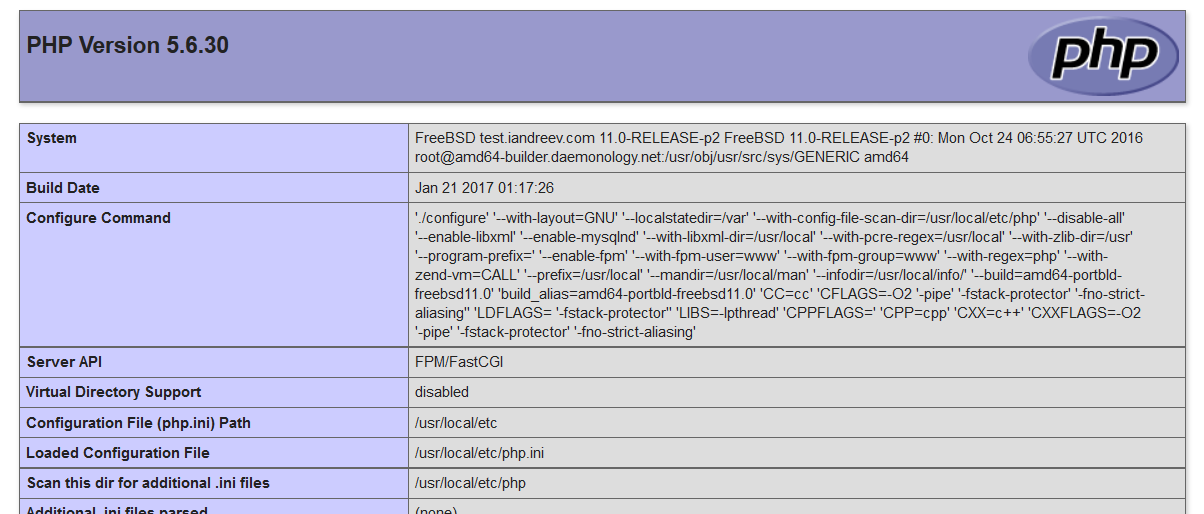
Let’s create a test website that will serve PHP content.
cd /usr/local/www
mkdir test3.iandreev.com
echo "<?php phpinfo(); ?>" > test3.iandreev.com/index.php
chown -R www:www test3.iandreev.com
Add a new virtual host in nginx.
server {
        access_log /var/log/nginx/test3.iandreev.access.log;
        error_log  /var/log/nginx/test3.iandreev.error.log;
        listen       80;
        server_name  test3.iandreev.com;
        root /usr/local/www/test3.iandreev.com;
        index index.php index.html index.htm;
        location / {
            try_files $uri $uri/ =404;
        }
        error_page      500 502 503 504  /50x.html;
        location = /50x.html {
            root /usr/local/www/nginx-dist;
        }
        location ~ \.php$ {
                try_files $uri =404;
                fastcgi_split_path_info ^(.+\.php)(/.+)$;
                fastcgi_pass unix:/var/run/php-fpm.sock;
                fastcgi_index index.php;
                fastcgi_param SCRIPT_FILENAME $request_filename;
                include fastcgi_params;
        }
    }
and reload the config changes.
service nginx reload
Go to your new virtual host, in my case http://test3.iandreev.com and you should see this.
nginx and WordPress
Now that we have PHP support we can create a WordPress site. We’ll use MySQL as a DB backend. Please see my other post on how to install MySQL first.
Once you have the MySQL installed, create the database. Replace the values of wordpress, wpuser and secret to suit your needs.
CREATE DATABASE wordpress;
GRANT ALL PRIVILEGES ON wordpress.* TO "wpuser"@"localhost" IDENTIFIED BY "secret";
FLUSH PRIVILEGES;
QUIT;
Install the following php modules, otherwise when you start WordPress you’ll be presented with a blank page.
pkg install php56-extensions php56-mysql php56-mysqli php56-xml php56-hash php56-gd php56-curl php56-tokenizer php56-zlib php56-zip
Download the latest WordPress install. If you don’t have wget, install it first with pkg install wget.
cd /usr/local/www
wget www.wordpress.org/latest.zip --no-check-certificate
unzip latest.zip
mv wordpress test4.iandreev.com
chown -R www:www test4.iandreev.com
rm latest.zip
Add the following in nginx.conf to create the virtual host for the WordPress site.
server {
        access_log /var/log/nginx/test4.iandreev.access.log;
        error_log  /var/log/nginx/test4.iandreev.error.log;
        listen       80;
        server_name  test4.iandreev.com;
        root /usr/local/www/test4.iandreev.com;
        index index.php index.html index.htm;
        location / {
            try_files $uri $uri/ =404;
        }
        error_page      500 502 503 504  /50x.html;
        location = /50x.html {
            root /usr/local/www/nginx-dist;
        }
        location ~ \.php$ {
                try_files $uri =404;
                fastcgi_split_path_info ^(.+\.php)(/.+)$;
                fastcgi_pass unix:/var/run/php-fpm.sock;
                fastcgi_index index.php;
                fastcgi_param SCRIPT_FILENAME $request_filename;
                include fastcgi_params;
        }
    }
Reload the config and restart php-fpm service.
service nginx reload
service php-fpm restart
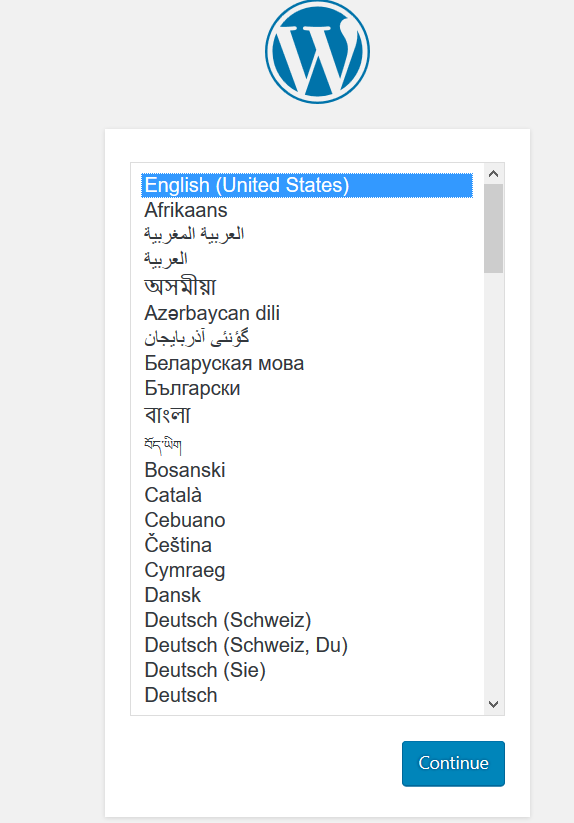
Go to your website and you’ll be presented with the WordPress install page.