
In this post I’ll explain how to configure a static web app in Azure and put the app behind Entra ID (Azure AD) SSO authentication. You’ll have the same protection as logging with your Entra ID credentials to Azure and Office 365. There is no need for any code change in the app. As long as you are an user or a member of an Entra ID group assigned to the Enterprise Application, then you can access the Static Web App URL. I’ll use Azure DevOps to host the files for the web site, but you can use any other repo.
Table of Contents
Azure DevOps
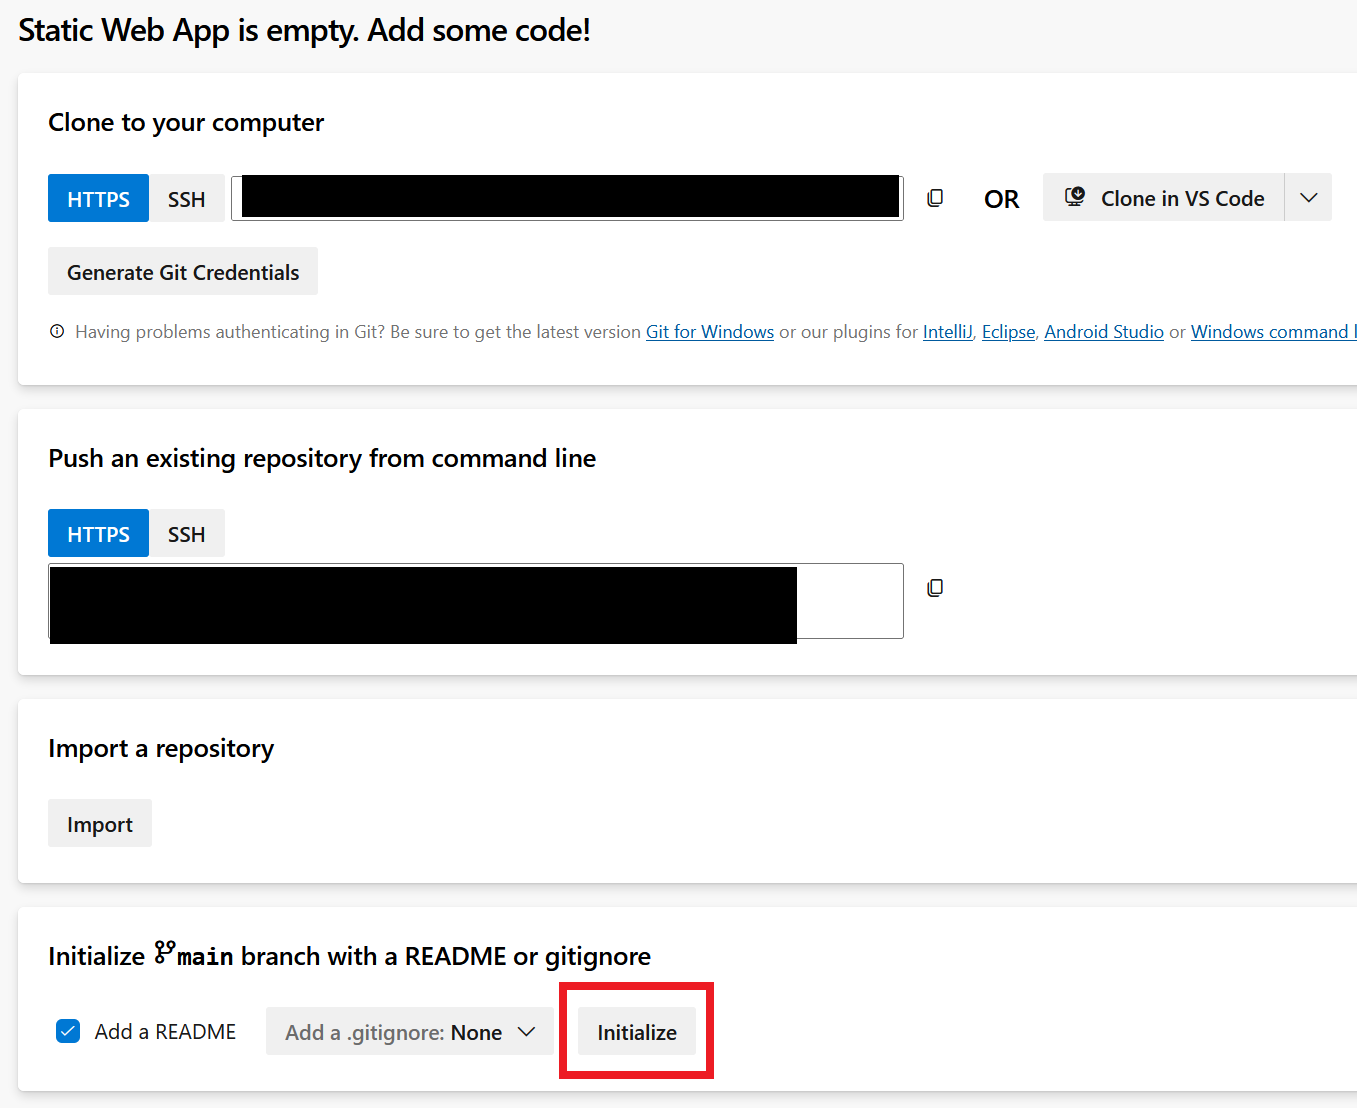
Log to your ADO organization and create a new project. I called mine Static Web App. Click on Initialize and then copy the path so you can clone it locally.
Once cloned, go to the repo locally and you’ll see a README.md file. Clone this web site template or just create an index.html file.
git clone https://github.com/designmodo/html-website-templates.git
Then move the index file back to the root of our repo.
mv html-website-templates/Animated\ Landing\ Page\ Website\ Template/* .
rm -rf html-website-templates/
You should have the index.html file in the root of our repo. Push to ADO.
git add .
git commit -m "Updated website"
git push
Azure Static Web App
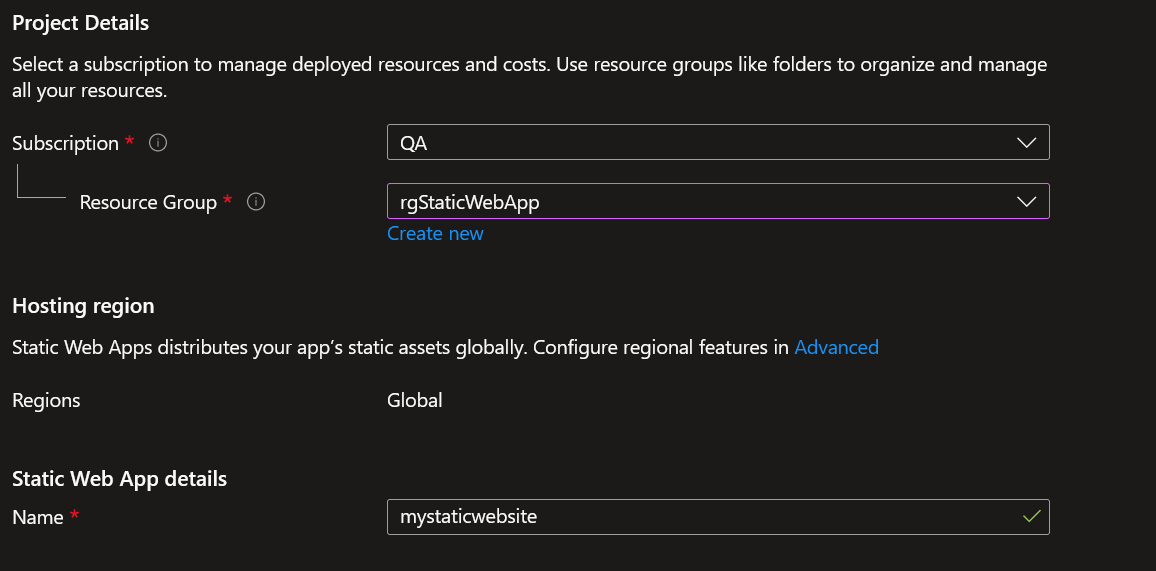
Log to your Azure subscription and create or use an existing resource group. I’ll call mine rgStaticWebApp. Go to the Static Web Apps menu and create a new Static Web App. Specify a subscription, a resource group and name it. In my case it’s called mystaticwebapp.
Make sure you choose the Standard hosting plan. SSO won’t work with the free plan. Choose the repo location, the branch and HTML for Build Preset.
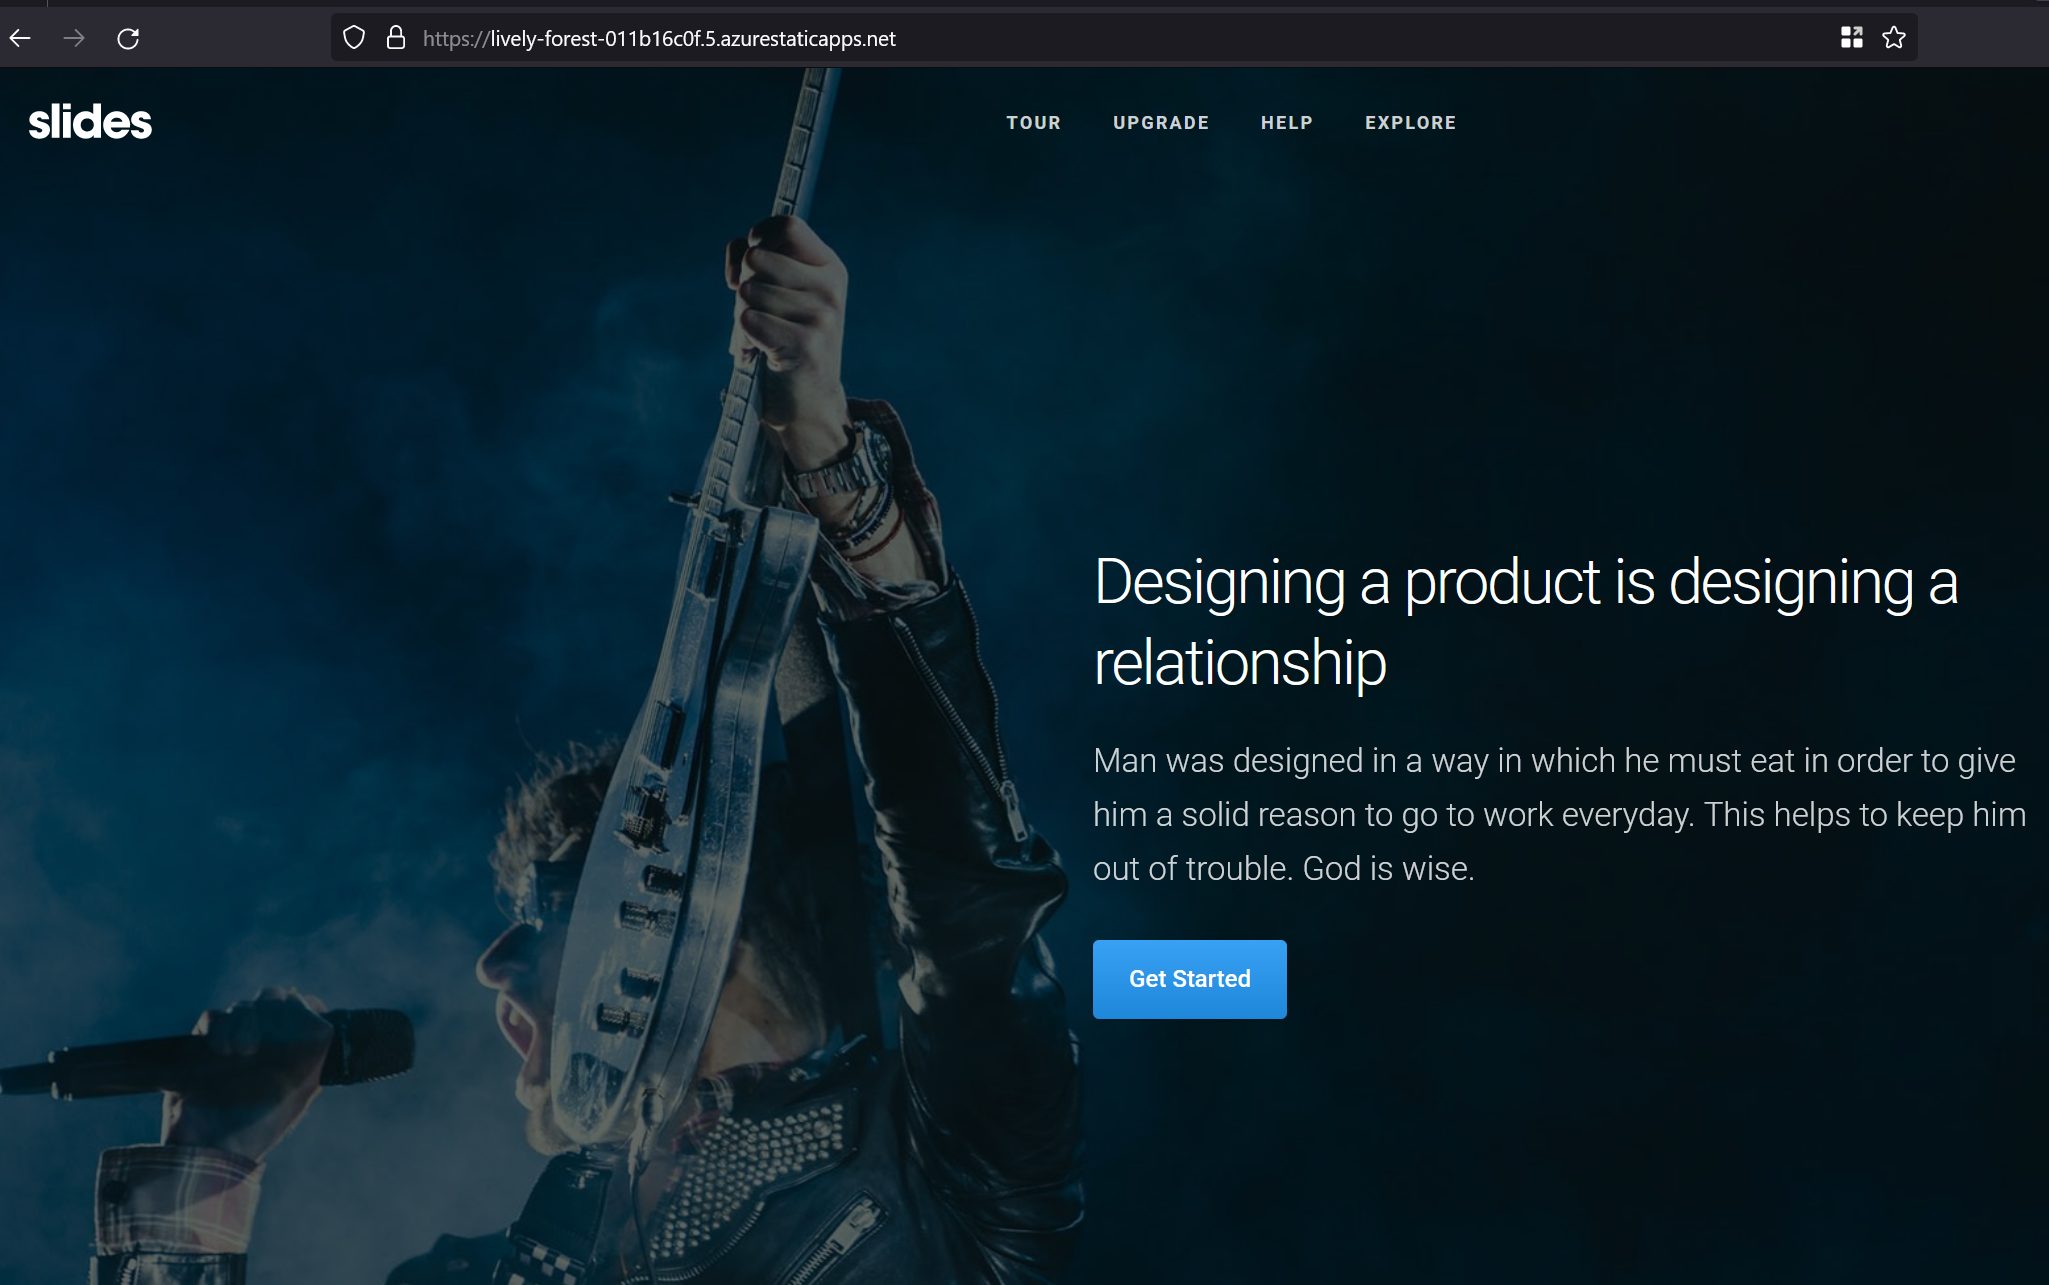
Use the defaults for the rest and click on Create. The static web site will be deployed in 5-10 seconds and if you go to the resource, click Overview, you’ll see the URL of your website. Go to that URL and you’ll see our website is public.
Custom domain (optional)
In case you want a custom domain, then these changes are required. This is not a requirement for the SSO, but it’s better if you have your own domain URL.
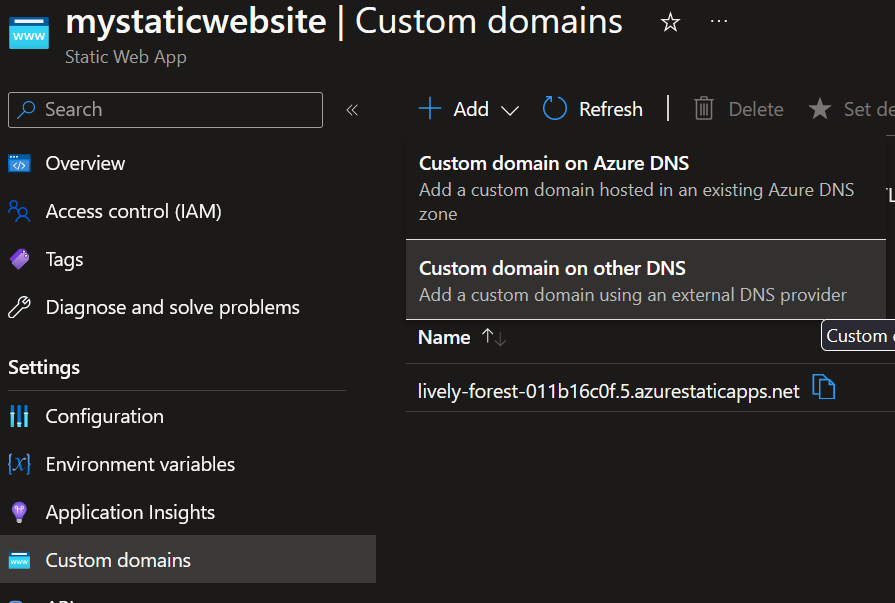
Click on Custom Domains and then choose where is your domain hosted. In my case I have it with CloudFlare.
Enter how you want to access your website, in my case it is mysite.andreev.it.
You’ll have to create a CNAME in CloudFlare.
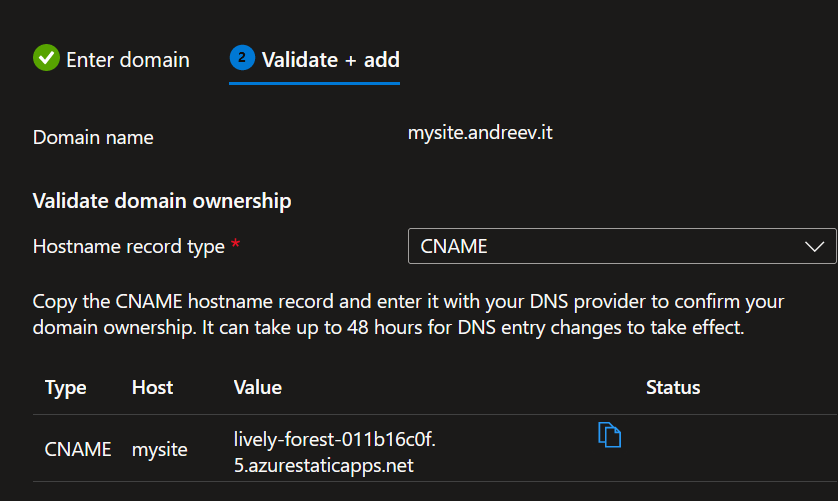
Do not proxy it thru CloudFlare for now.

Click on Add at the bottom and it might take some time for Azure to verify the new CNAME record. In my case it took less than a minute.
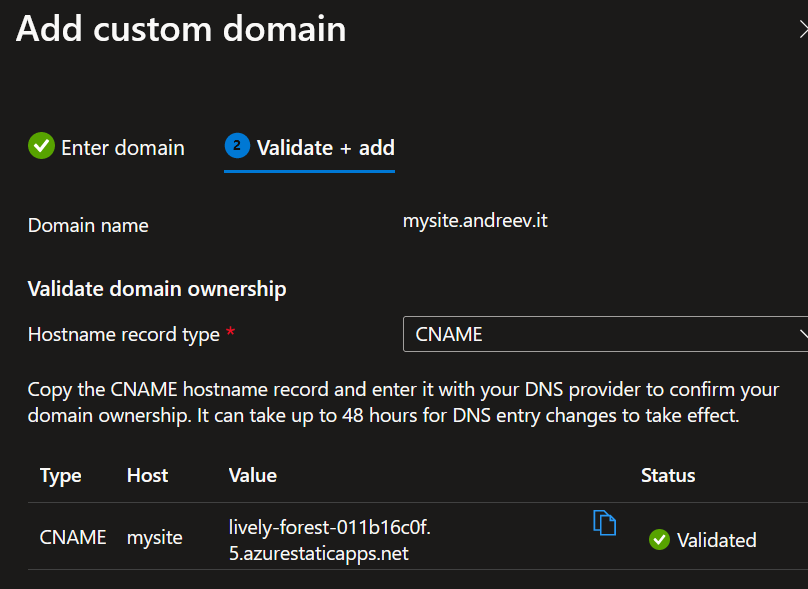
…and if you go to whateveryou.namedyour.site, you should see the same static web page.
Entra ID (Azure AD) SSO
In order to add SSO, we have to add a file in the root of our static web site and then make some changes in Azure. Refer to this link for more information.
Create the following file in the root of the static web site and name it staticwebapp.config.json. It has to be this name.
This is what the file looks like.
{
  "routes": [
    {
      "route": "/*",
      "allowedRoles": ["authenticated"]
    }
  ],
  "responseOverrides": {
    "401": {
      "statusCode": 302,
      "redirect": "/.auth/login/aad"
    }
  },
  "auth": {
    "identityProviders": {
      "azureActiveDirectory": {
        "registration": {
          "openIdIssuer": "https://login.microsoftonline.com/TENANT_ID/v2.0",
          "clientIdSettingName": "AZURE_CLIENT_ID",
          "clientSecretSettingName": "AZURE_CLIENT_SECRET"
        }
      }
    }
  }
}
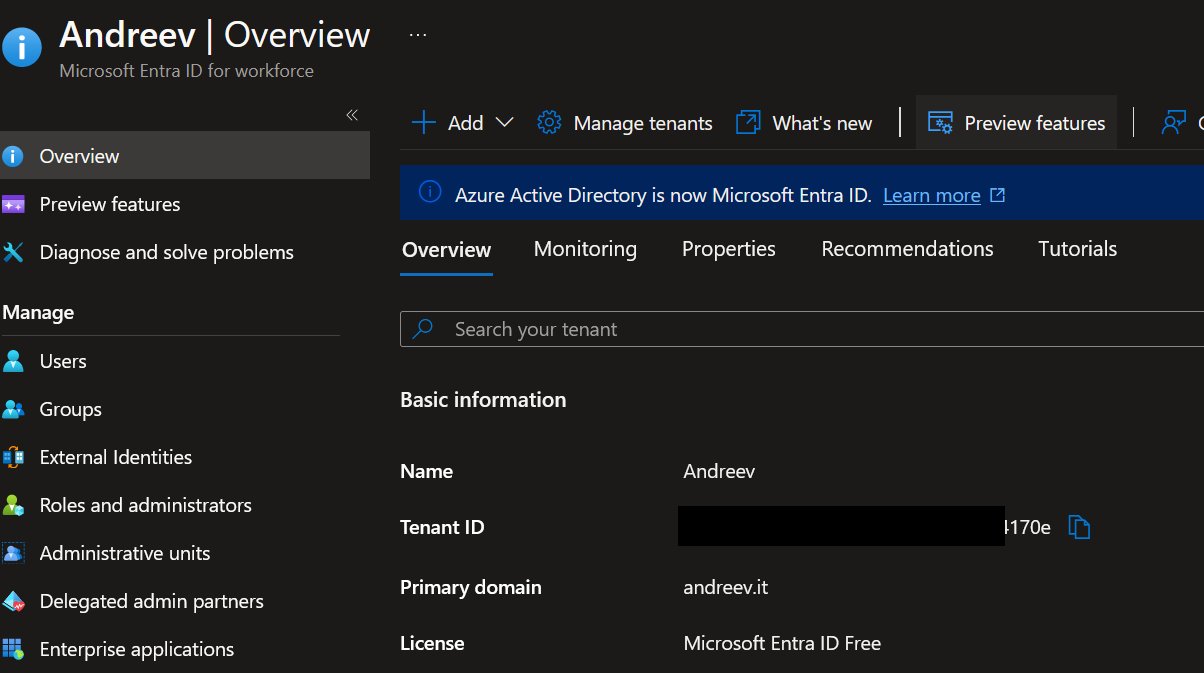
We need 3 values. The first value, TENANT_ID needs to go to this file hardcoded and the other two values for the CLIENT_ID and CLIENT_SECRET will be added in Azure. Here is how to fine these values. Go to Entra ID and click Overview. This is your TENANT_ID value. Copy and paste that value in line 18 and save the file. After, git add/commit/push the file back to Azure DevOps repo.
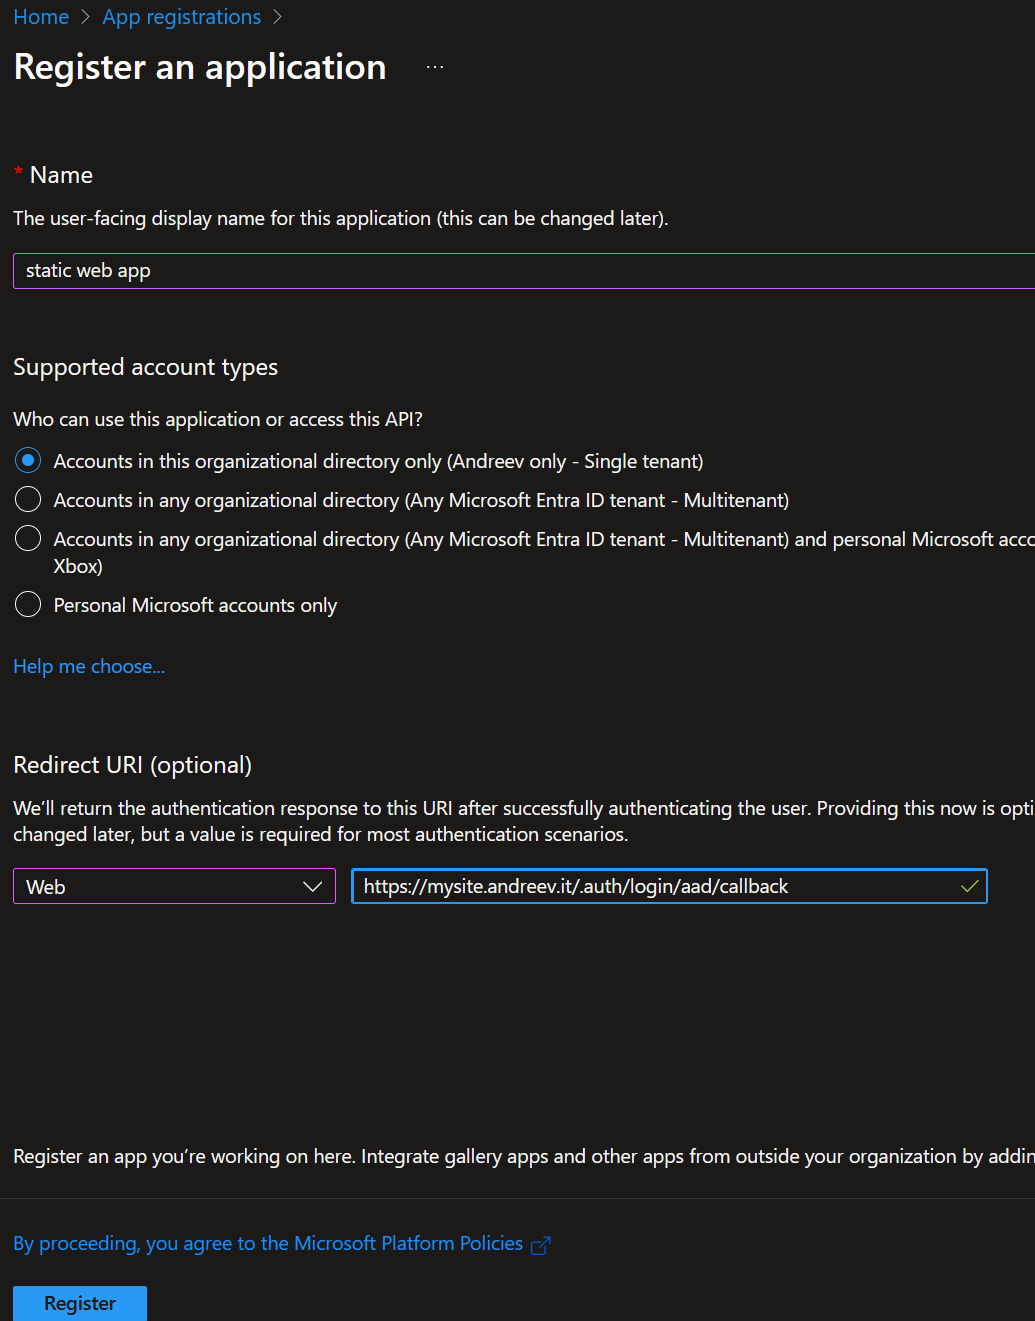
Go to App Registrations and click on New registration.
Enter these values and click Register. Replace the URL with yours even if it’s not a custom domain. Add .auth/login/aad/callback as a suffix.
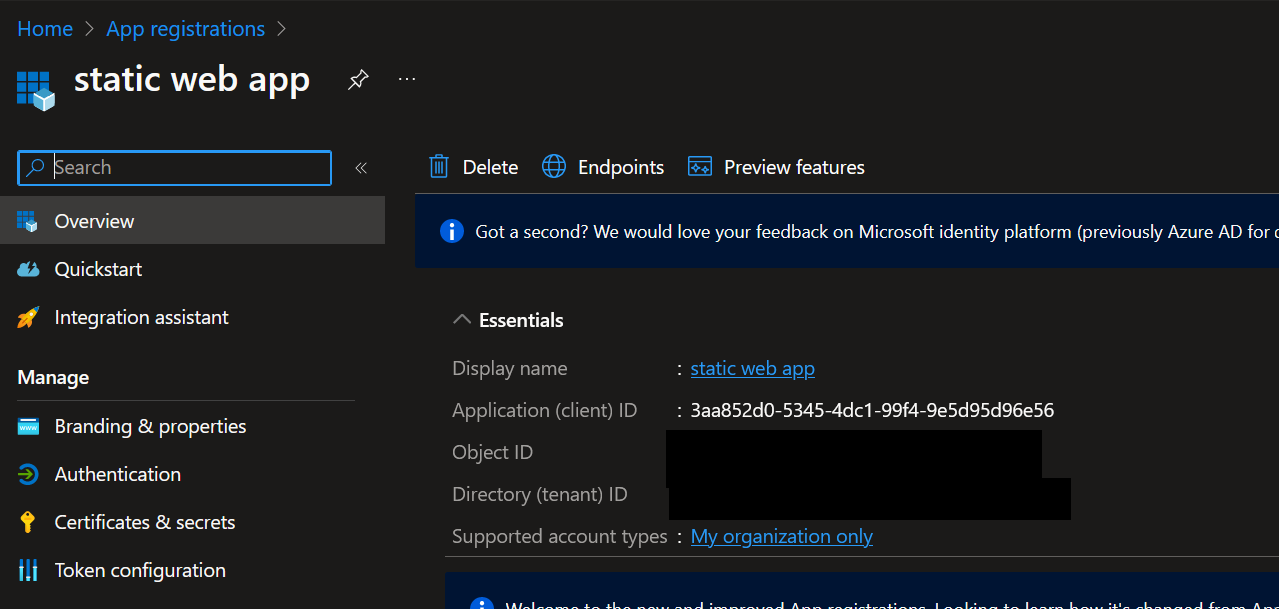
The app registers right away and if you click the Overview you’ll see the app client ID. Copy this value in notepad or somewhere.
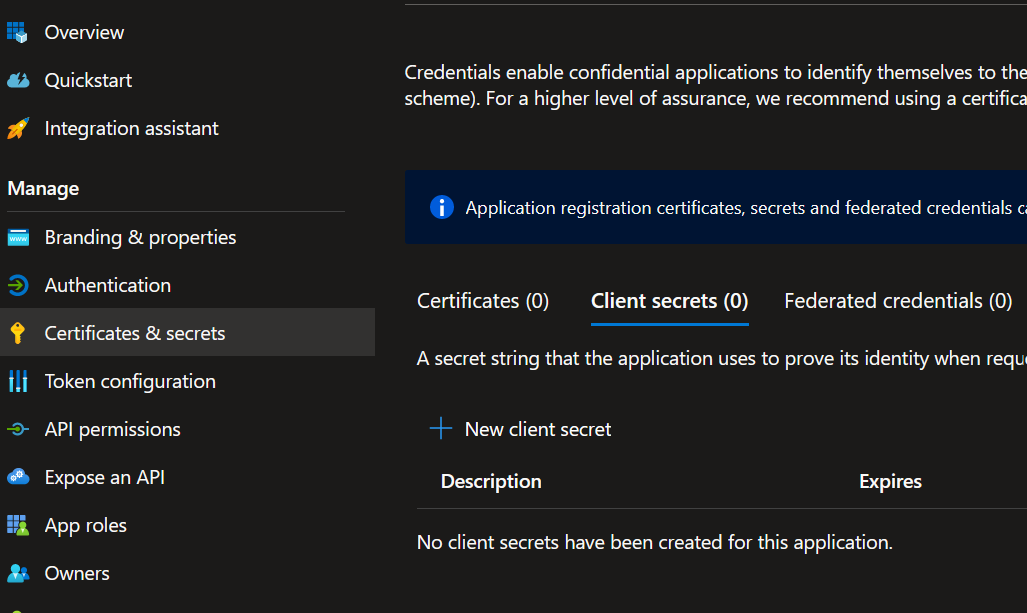
From the menu on the left, click Certificates & secrets and then click on New client secret.
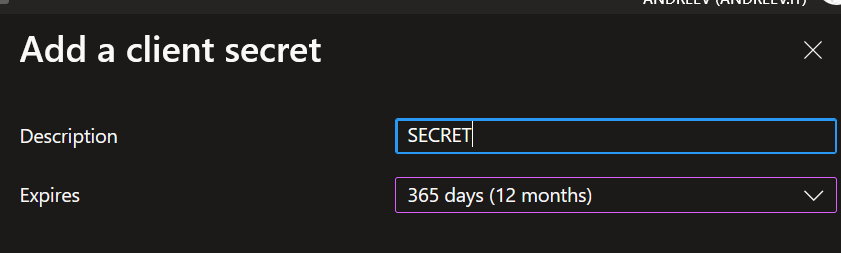
Name the secret and choose for how long it’s valid.
You’ll see that a secret has been created and you’ll have a value and a secret ID. Copy the value not the ID in notepad or somewhere.
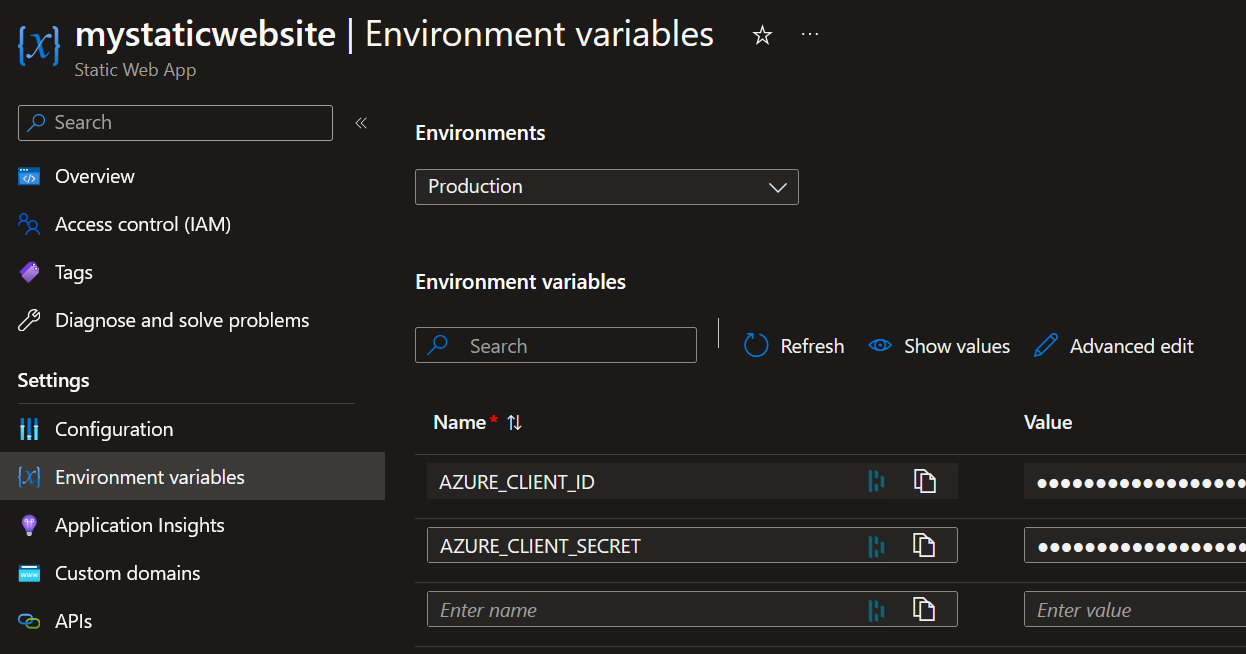
Now, go to the Static Web App and click on Environment variables. Add both AZURE_CLIENT_ID and AZURE_CLIENT_SECRET and click Apply at the bottom.
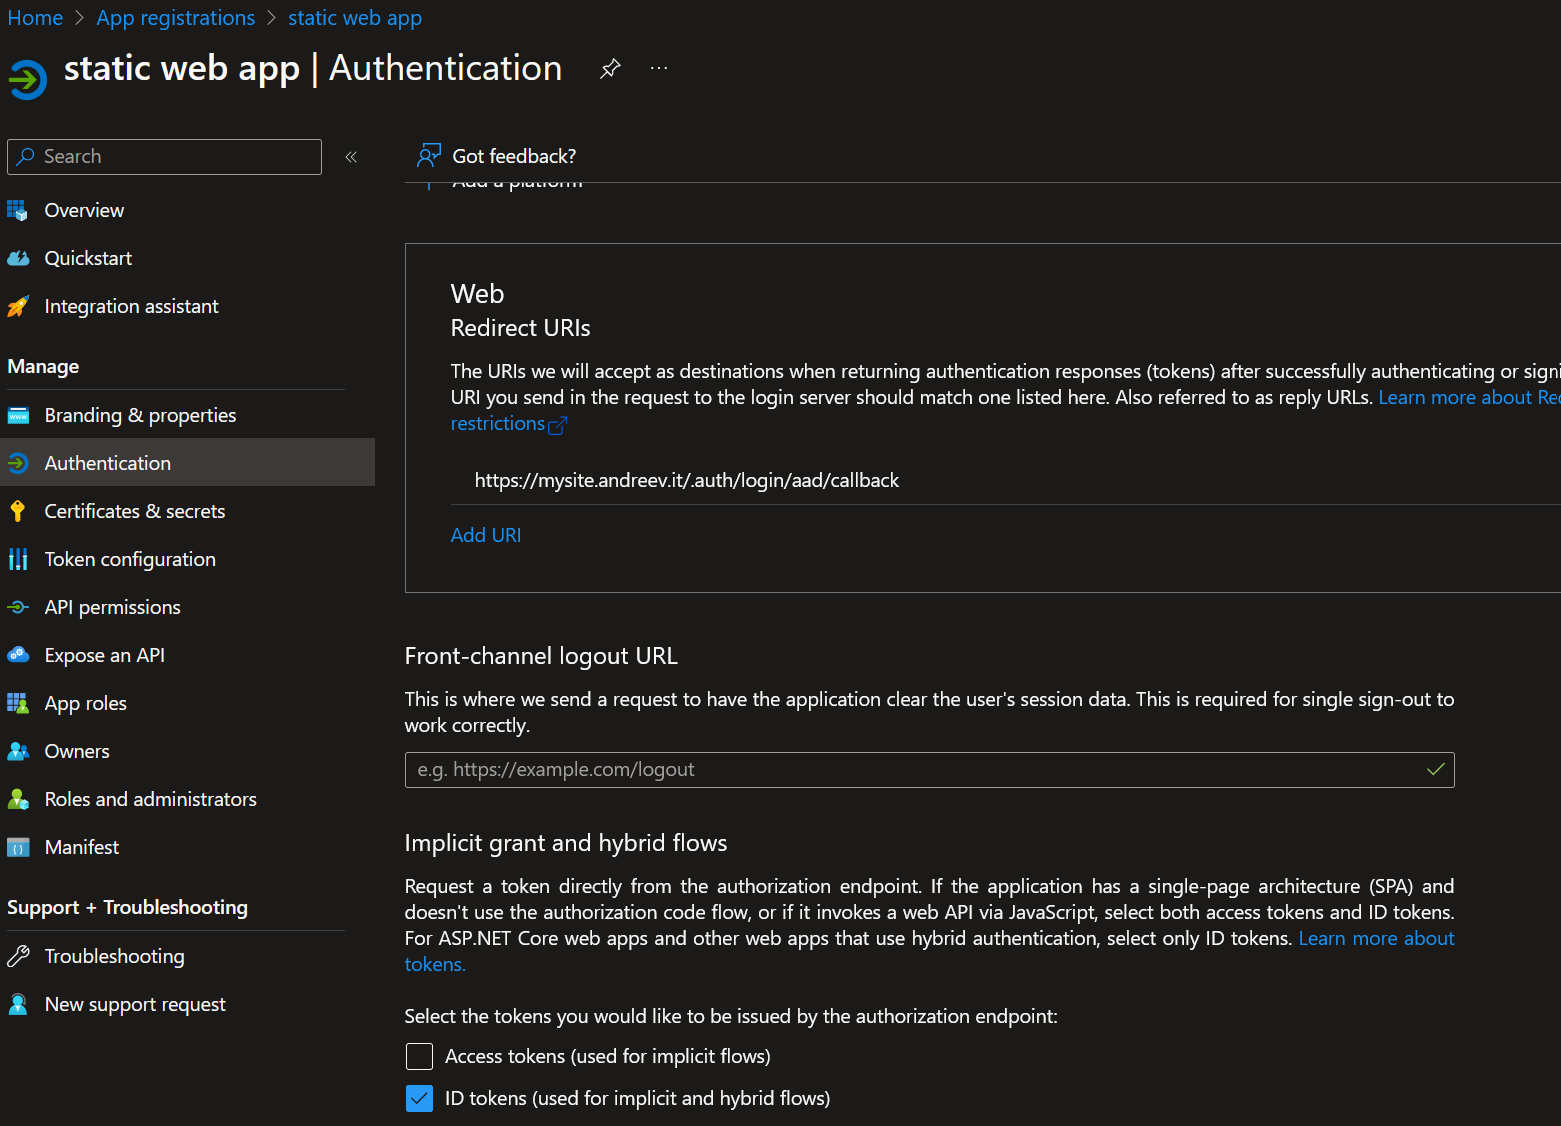
Finally, go to App Registration, find your app there, click Authentication on the left and make sure that ID tokens option is checked.
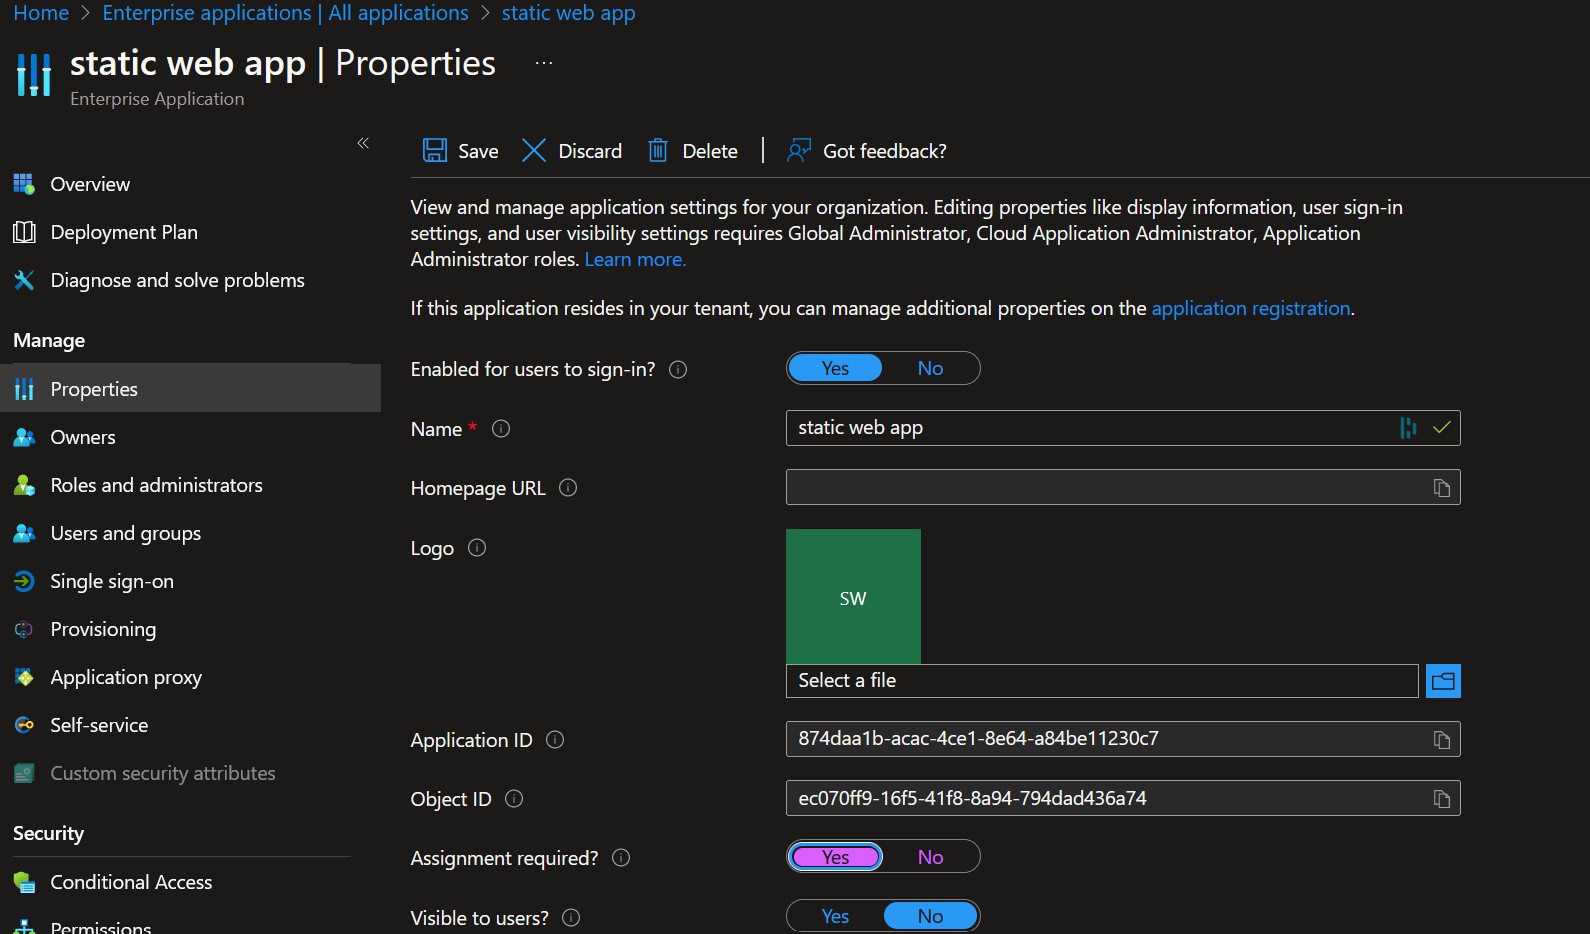
Now, if you go to the URL of the app, you’ll be prompted to log in and after successfully logging in, you’ll see our static web page. But every user from your tenant can log in, the only restriction is that you are member of the Entra ID tenant. If you want to restrict the website only to specific people, do the following. Go to Enterprise Applications, find your application and click on Properties. Make sure Assignment required is set to Yes. Click Save on top.
Then, click on Users and Groups and assign a group or users to the app. Mind that if you use the free version of Entra ID, you won’t be able to assign groups, only users.