
I wrote about this topic a couple of years ago, but some things changed so I am writing this post again. In this post I’ll explain how to log to AWS Console and AWS cli with Entra ID (former Azure AD) credentials. For this you’ll need admin access to both the AWS account and Entra ID.
Table of Contents
IAM Identity Center
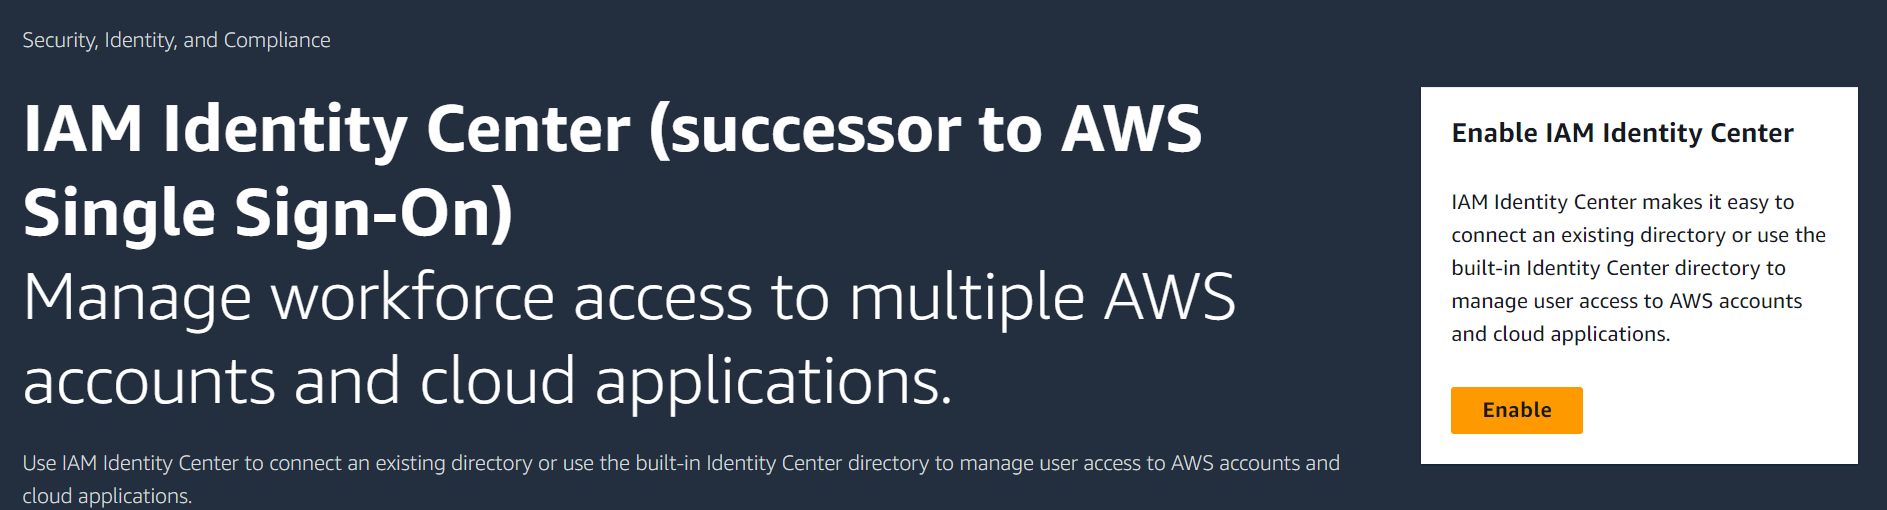
The former AWS Single Sign-on is now IAM Identity Center. You need to enable this in order to configure SSO. Go to IAM Identity Center and click on the Enable button.
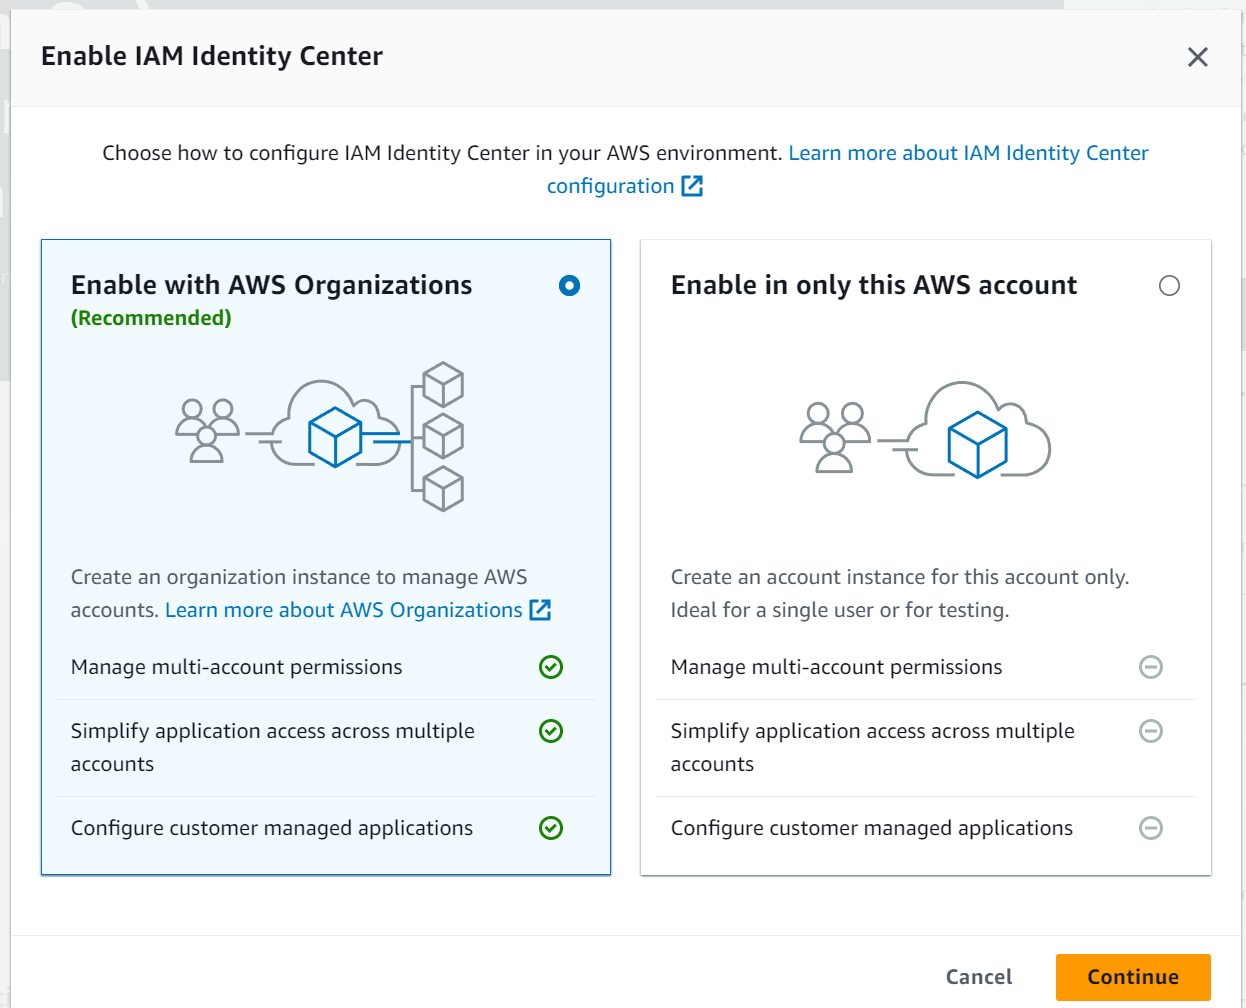
Enable it with AWS Organizations.
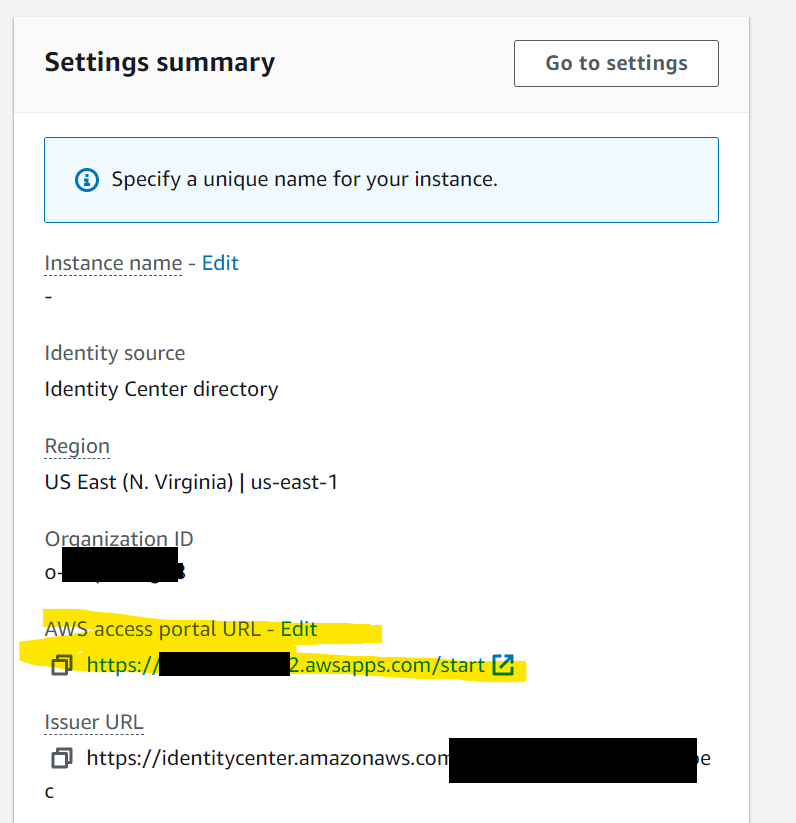
What you want to do first is to change the AWS access portal URL. Click on the Edit button and change the URL. It has to be unique, so don’t expect you can type aws and be done with it.
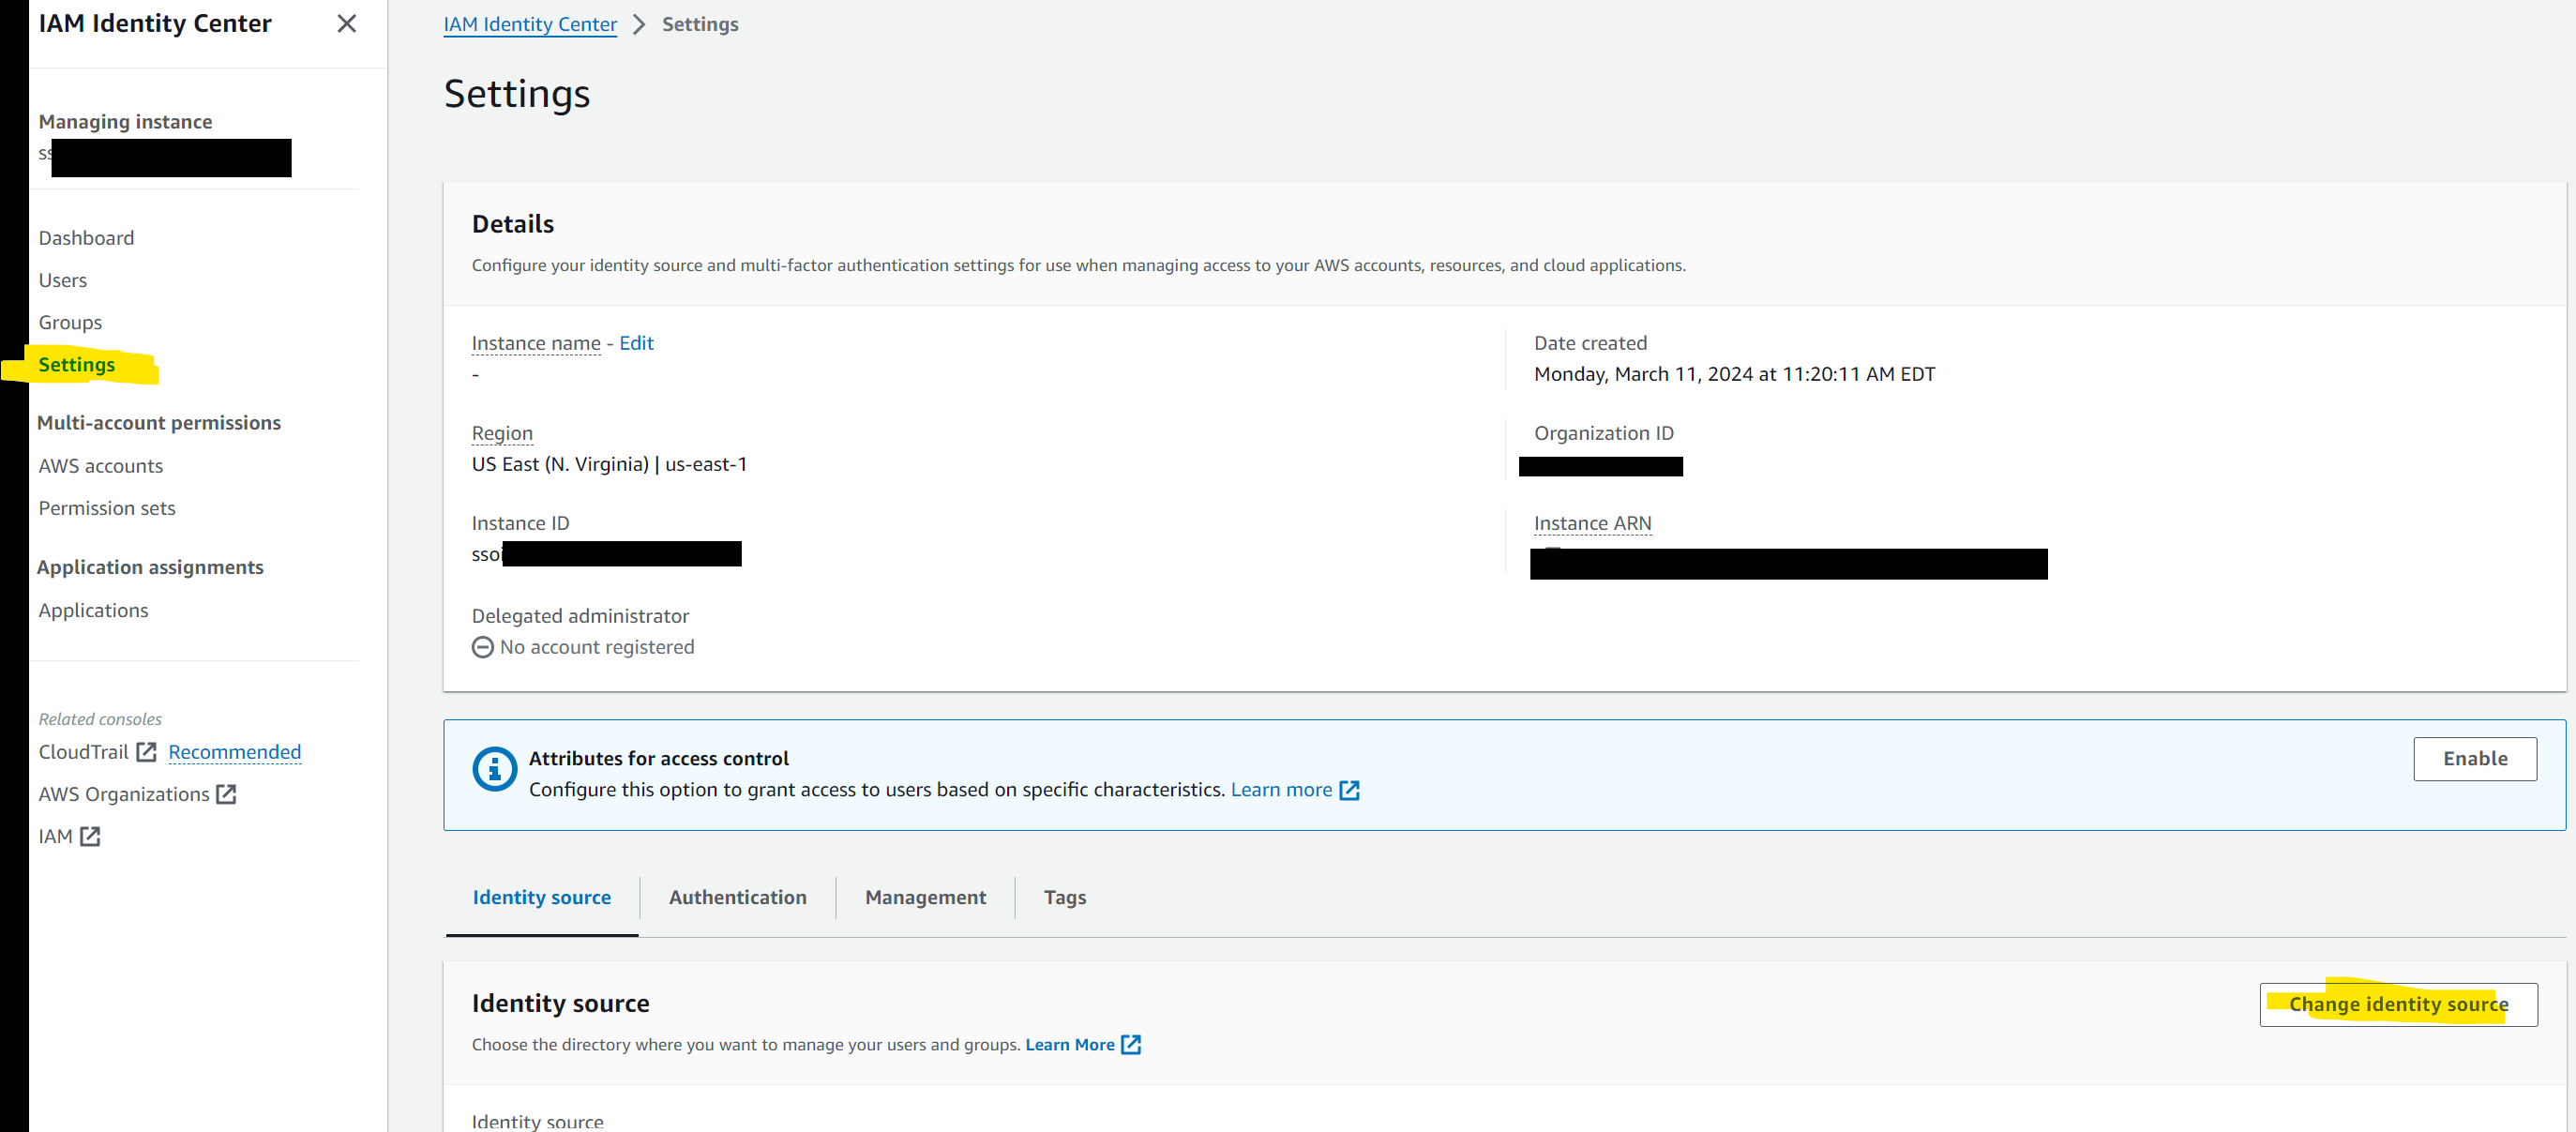
Another setting that you have to change is the Identity source. On the left side of the IAM Identity Center, you are on the Dashboard screen. Click on Settings and then click on Change identity source.
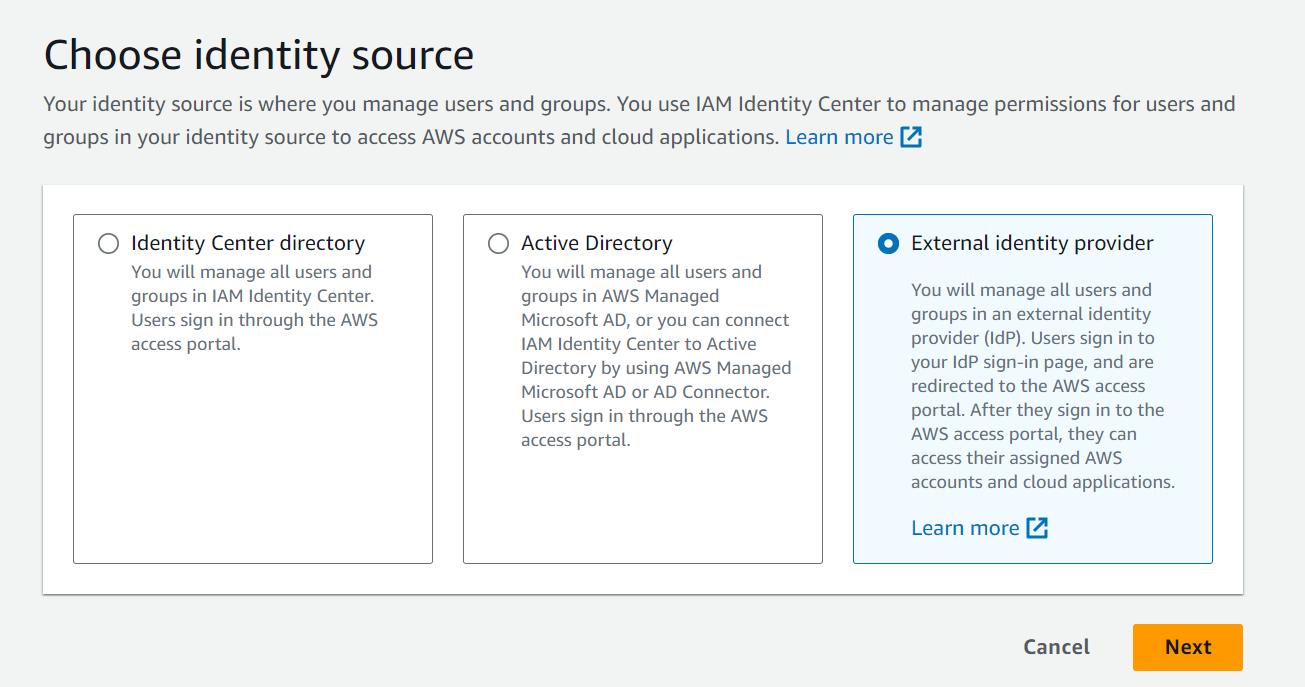
Choose External identity provider and click Next.
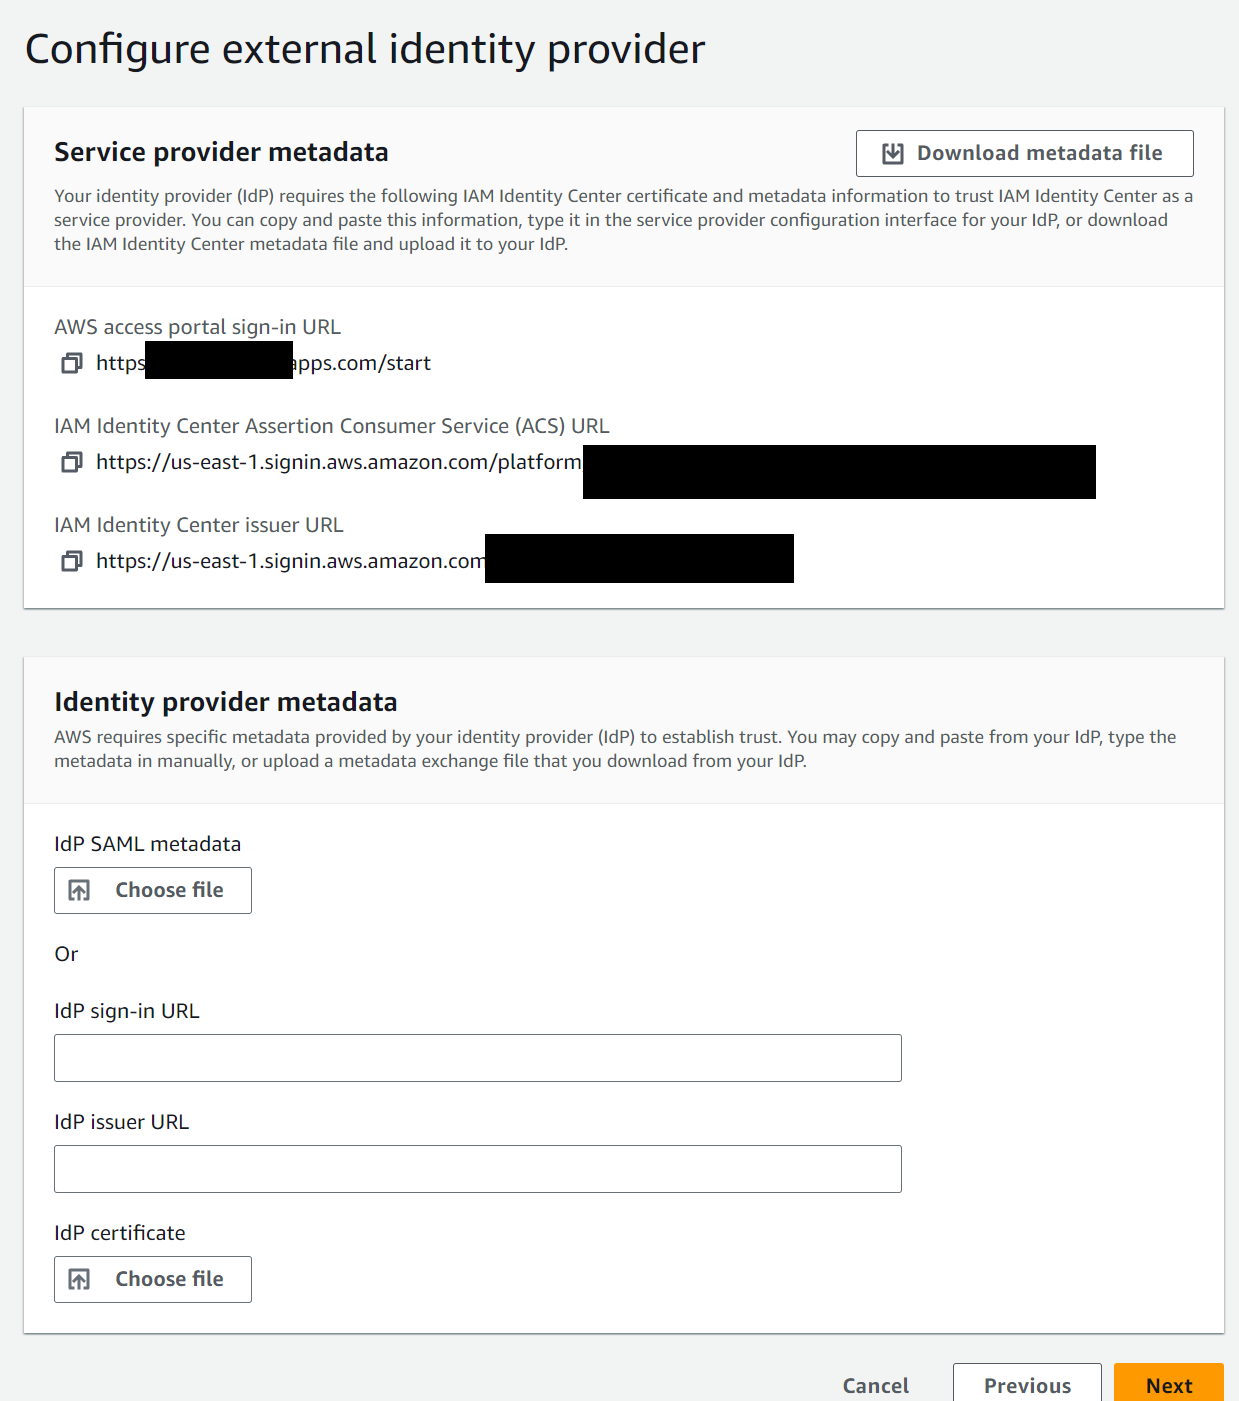
You will see this screen which consists of two parts, service provider metatada (that’s AWS) and Identity provider metadata (that’s Entra ID). Click on Download metadata file. You’ll get an XML file.
Keep the page open and in a new browser window go to portal.azure.com.
Entra ID
Once logged to Azure, go to Enterprise Applications and search for AWS IAM Identity Center (successor to AWS Single Sign-On). Click to install. When you are presented with the Overview of the application, click on Assign users and groups. Depending on your Entra ID level (P1 or P2) you might not be able to assign groups, so you have to assign users.

The next step is to setup the SSO. Click on 2. Set up single sign on and then SAML. You’ll be presented with this page and eventually you’ll see a prompt if you want to save some SSO settings. If you don’t see the prompt, no worries. If you see the prompt, click Yes.
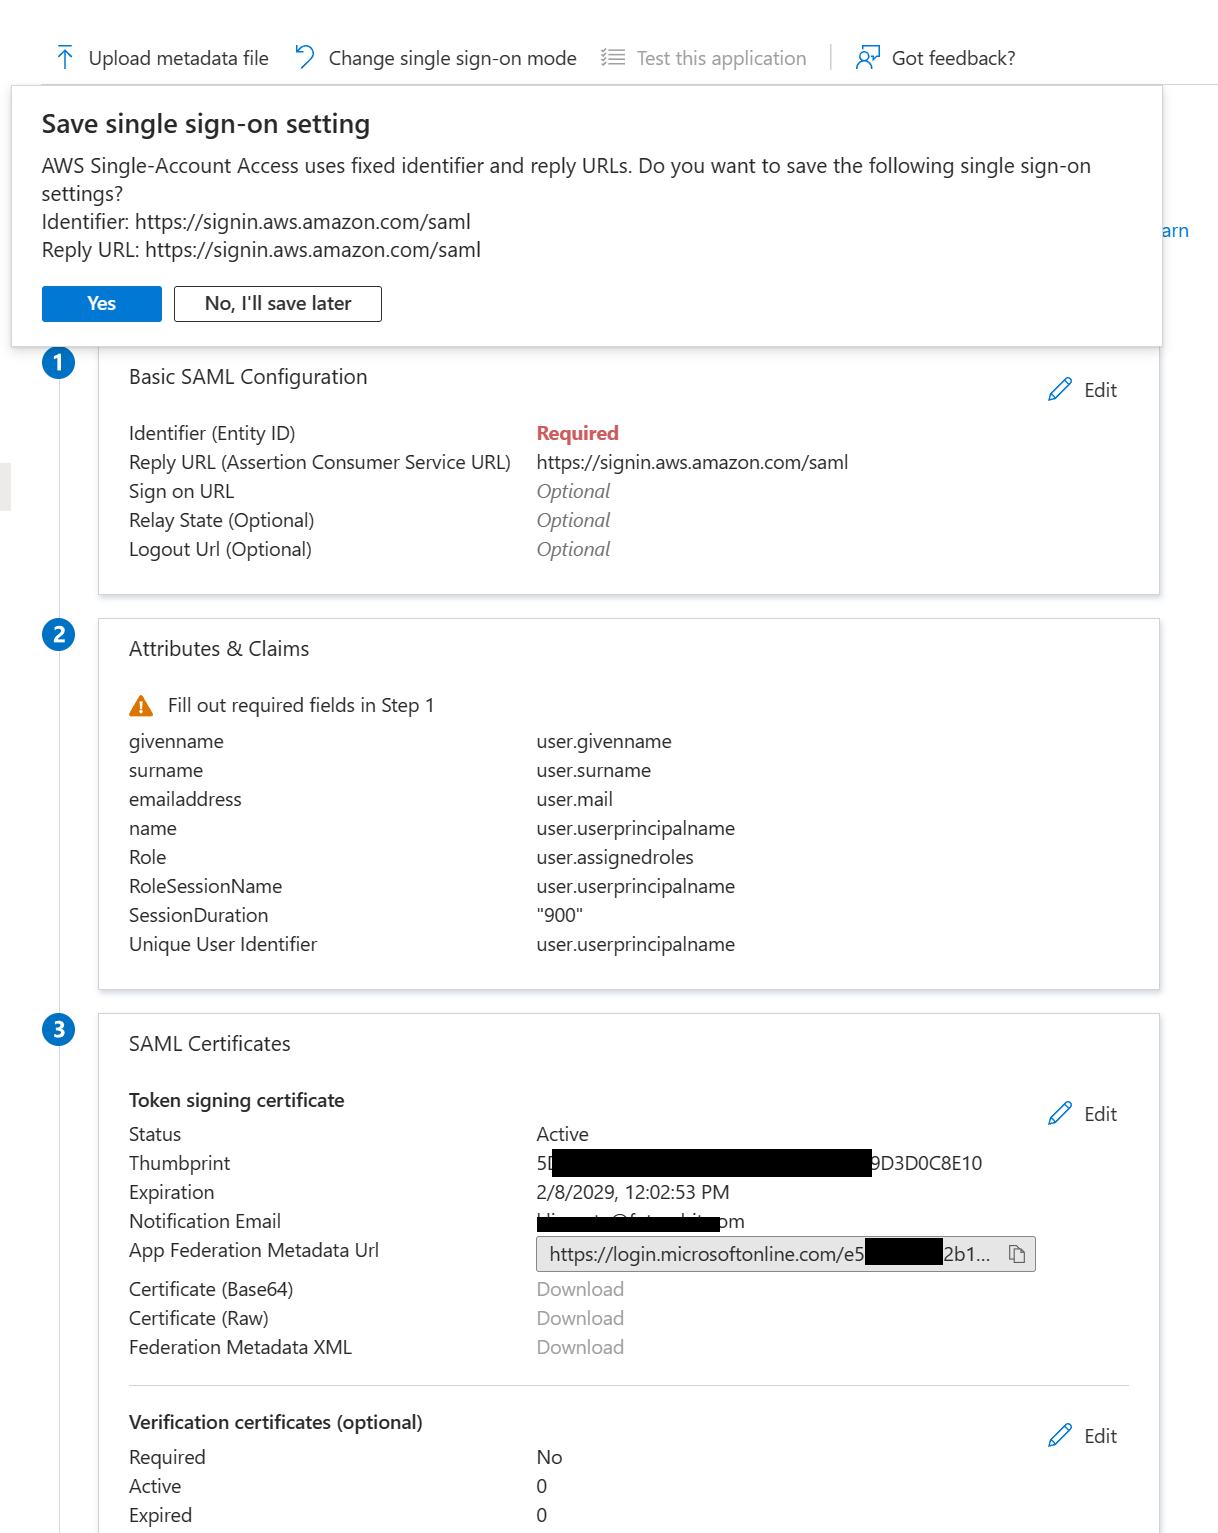
Click on Upload metadata file and point to the XML file that you saved from AWS. Click Save and don’t worry about any of the fields there. If you see a popup to test the config, just click No, I’ll test later. Under step 3, SAML Certificates, click to Download Federation Metadata XML.
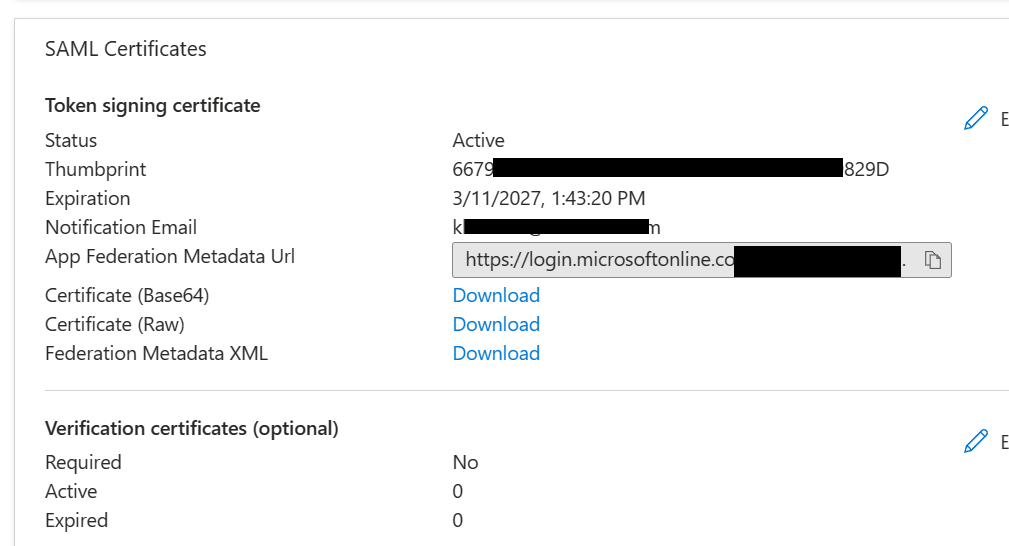
You’ll get another XML file called AWS IAM Identity Center (successor to AWS Single Sign-On).xml.
Back to AWS
Go back to the same page where you’ve downloaded the XML metadata file, but this time look at the bottom part where it says Identity provider metadata and IdP SAML metadata. Click on Choose file and upload the file from Azure. Click Next, type ACCEPT and click Change identity source.
Once completed click to Enable Automatic provisioning. Copy the SCIM endpoint and the access token.
Back to Azure
Under the AWS SSO application. on the left side click on Provisioning. Change the Provisioning Mode to Automatic. Expand Admin credentials and for Tenant ID enter the SCIM endpoint and for Secret Token, enter the token. Click Test Connection and upon successful test, click Save. If you see clientsecret instead of Tenant ID, it means you are not using the right AWS application and you use the AWS Single Account application instead. Start from scratch.
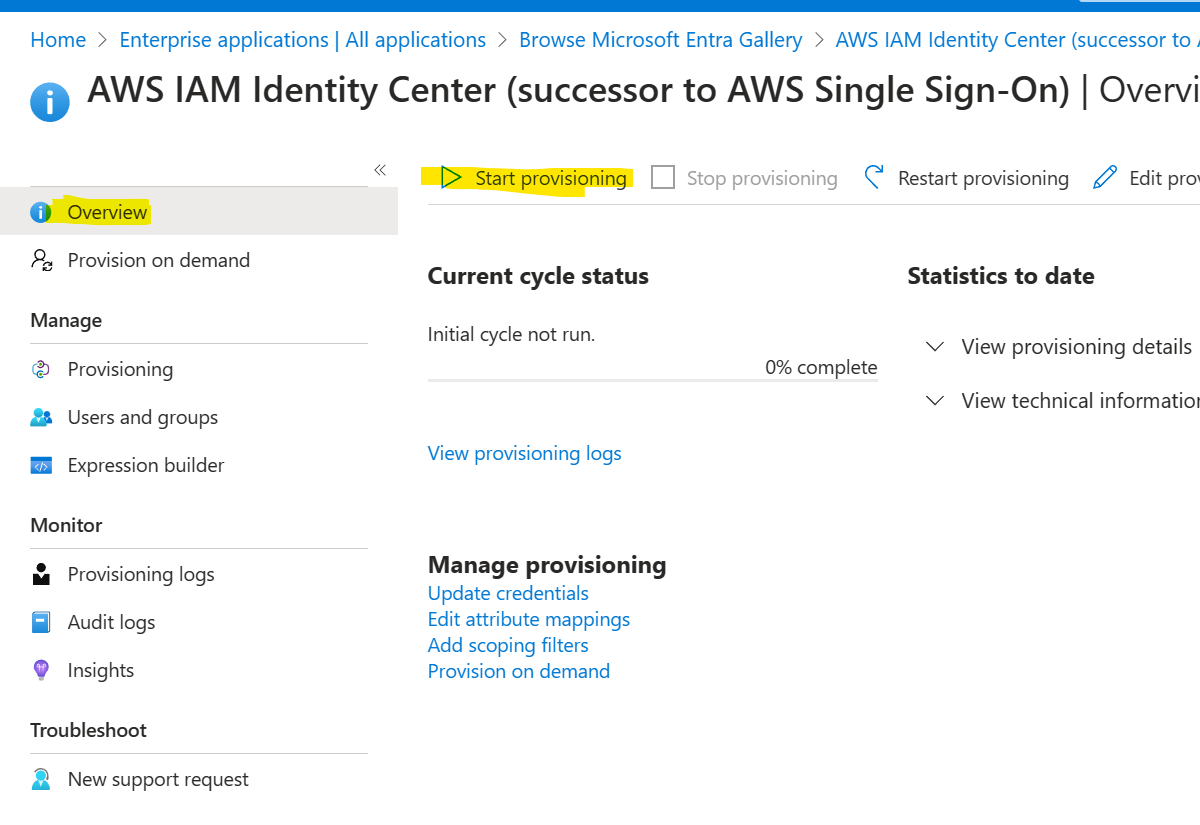
Anytime you assign a new user or a group to AWS application, Azure will sync the user to AWS. But, instead of waiting (40 mins by default) for the initial sync, click on the Overview and click Start provisioning.
Back to AWS
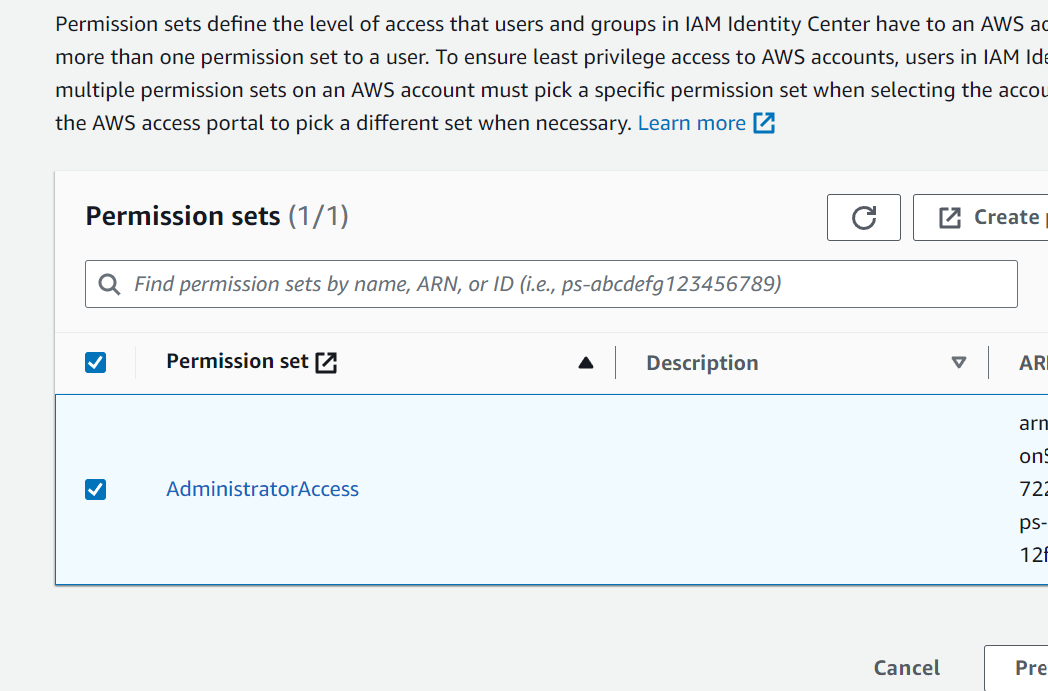
If your provisioning works fine, you’ll see your assigned Azure user under Users in IAM Identity Center. On the left side of the IAM Identity Center, click on Permission sets. Click Create Permission set and choose Predefined permission set, then AdministratorAccess. Change the name, description, session duration if needed and then click Next and then Create.
Finally, click on AWS accounts, select an account from the organization, click Assign users or groups, click Users or Groups, select a user and click Next. Assign a permission set, click Next and Submit.
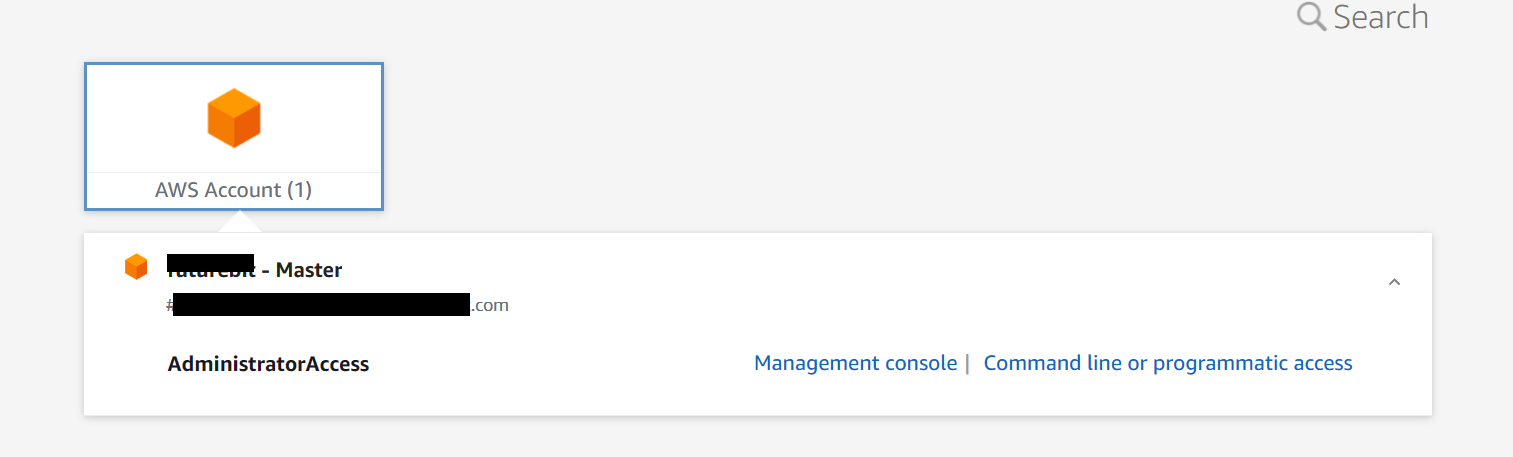
Now, test the SSO by going to whatever.awsapps.com/start# and you’ll be redirected to the Microsoft sign in prompt. Follow the authentication process for Entra ID (username, password, MFA etc) and once you pass the authentication process you’ll see the AWS account that you have access to.
AWS CLI and SSO
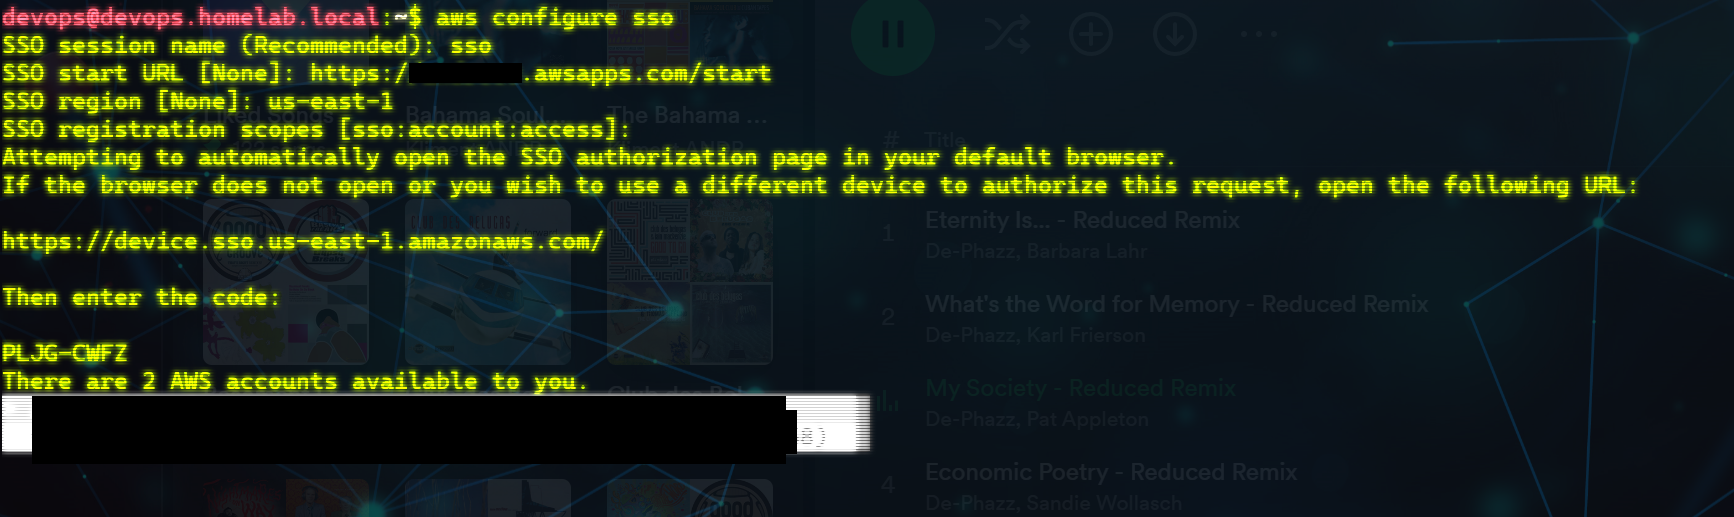
Follow the instructions to install AWS CLI for your OS, then configure SSO. Name your session, enter the URL you configured earlier, enter the region where you configured SSO and hit enter for the registration scopes.
aws configure sso
SSO session name (Recommended): sso
SSO start URL [None]: https://your_url.awsapps.com/start
SSO region [None]: us-east-1
SSO registration scopes [sso:account:access]:
Attempting to automatically open the SSO authorization page in your default browser.
If the browser does not open or you wish to use a different device to authorize this request, open the following URL:

https://device.sso.us-east-1.amazonaws.com/

Then enter the code:

PWKG-CAFZ
After successful authentication, you’ll be presented with the accounts available to you. Pick one.
You’ll be prompted to choose the roles available to you and then specify your default region, default output and the profile. \
NOTE: If you’ll be working with multiple accounts, maybe you should specify a different profile than the default. It’s up to you. E.g. specify prod and dev profiles.
There are 2 AWS accounts available to you.
Using the account ID 123456789012
The only role available to you is: AdministratorAccess
Using the role name "AdministratorAccess"
CLI default client Region [None]: us-east-2
CLI default output format [None]: json
CLI profile name [AdministratorAccess-123456789012]: default

To use this profile, specify the profile name using --profile, as shown:

aws s3 ls --profile default
After your SSO session expires, you have to log back in.
aws sso login
If you are like me and always uses the default profile so I don’t have to type –profile parameter, then anytime you want to use a different account, just aws configure sso again, but specify the other account now.