
There is a newer version of this post but feel free to refer to this one in case you have any issues.
In this post, I’ll explain how to configure both Azure and AWS so when you log to AWS you’ll use your Azure AD credentials. In my lab, I have an Azure subscription and Azure AD (free tier). I also have a multi account AWS in AWS Organization structure. I want to be able to log to both Azure and AWS using the same Azure AD credentials. This way, I can use only Azure AD to control access to my cloud resources.
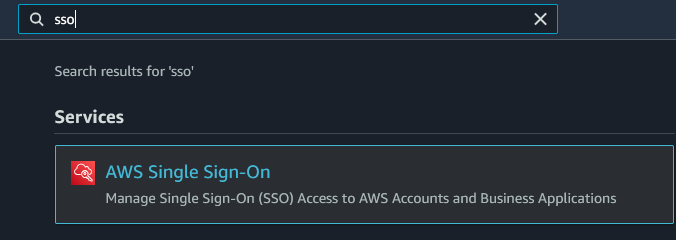
First, we’ll configure AWS for SSO. Log to your management/root account in AWS. Type sso in the search bar and choose Azure Single Sign-On.
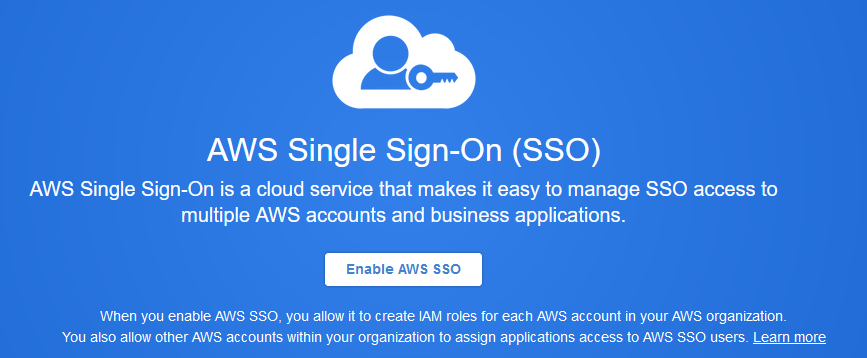
Click on the button to Enable AWS SSO.
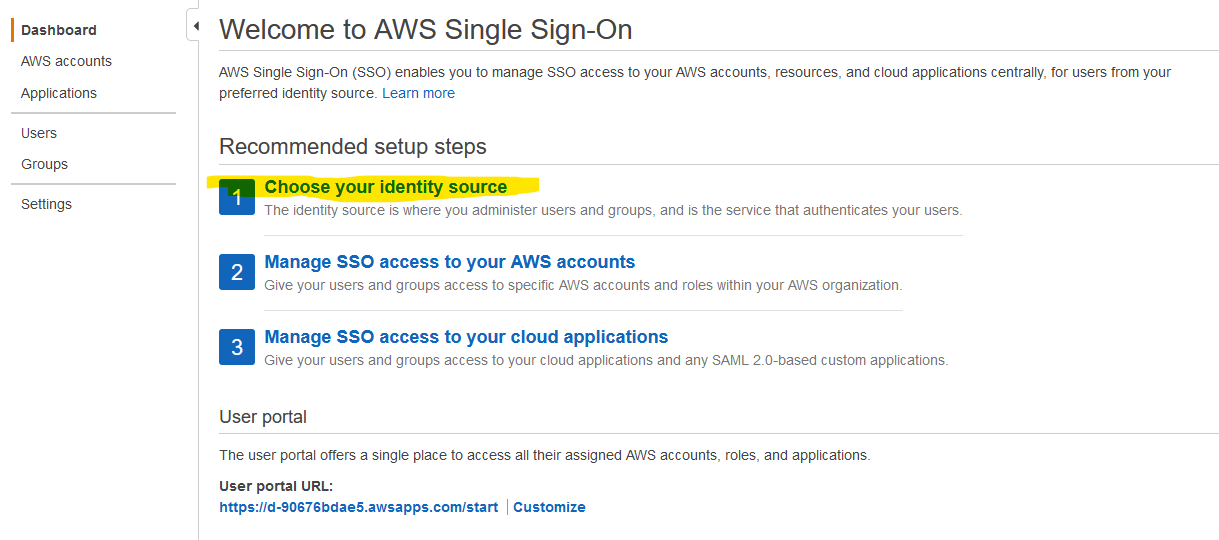
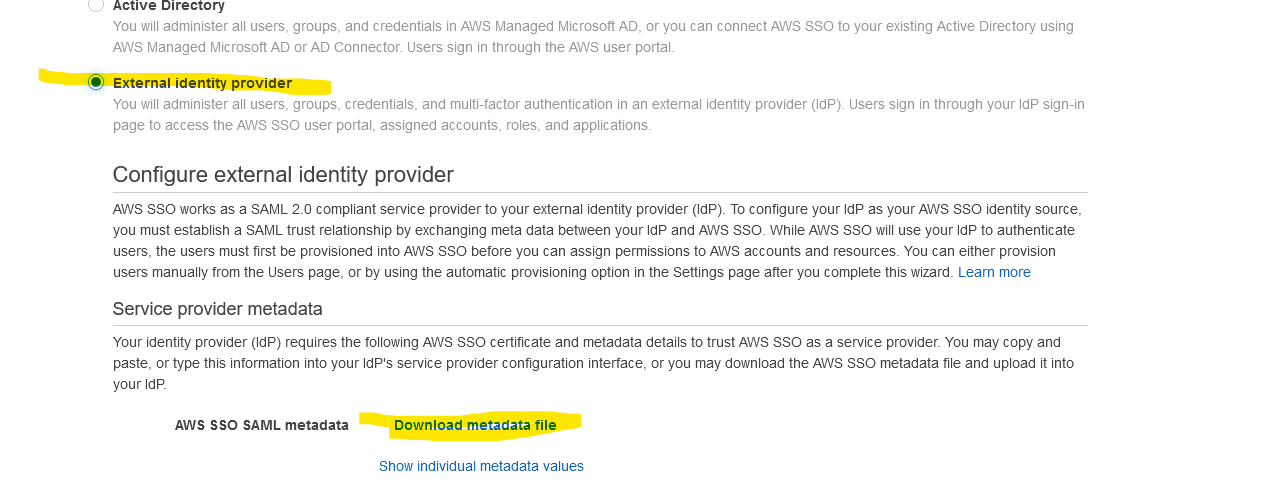
From the Dashboard, Choose your identity source.
You’ll be taken to the Settings pane. Click on Change under Identity source.
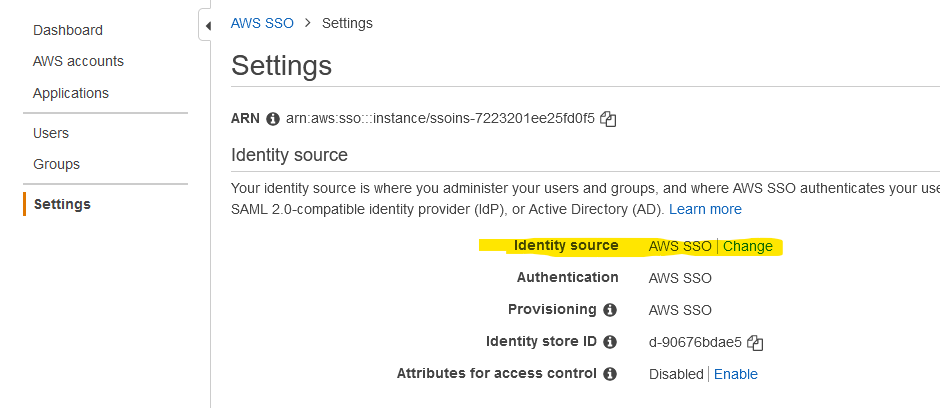
Select External identity provider and click on Download metadata file.
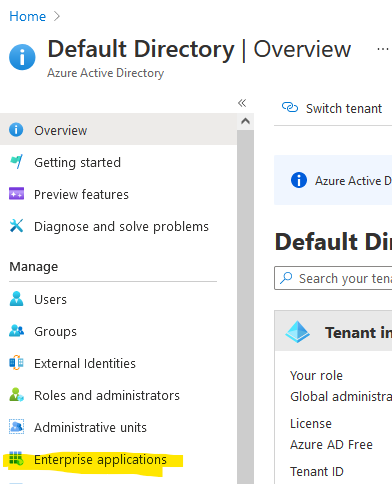
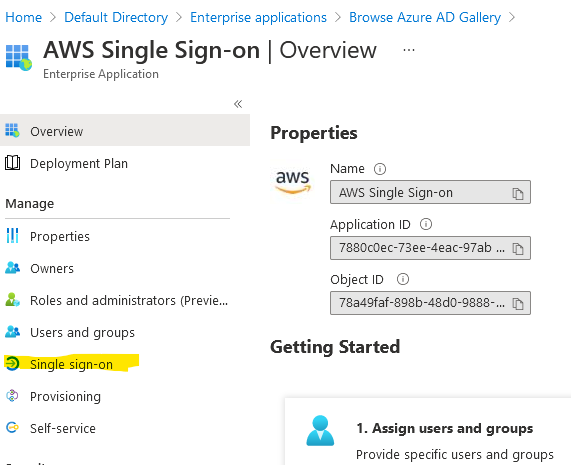
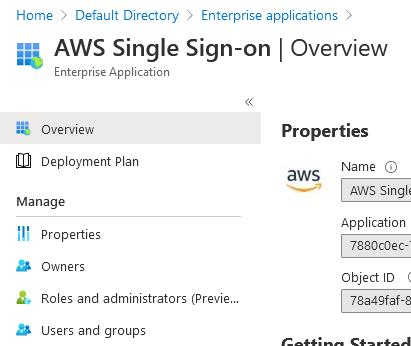
In Azure, go to Azure Active Directory and from the left, click on Enterprise applications.
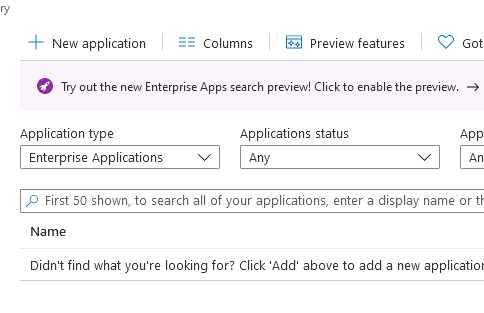
Click on New application.
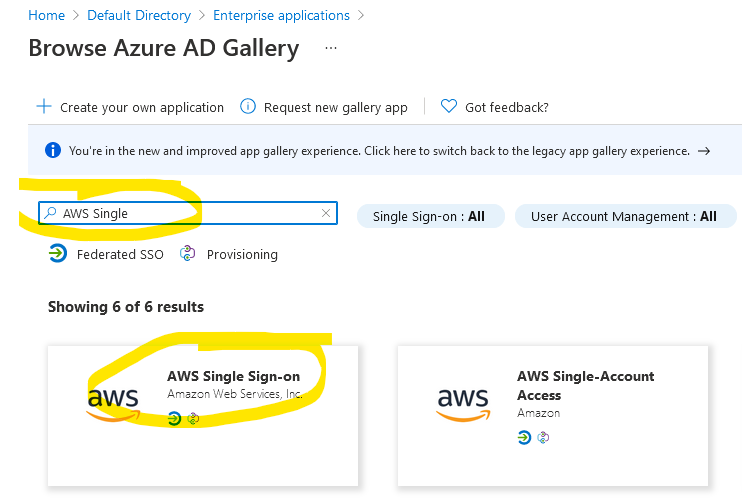
Search for AWS Single and choose AWS Single Sign-on. Make sure you choose this one if you have multi accounts in AWS. The setup is slightly different for the other single account access.
Click on the Create button on the right and wait for about 30 seconds. When this screen shows up, click on Single sign-on.
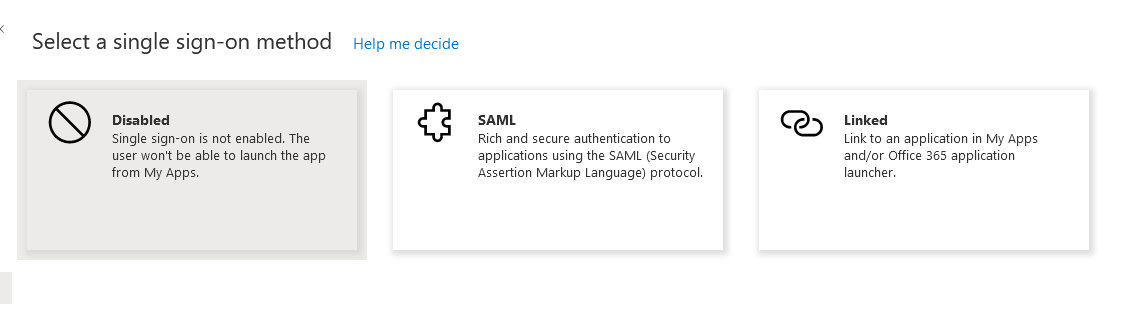
Choose SAML from the choices.
When this screen shows up, choose Upload metadata file.
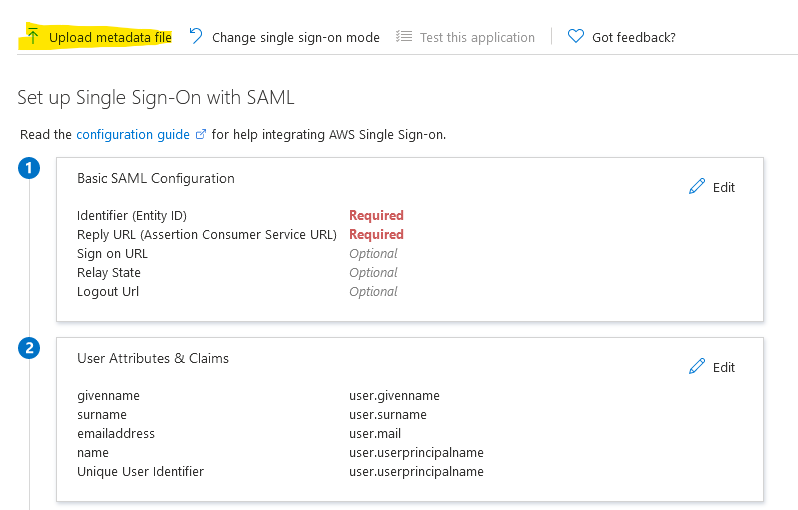
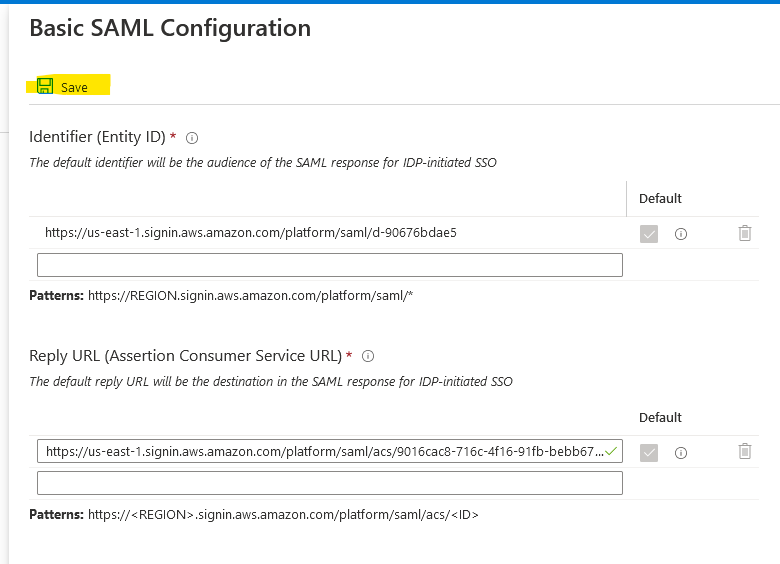
Select the file that you just downloaded from the last step you did previously in AWS. You don’t have to do anything, just click Save and then close the blade on the right.
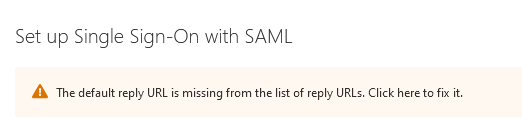
You’ll get something like this, just click there as instructed to fix it.
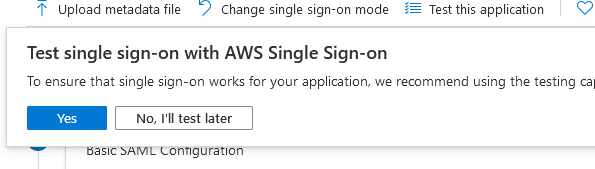
If you are asked if you want to test the SSO, just ignore the message and click on, No, I’ll test later.
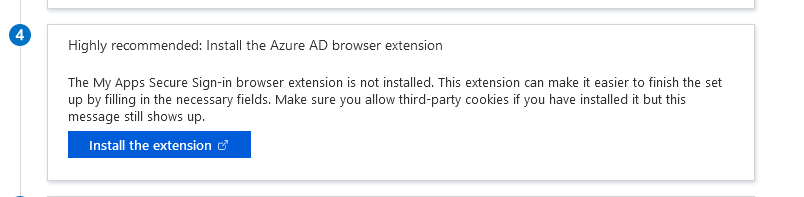
Scroll down a bit to step 4 and click on Install the extension. This is the easiest way to do this. You can go the manual way, but it’s not worth it. Don’t worry, you can always remove the extension after. It’s for a one time setup. I use Firefox and it works fine, which means it will definitely work on Chrome and Edge.
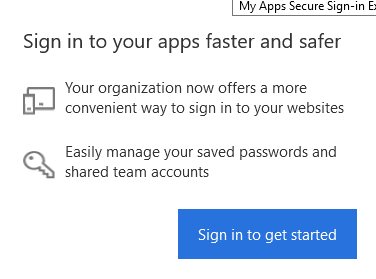
Once you install the extension, click on it in the upper right corner.

Click on Sign in to get started button.
You should be automatically signed if you have the Azure session open in another tab. You’ll see something like this if everything is OK.

Click on the button Set up AWS Single Sign-on under step 5. Azure will prompt you to save the federation XML file and just click OK for the Azure prompt.
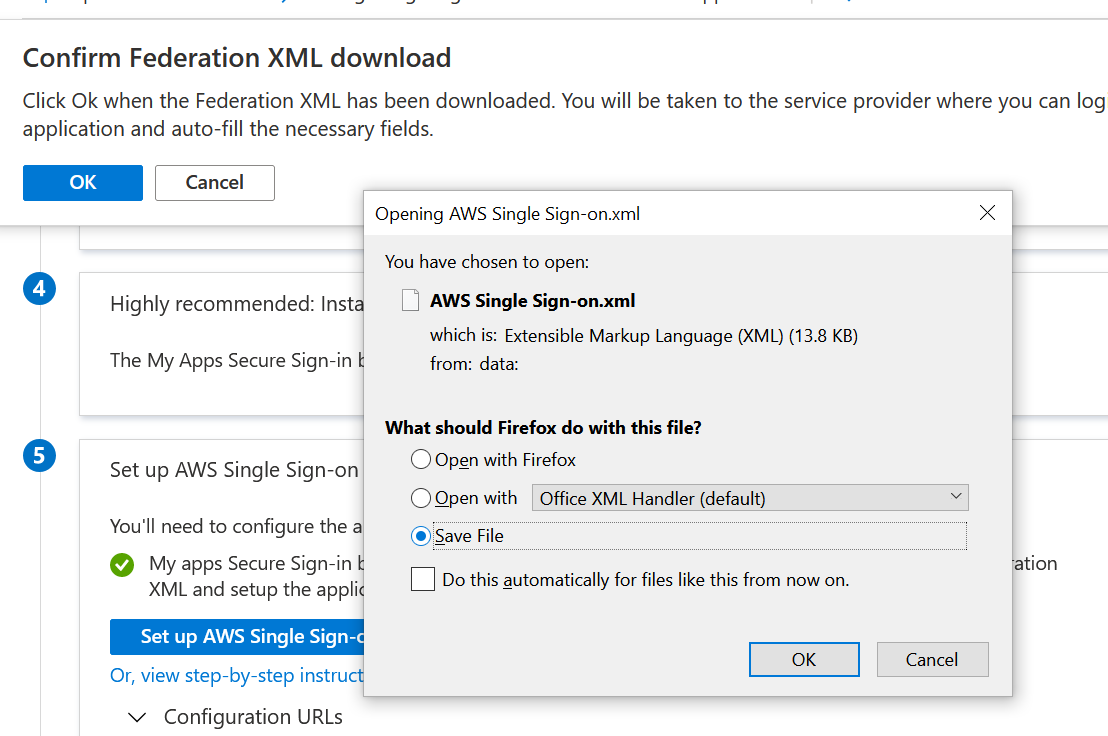
Azure will open a new AWS tab and ask you to confirm if it’s OK to make changes in AWS. Click OK.
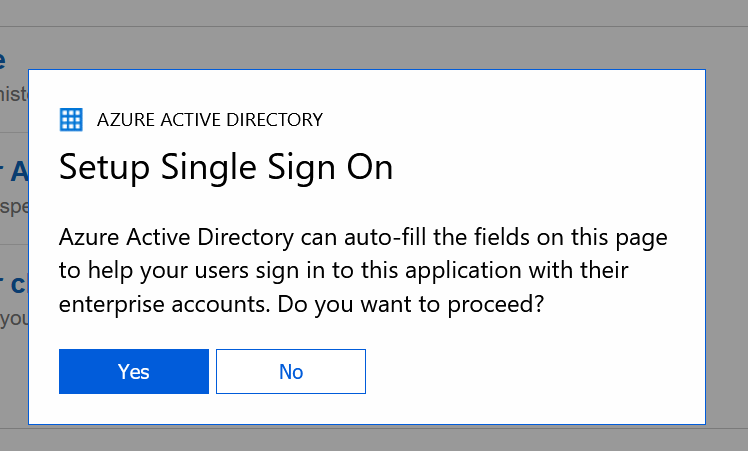
You’ll see some action on the screen like someone clicks in your browser. Don’t do anything. Just click Yes or OK when asked.
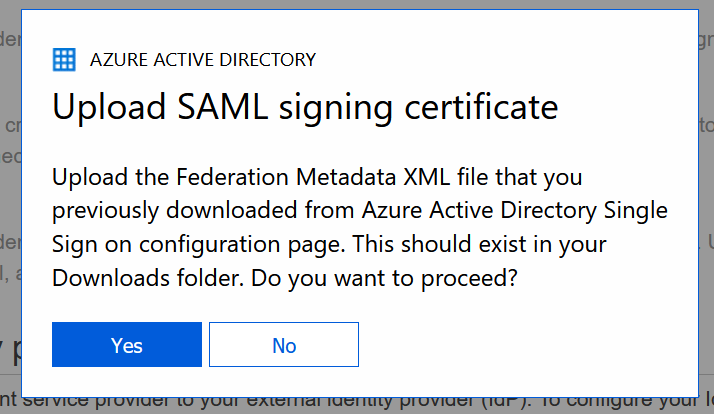
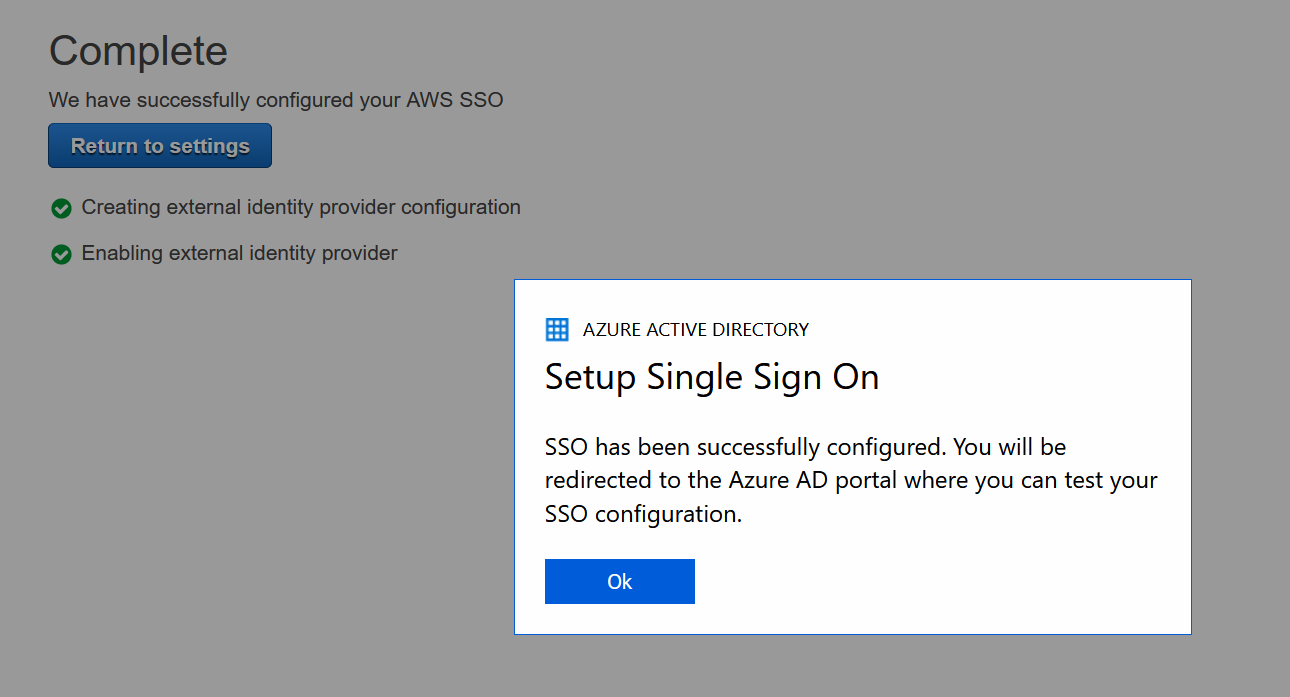
The extension will ask you to upload the federation XML file from Azure that you saved earlier and then it will reconfigure AWS and you should see this at the end.
You’ll end up at the initial screen for step 1 in Azure. Just click Save and you are OK.
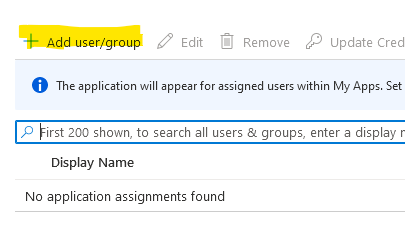
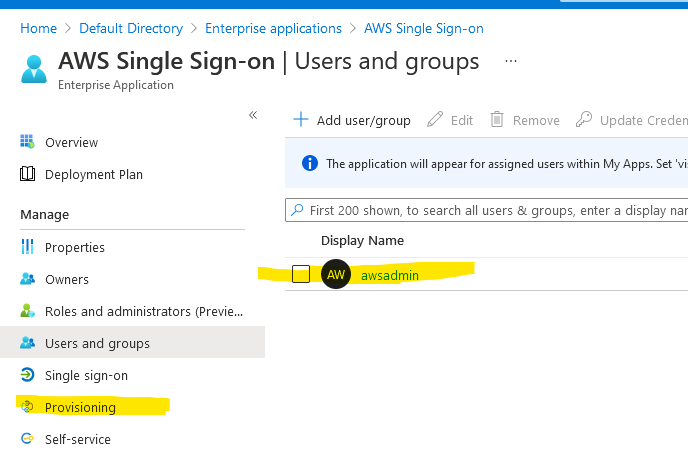
Now, if you don’t have any users or groups in Azure AD, go create some. In my case, I use free Azure AD so I am not gonna be able to use groups. It requires Azure AD P1 which is not free. But, I’ll show you how to assign a user in Azure AD. If you use Azure AD Connect to sync your on-prem AD with your Azure AD, you can choose that user as well. With your AWS Single Sign-on app selected, click on Users and groups.
Click on Add user/group.
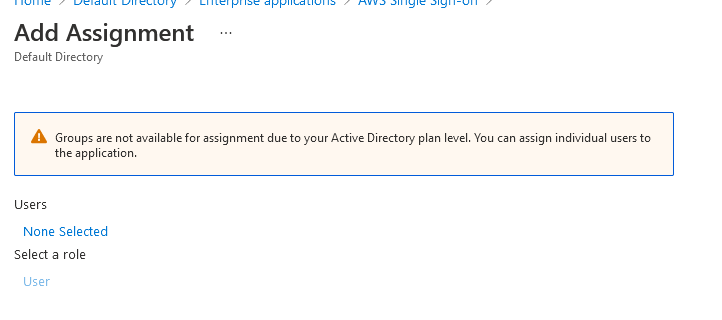
As I mentioned earlier, I can’y choose groups because of my Azure AD free tier, so click on None Selected.
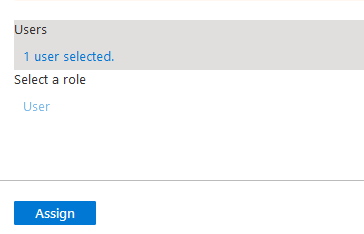
Select the user and just click Assign at the bottom.
I’ve assigned this guy from Azure AD (awsadmin). Just click on Provisioning on the left. We have to sync these users to AWS now.
Click on Get started and choose Automatic.
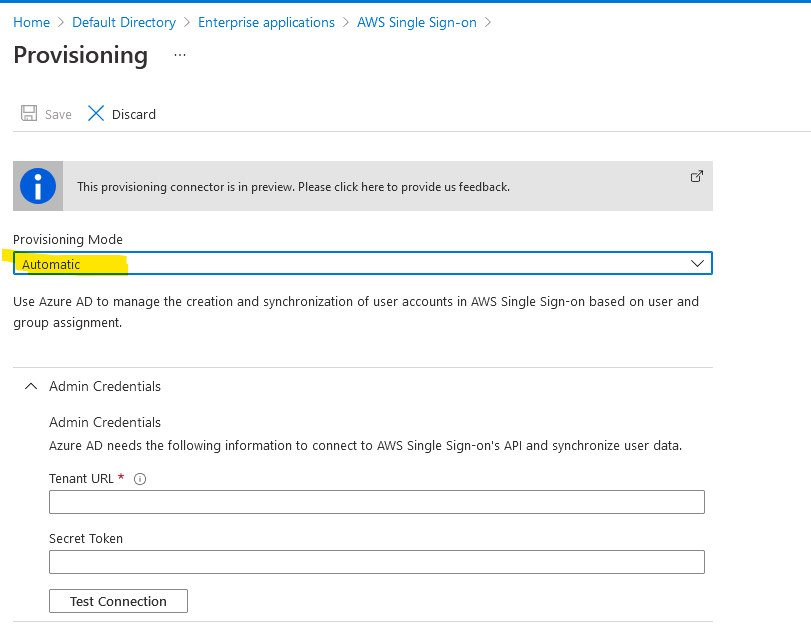
You’ll have to provide a Tenant URL and a Secret Token.
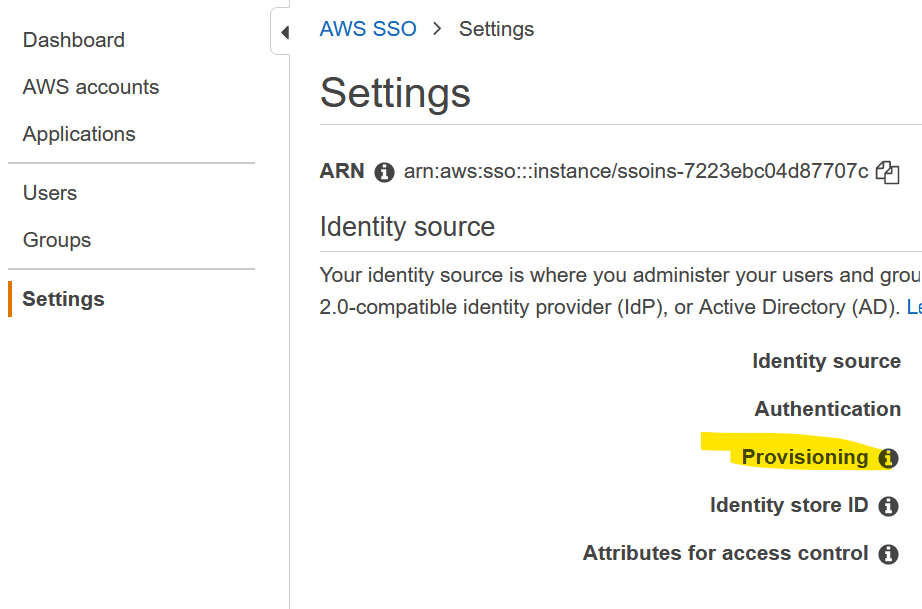
Go back to AWS, then SSO, click on Settings and click on Enable automatic provisioning under Provisioning.
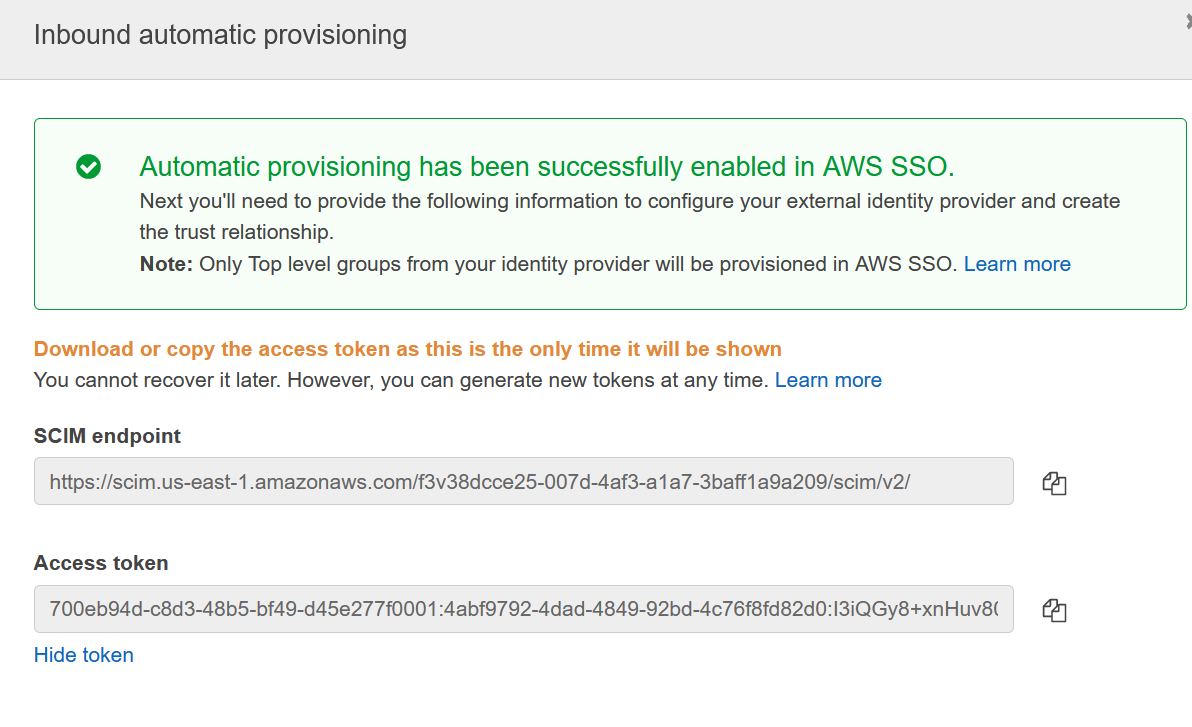
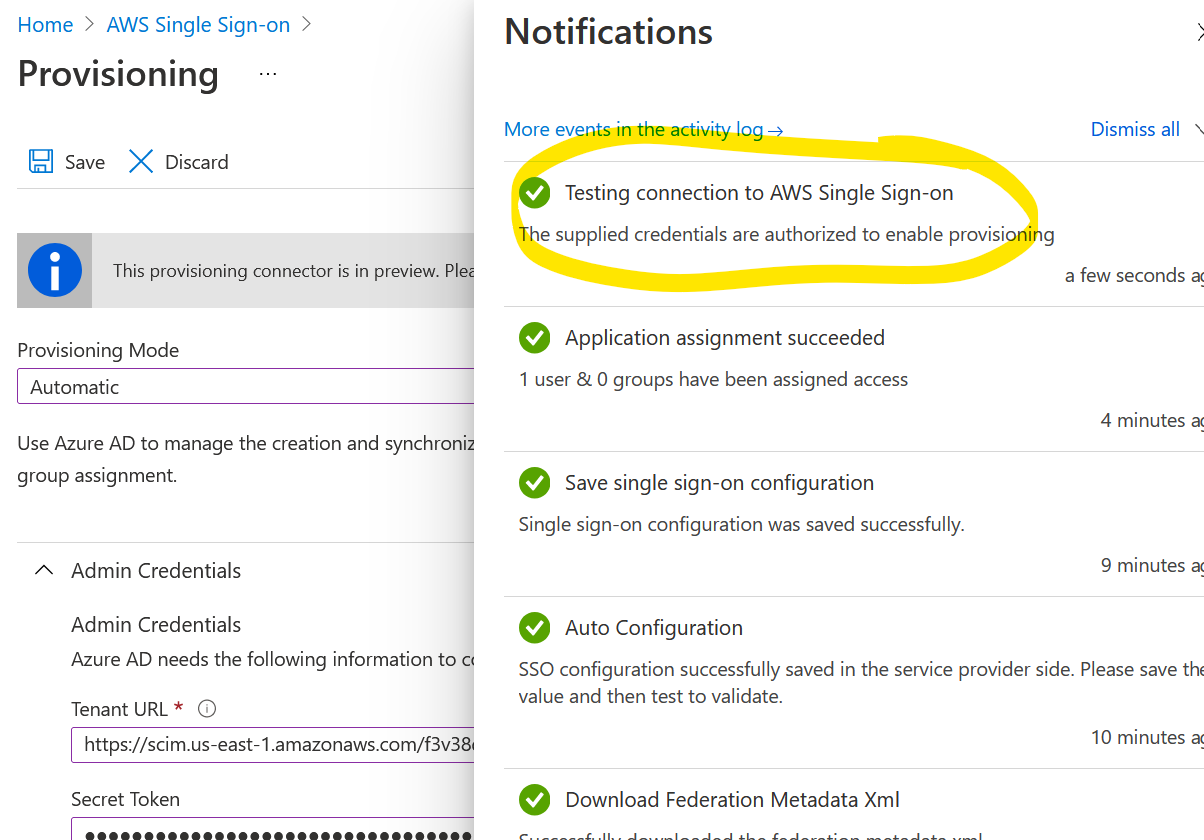
Click on Show token. Copy both values on the clipboard, those are the Tenant URL and the token needed for Azure. Copy and paste them in Azure.
Click Test Connection and make sure you get OK as a result. Click Save.
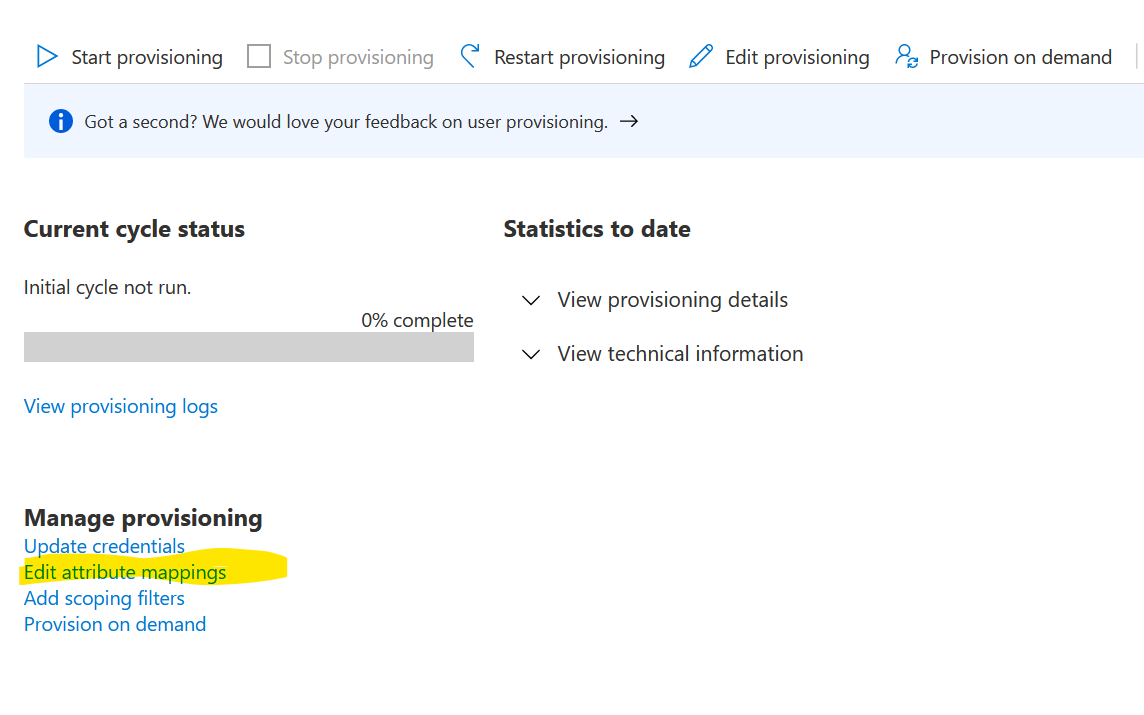
You’ll be back here. Click on Edit attribute mappings.
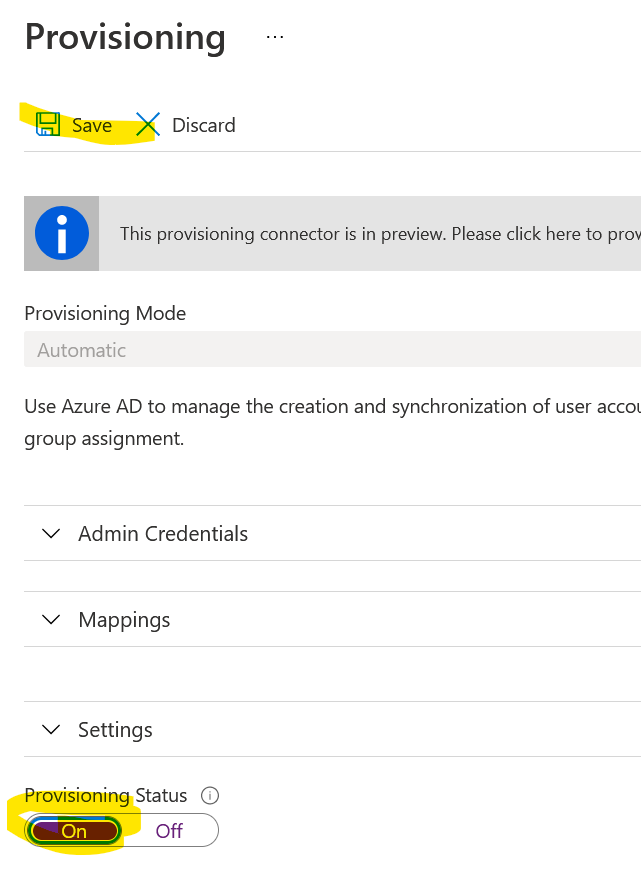
Change the Provisioning status to On and click Save.
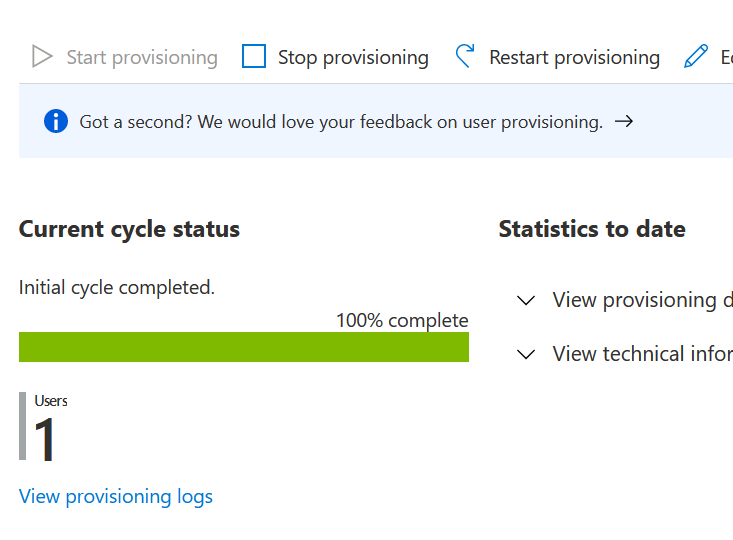
If you close that blade, you’ll see that one user synced successfully.
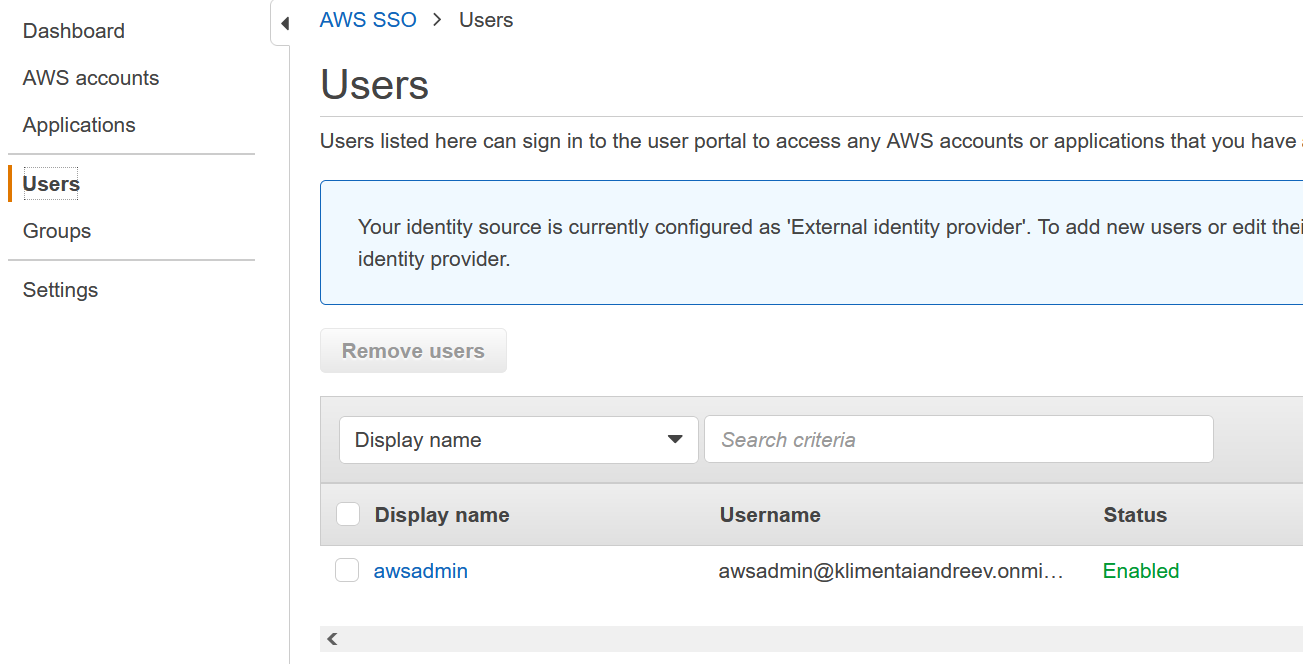
Go to AWS and under Users you’ll see the same user. Yay!
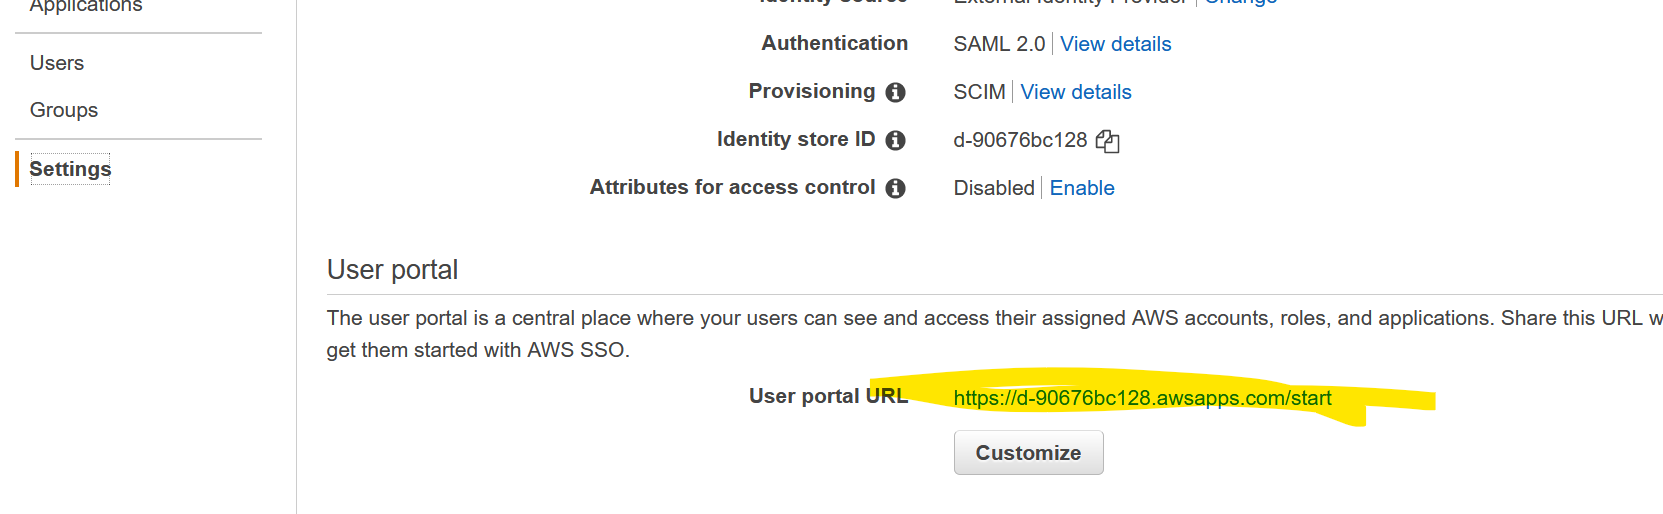
OK, if you look at the User portal, you’ll see the URL for your Single Sign-on. You definitely want to customize the URL to suit your needs.
Go to that URL, but use a separate browser or some private mode, so you don’t affect any open sessions. You’ll be redirected and prompted to log with your Azure AD. You might get a prompt to configure MFA, skip it for now, you can always configure it later.
This is what you’ll see.
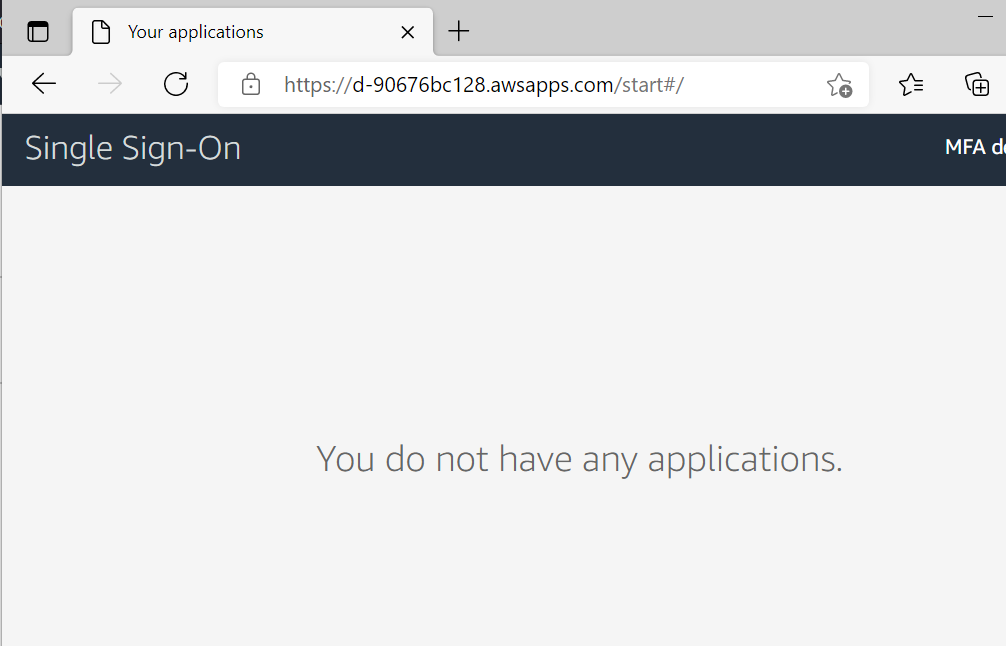
But we assigned AWS app in Azure to this user. What’s going on?

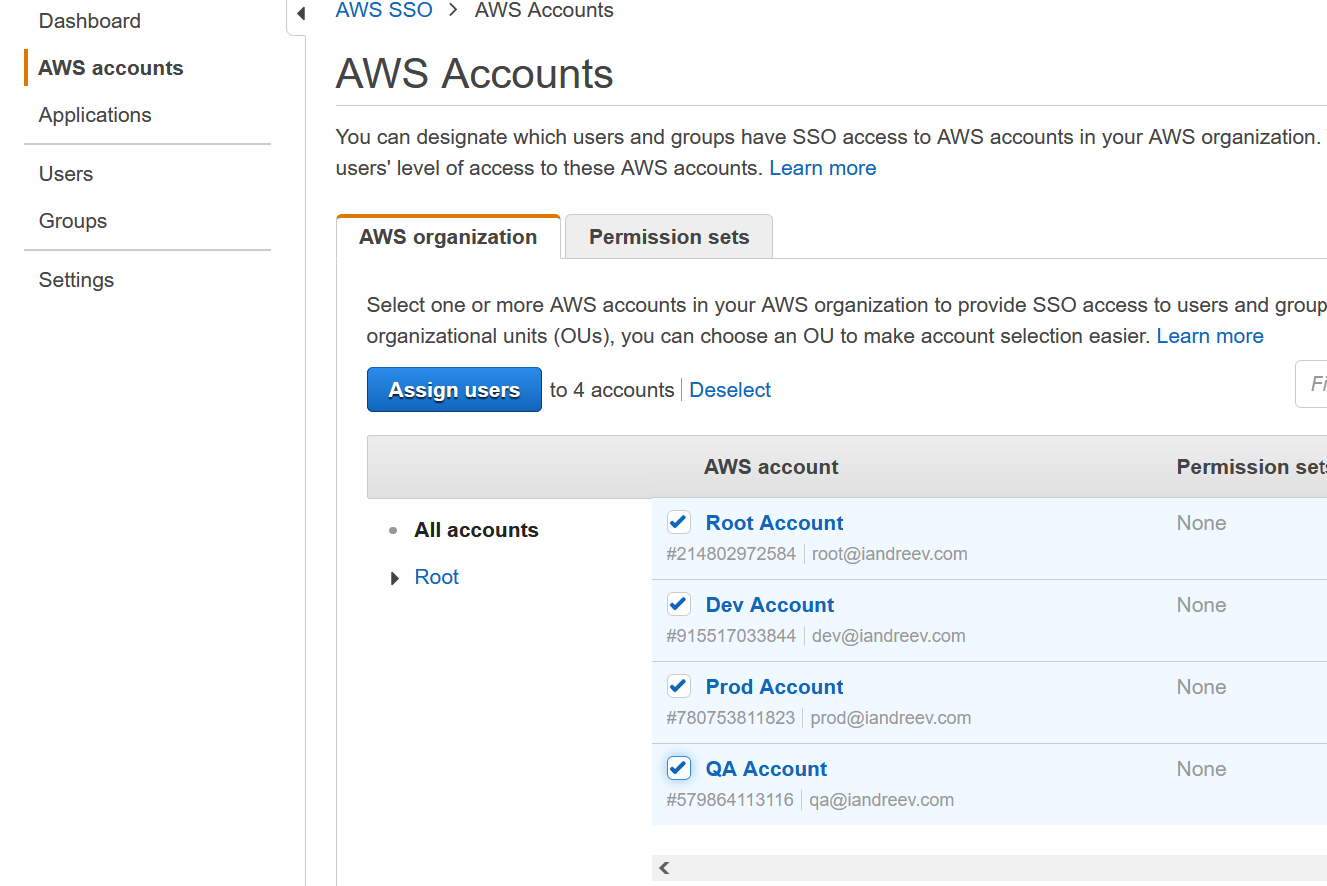
Just go to AWS | SSO | AWS Accounts, select the accounts that you assign to a user and click Assign users.
Select the user (in my case awsadmin) and click Permission sets.
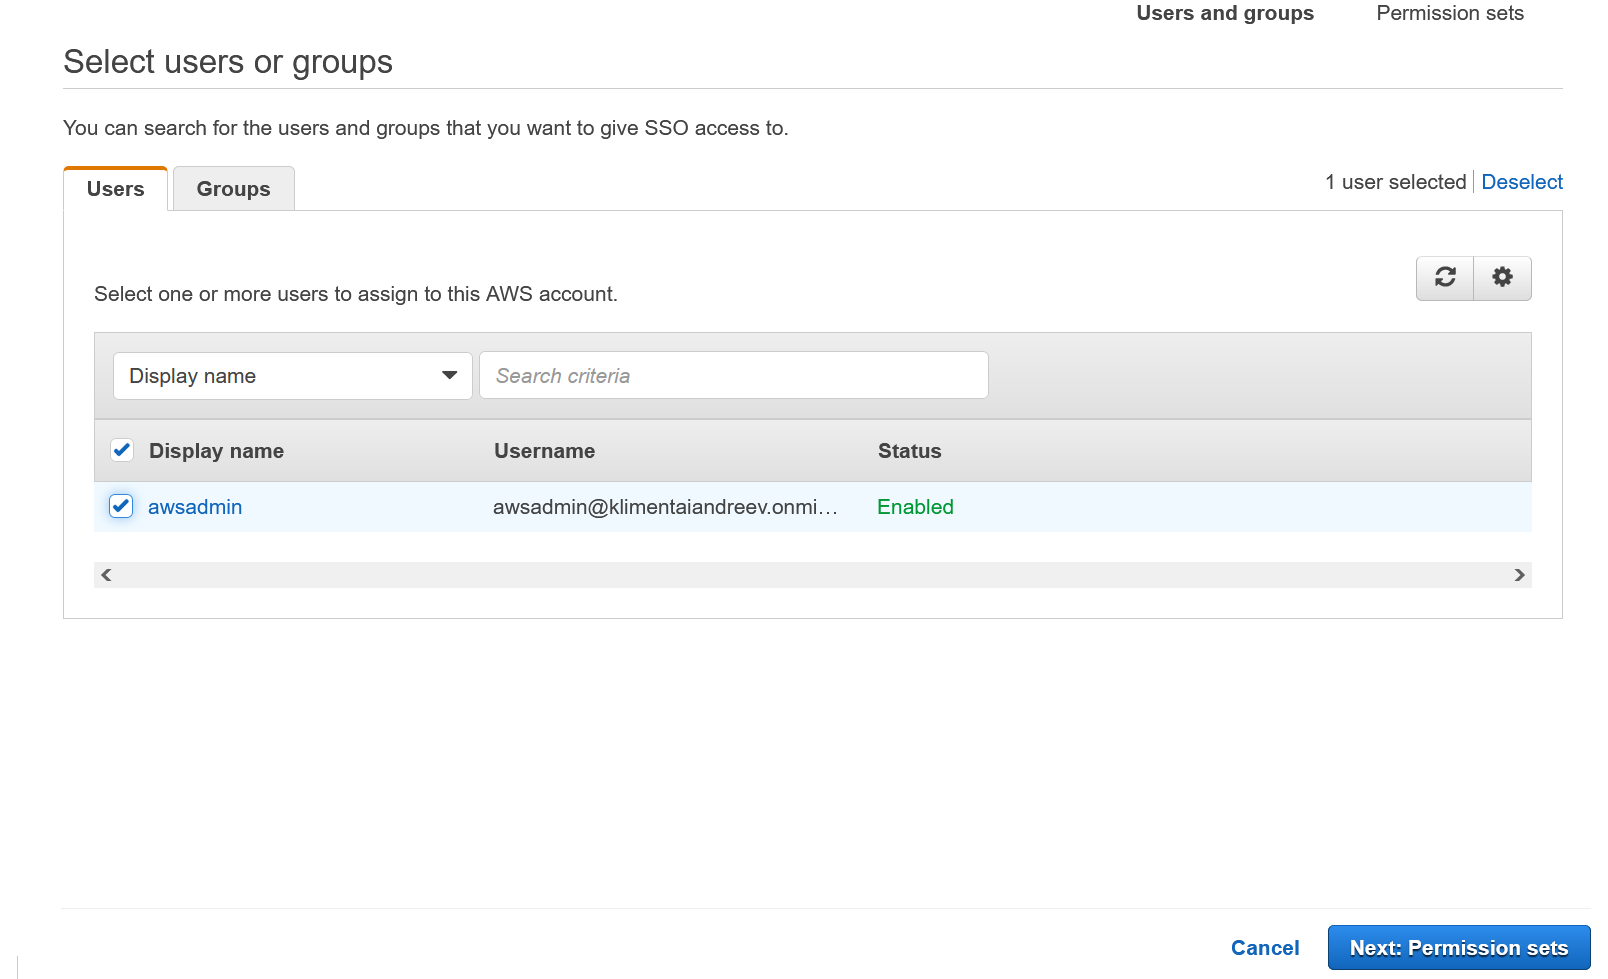
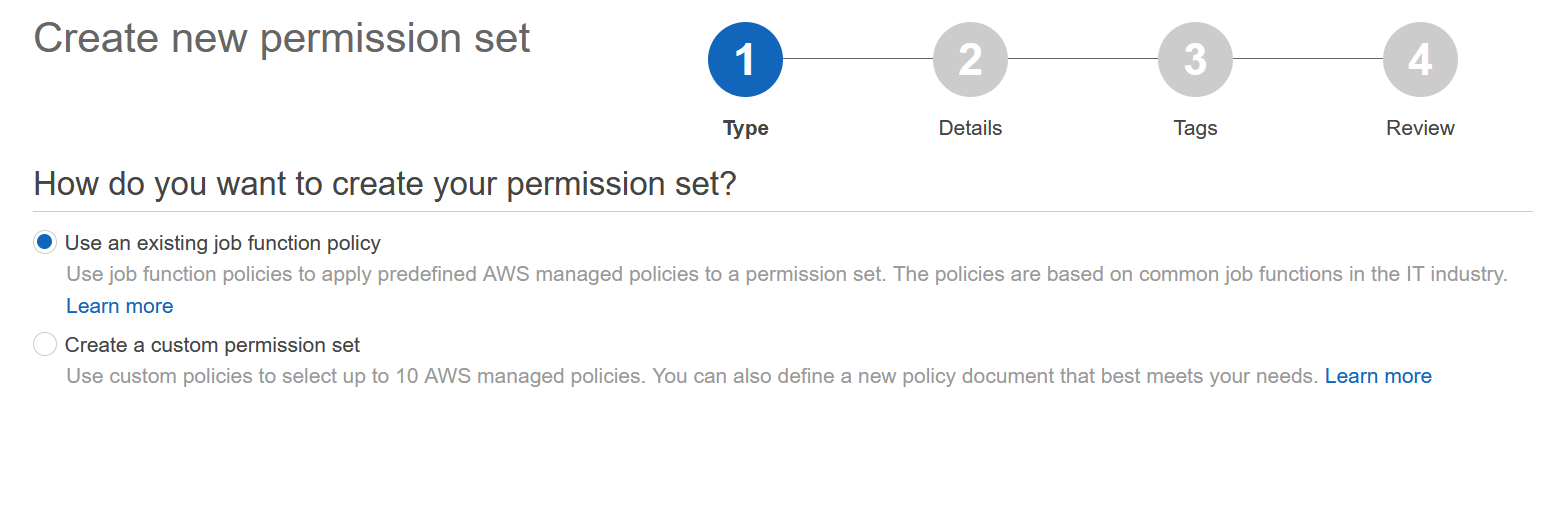
Click on Create new permission set. This will open a new tab.

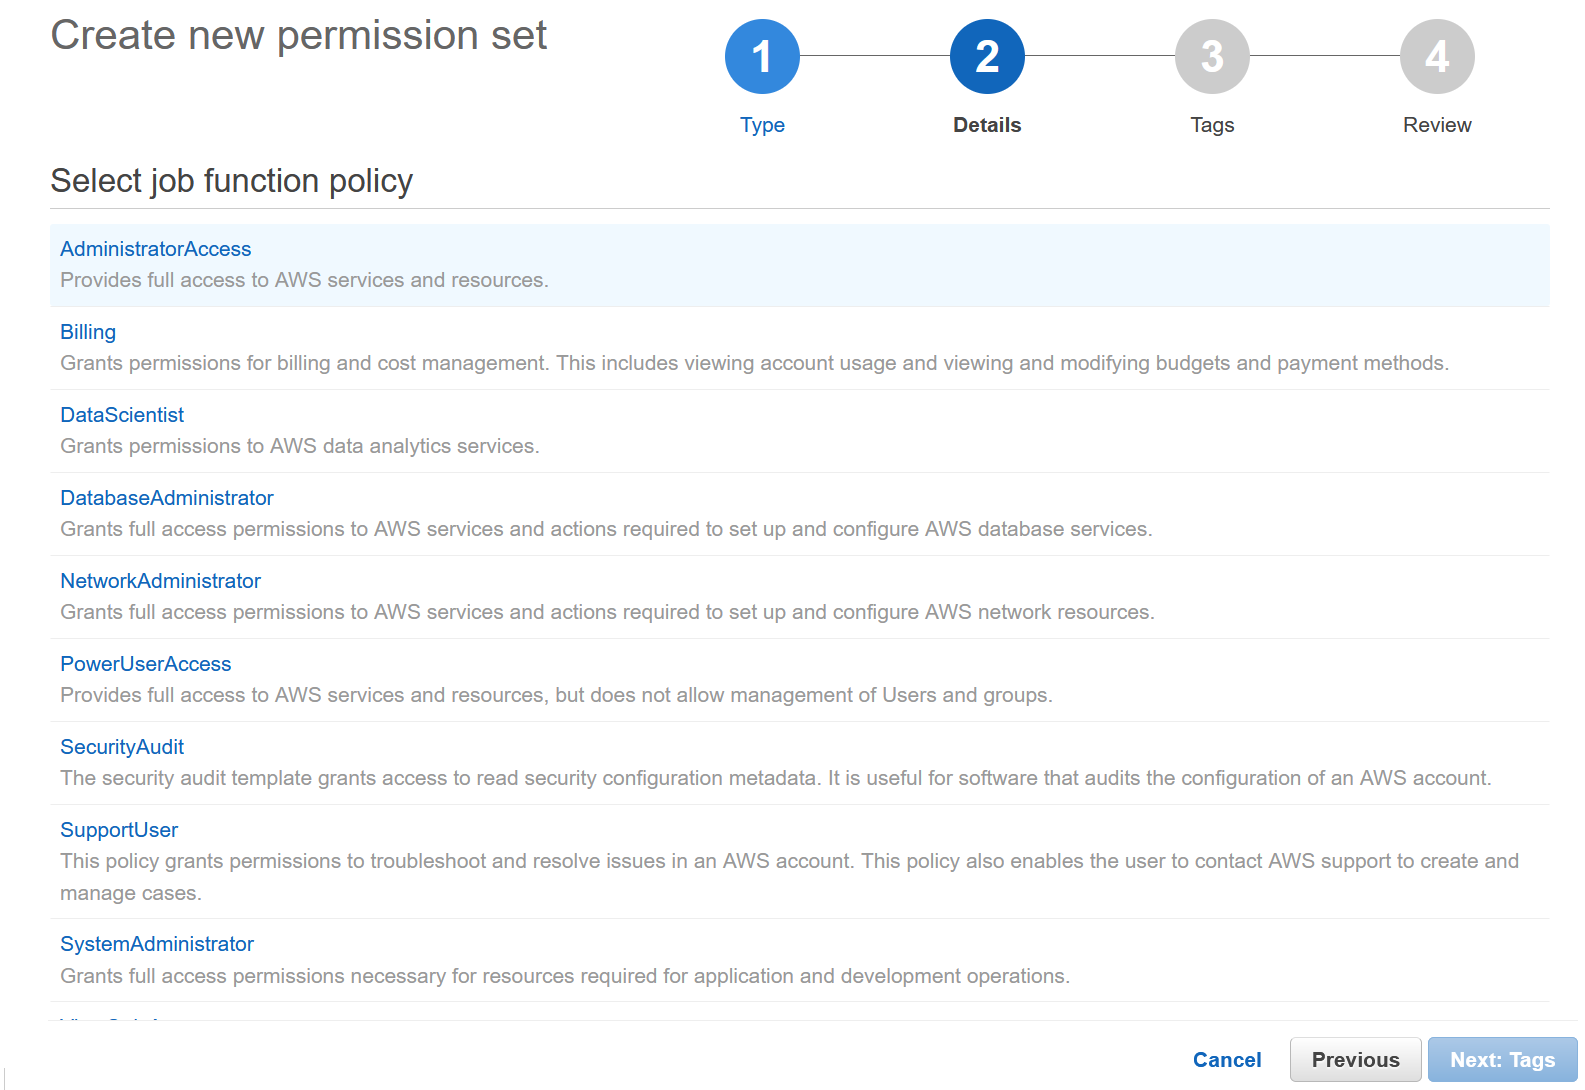
This is where you assign permission to that user or group (if you have license). Use the second option for custom policies, e.g. access to only a set of S3 buckets or assign tagging policies only. I’ll use the first option for the pre-made policies. Click on Details.
I’ll use the Administrator access. Click Tags to proceed.
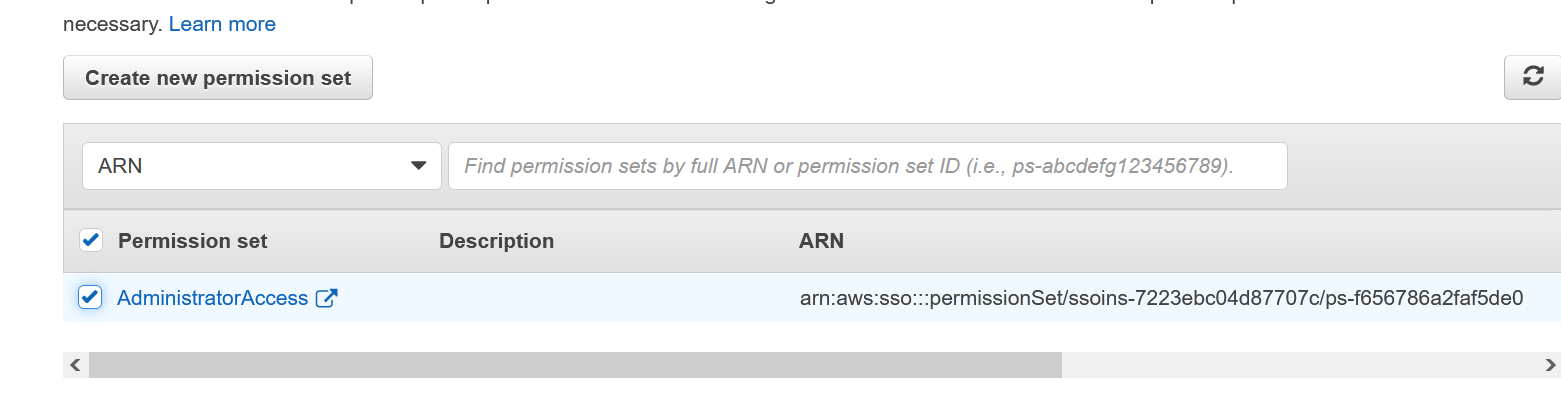
Finish the rest and go back to the first AWS tab. On the right click the Refresh button.

The permission set should show up. Select and click Finish.
If the permission set doesn’t show up, don’t worry. Repeat the same same procedure from the AWS accounts menu to select accounts and users and you’ll see that this time the permission set will show up.
Finally, go to the same URL where nothing showed up when we logged with that awsadmin user. Click Refresh in the browser and you’ll see the accounts now.
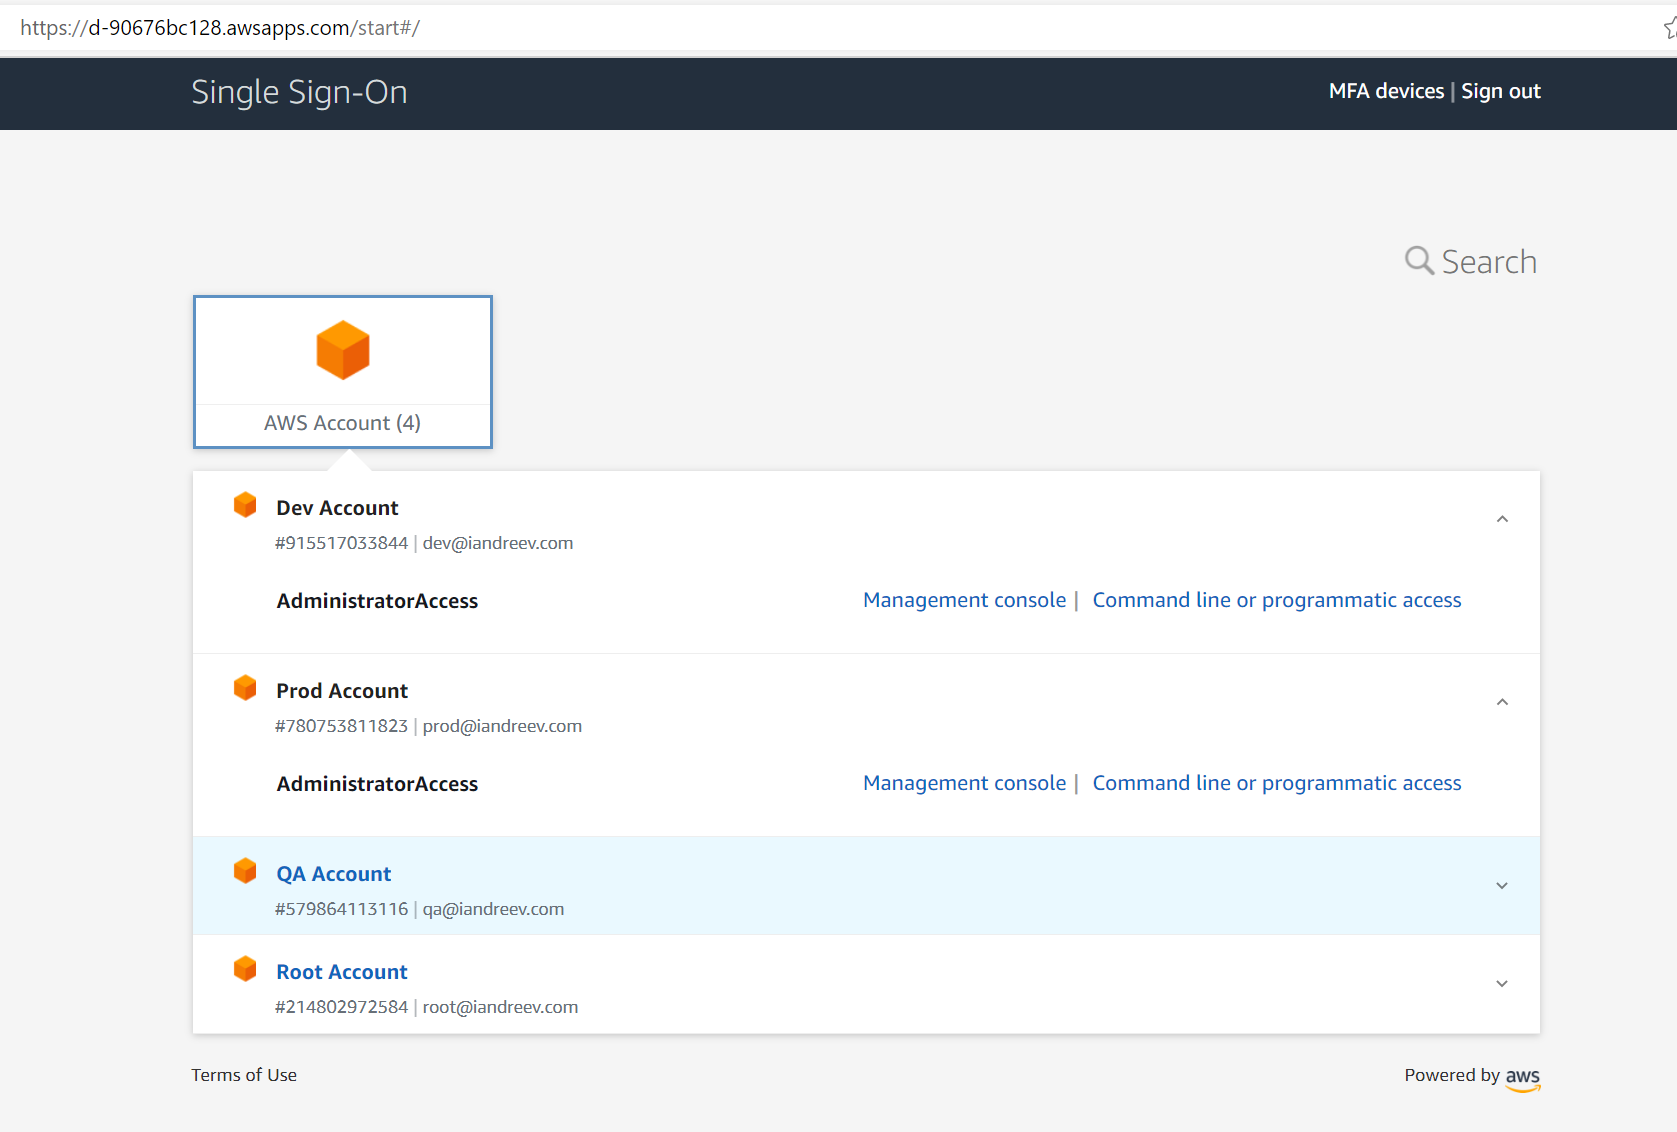
Click to log to the Management Console and you are all set!

8.7K