In this post I’ll describe how to integrate Okta and your AWS account. In order everything to work, you’ll have to enable AWS Organization on the master account and then you can add multiple sub accounts in AWS.
Best practice says that the AWS master account should be used for SSO only and you shouldn’t run any workloads. First thing first, let’s start with Okta.
Table of Contents
Okta
Log to your Okta account or sign up for a 30 day trial. Once logged in, if you haven’t already done so, change the sign-in domain from trail*-okta.com to your domain. Or you can skip this step.
Click on Admin from the upper right corner and then under Customizations, click on Domain. I’ve used the Okta-managed customization because it’s easier to manage.
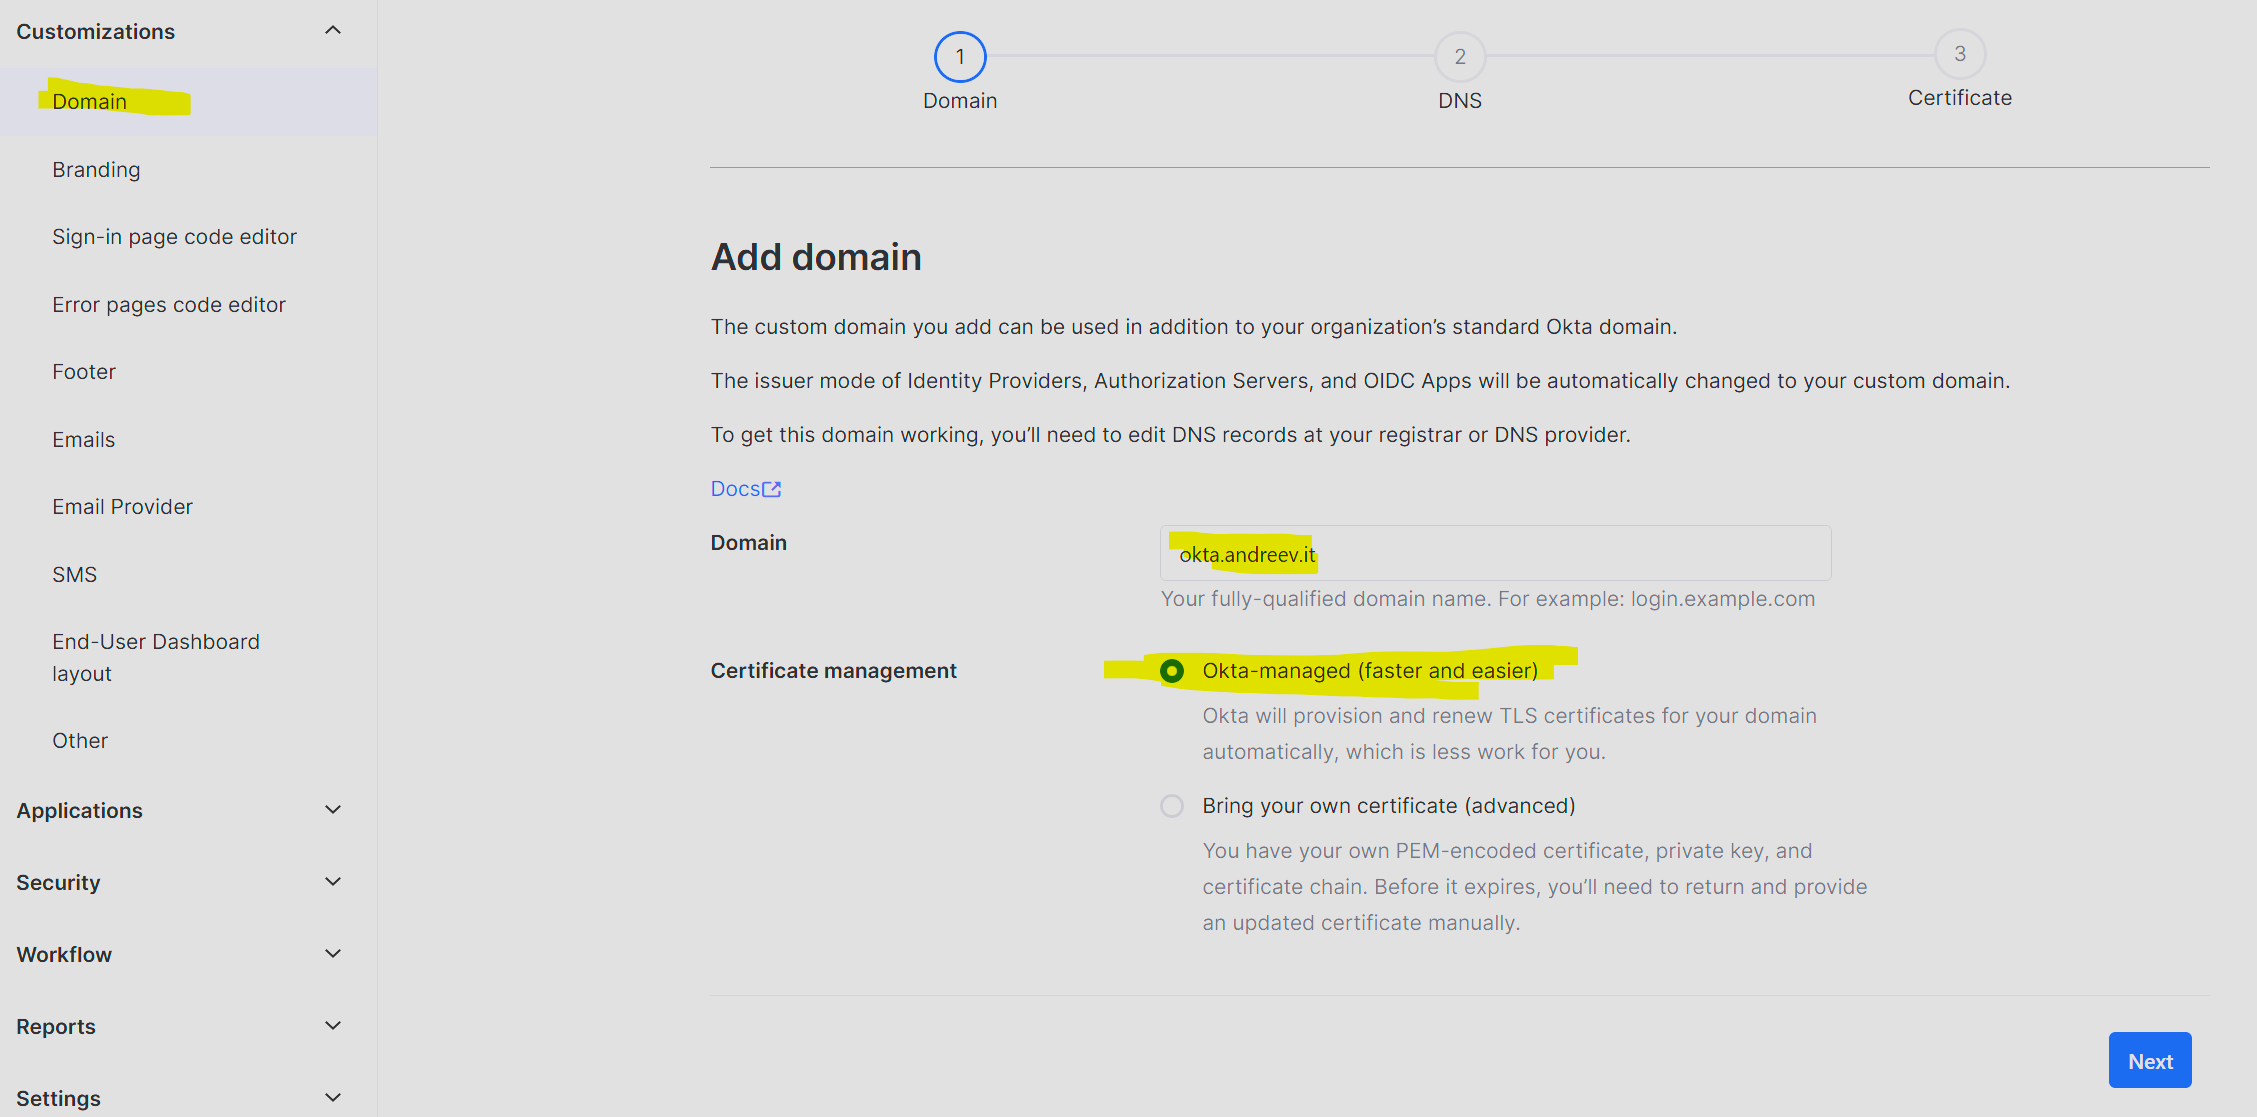
After you click Next, you’ll be prompted to add two DNS entries for your domain.

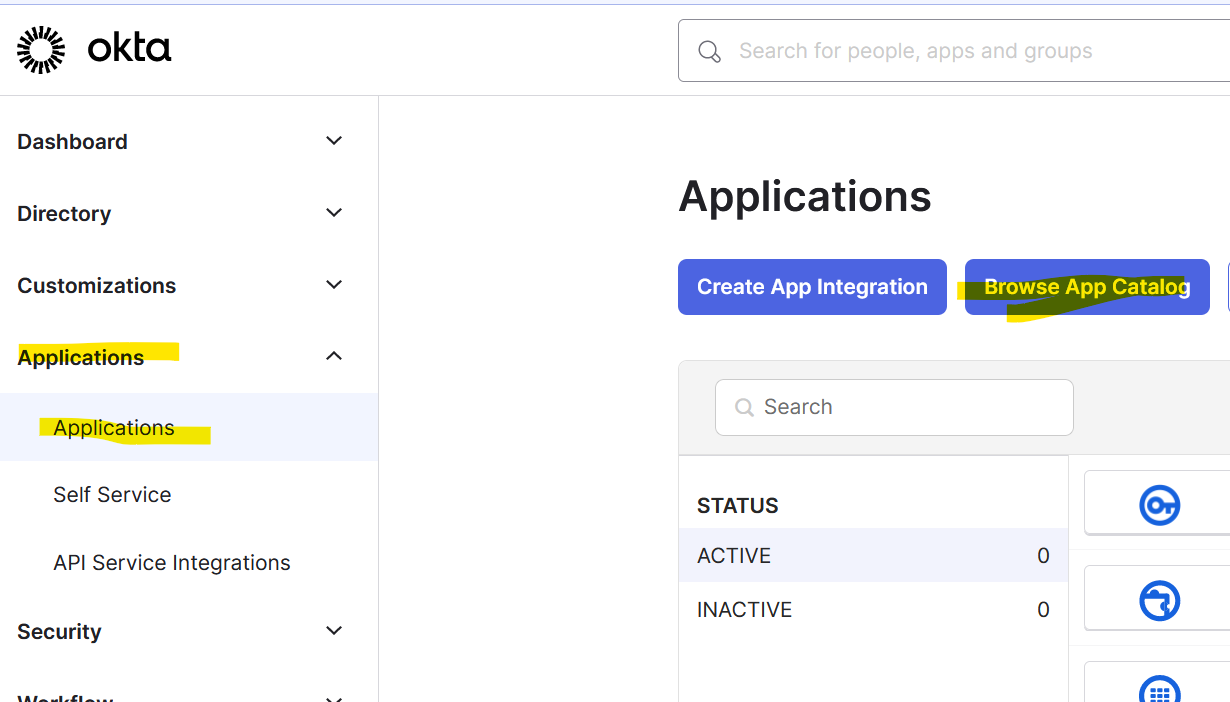
Change the DNS. This will allow us to access Okta dashboard using our domain in my case it’s okta.andreev.it. From the same menu on the left, click on Applications, then Applications again and click on Browse App Catalog.
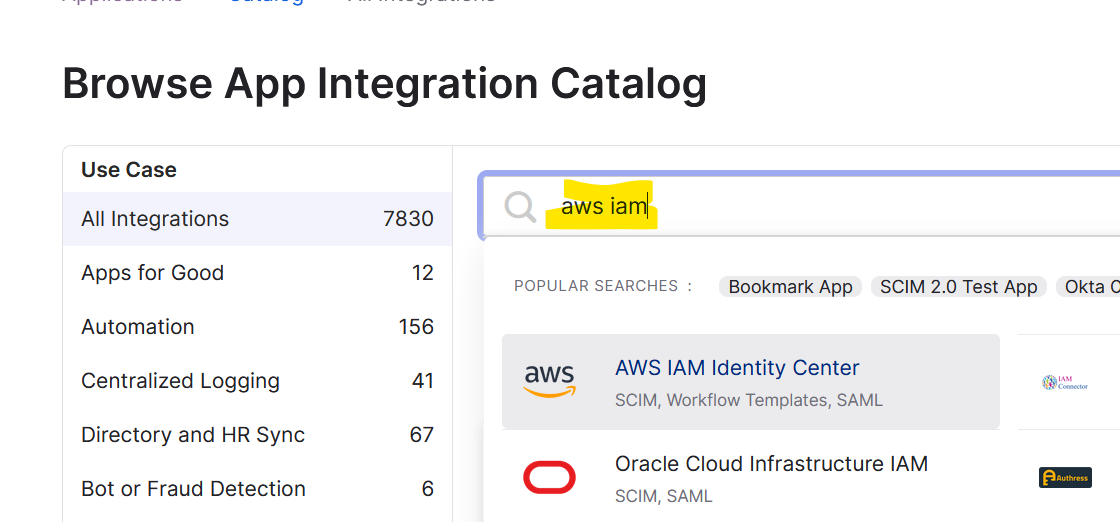
Search for AWS IAM and choose AWS IAM Identity Center.
Click on Add Integration and then Done.
Click on the Sign On tab and scroll all the way down to SAML Signing Certificates. Click on Actions drop-down and then View IdP metadata.
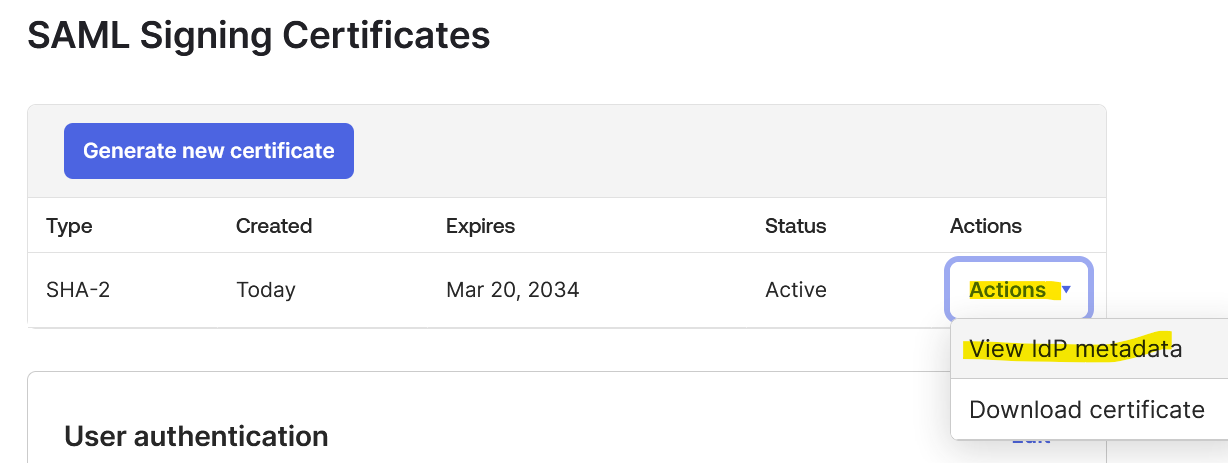
This will open a new tab with an XML file. Save the file as metadata.xml.
AWS
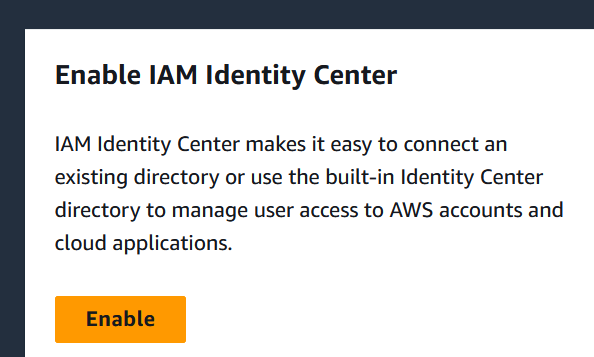
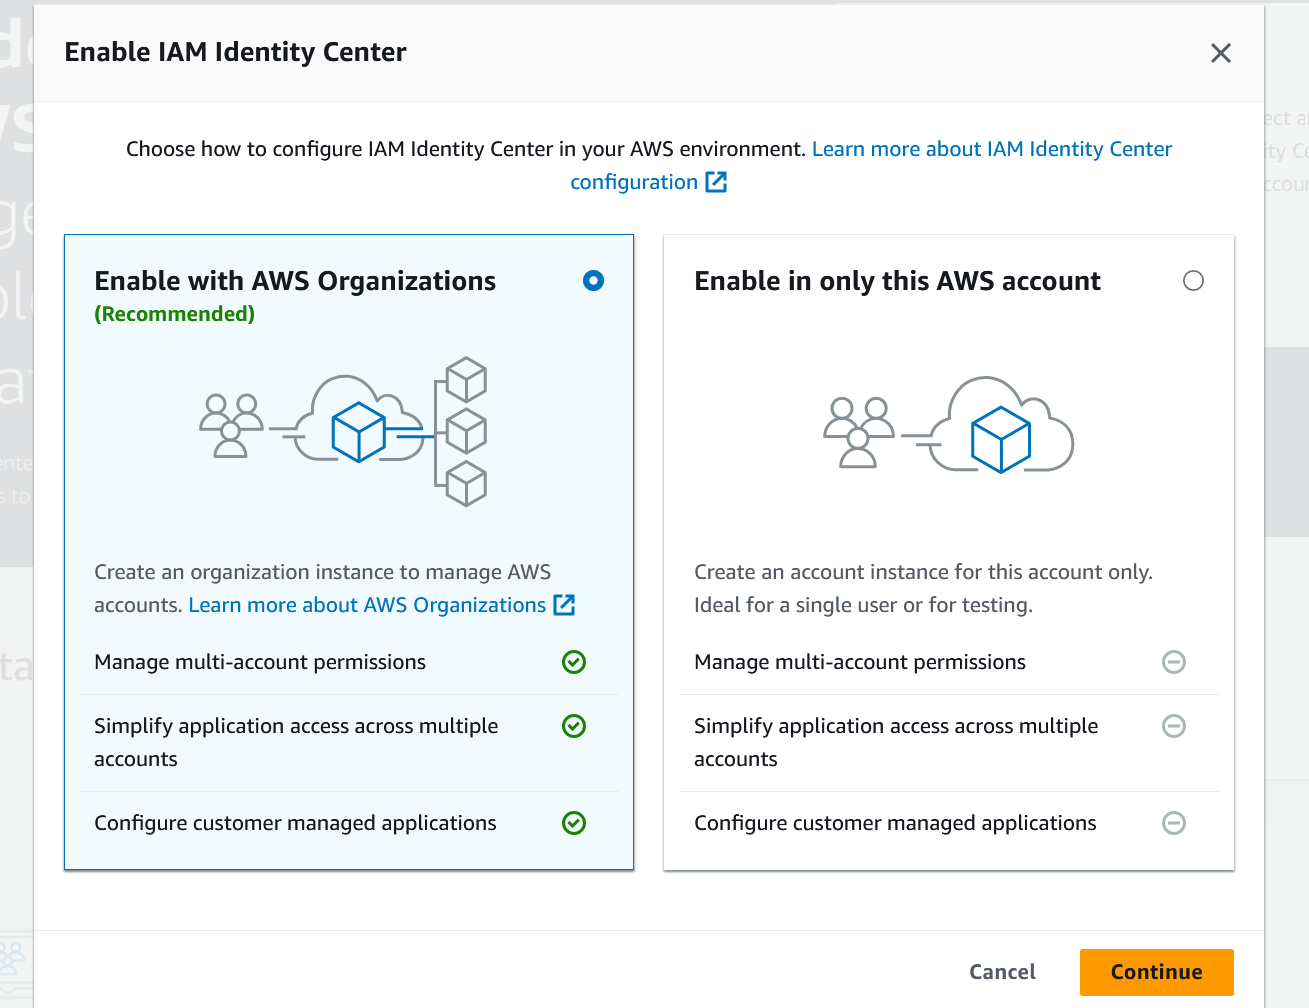
Go to console.aws.amazon.com and log with your root account. Go to IAM Identity Center and click on Enable and then select Enable with AWS Organizations.
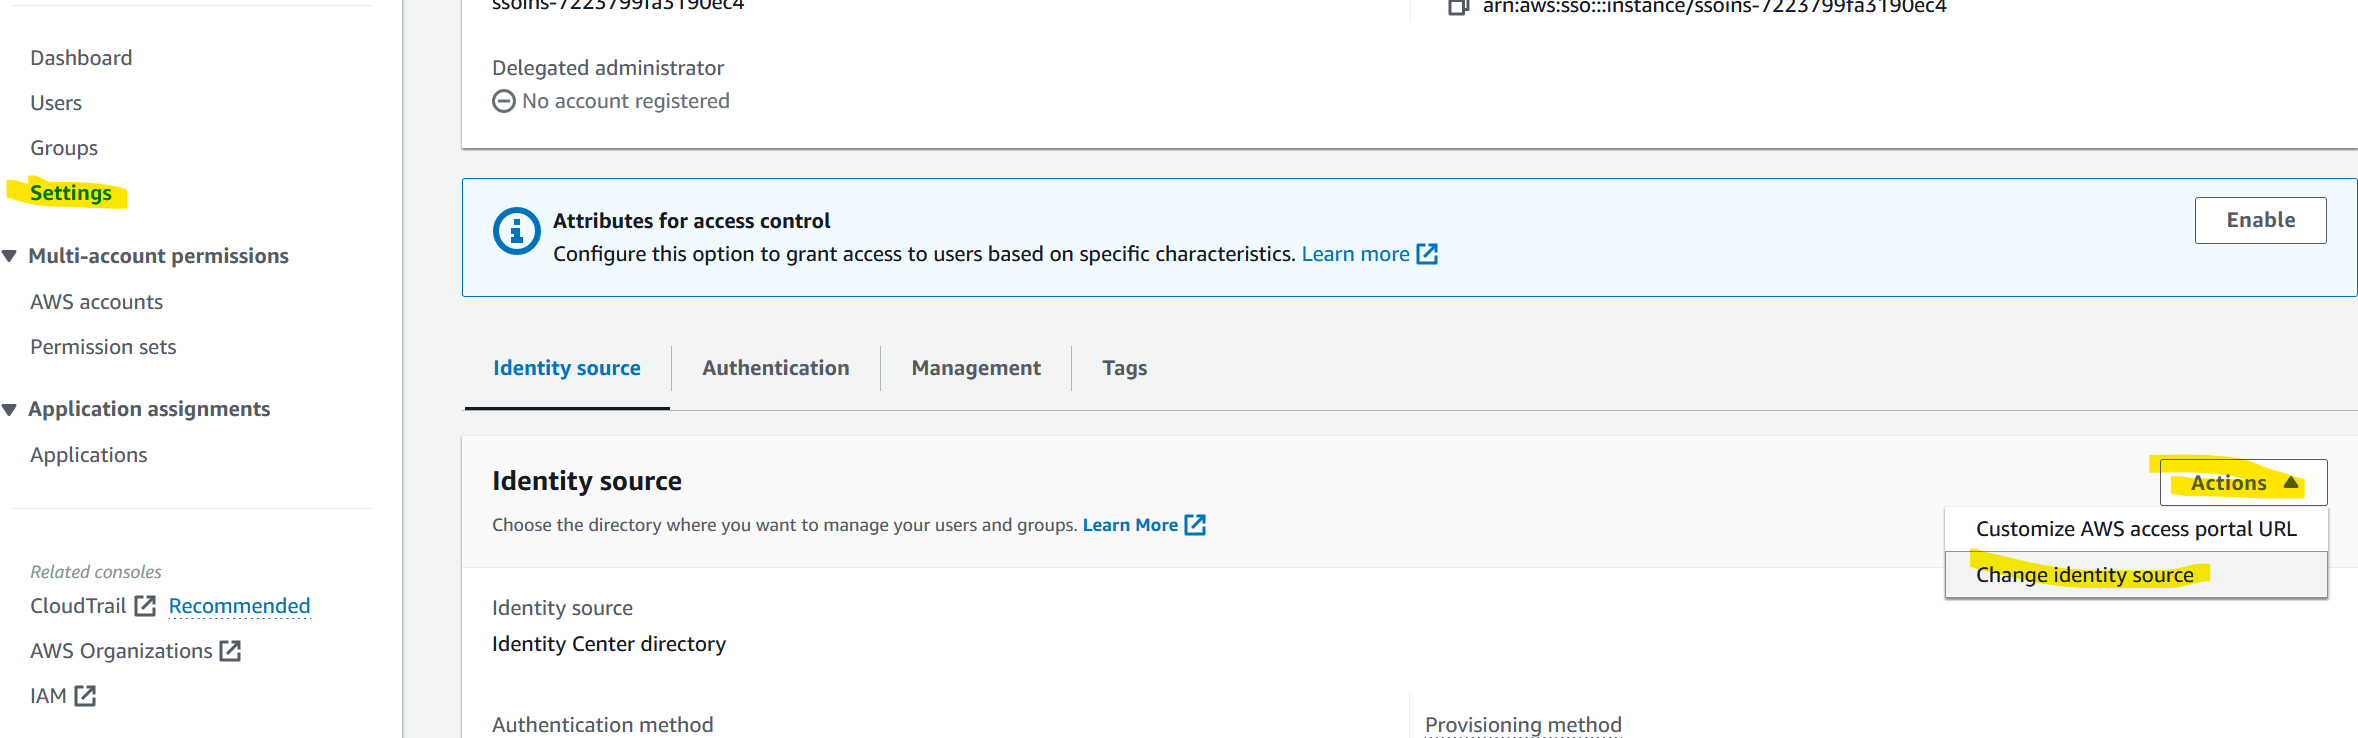
Click on Settings on the left, then Actions drop-down and click on Customize AWS access portal URL. Change the URL so it’s something that you can easily remember, e.g. yourorg or aws-master.
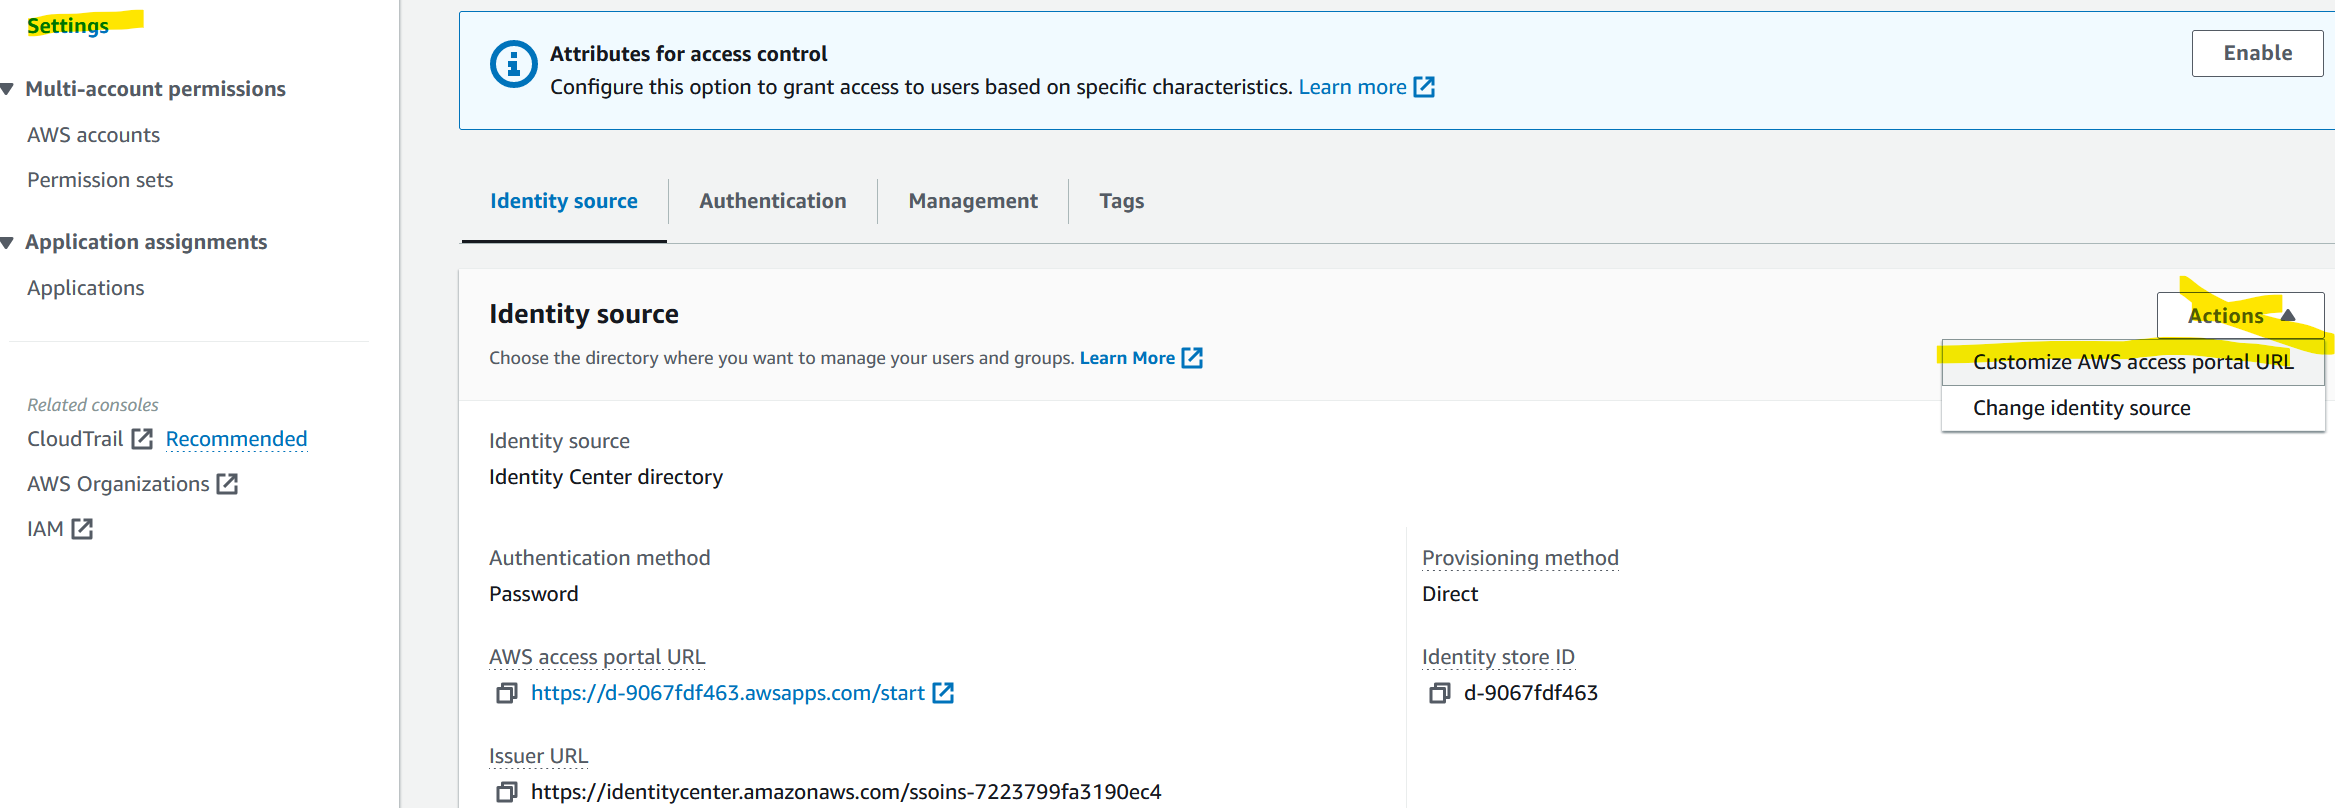
Click on Settings on the left, then Actions drop-down and click on Change identity source.
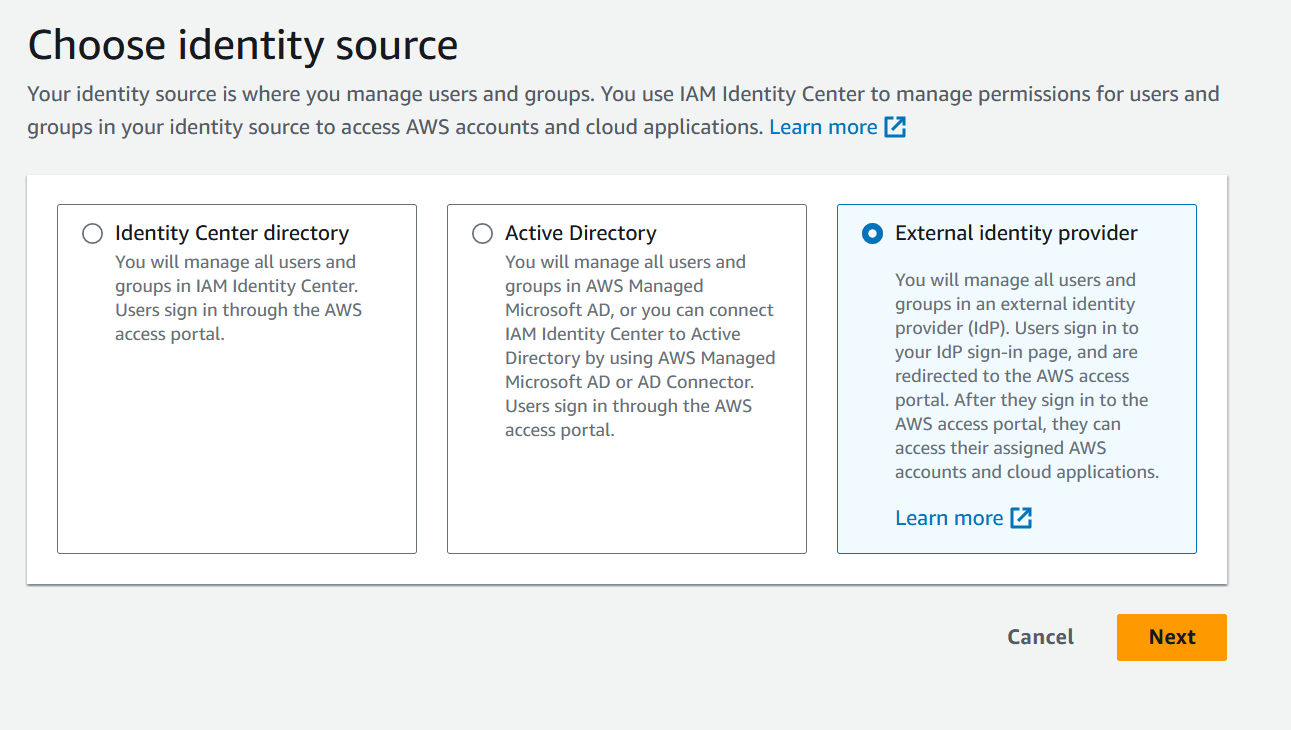
Choose External identity provider and click Next.
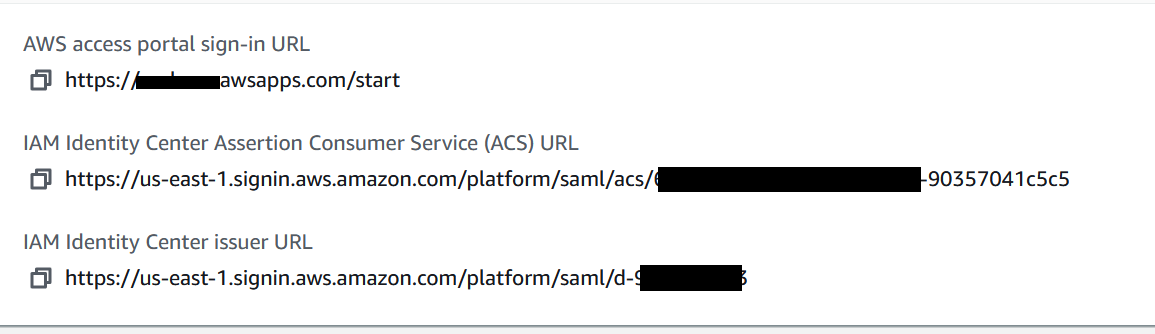
You’ll land on a page with two parts, Service provider metadata (that’s AWS) and Identity provider metadata (that’s Okta).
Click on Download metadata file from upper right. You’ll need this in Okta. The file will be named with some date prefix and some characters plus metadata.xml
Copy the values for the 2nd and 3rd entry. You’ll also need these for Okta.
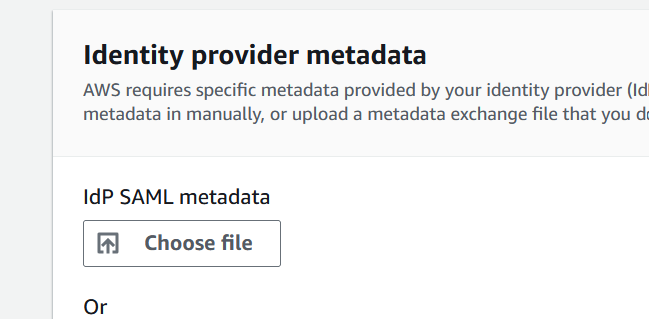
Click on Choose file under Identity provider metadata and upload the metadata.xml file that you’ve downloaded earlier from Okta.
Click Next, type ACCEPT and finally click Change identity source.
Okta
Go back to Okta, Sign On tab and right bellow click Edit. Enter the two URL entries that you copied from AWS. Click Save after.
AWS
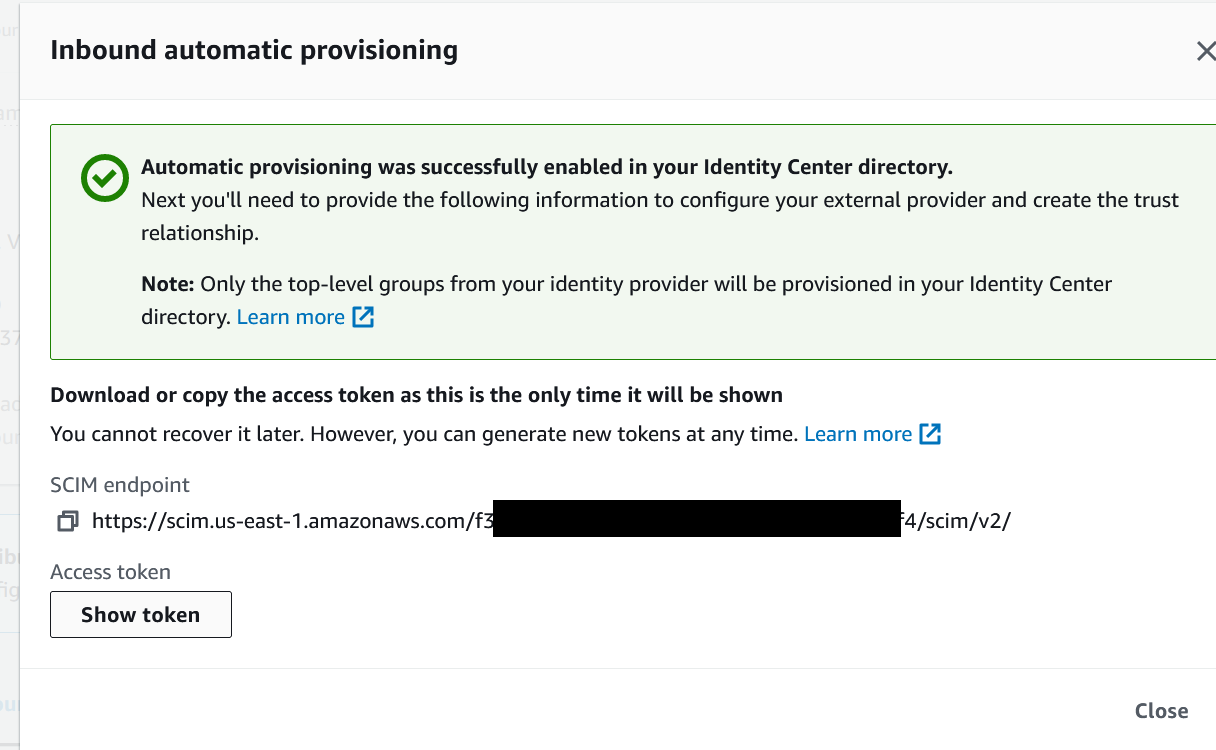
Go back to AWS, then IAM Identity Center, click on Settings and click to Enable the Automatic Provisioning.

Click on Show Token and copy both values for the SCIM endpoint and the Access Token.
Okta
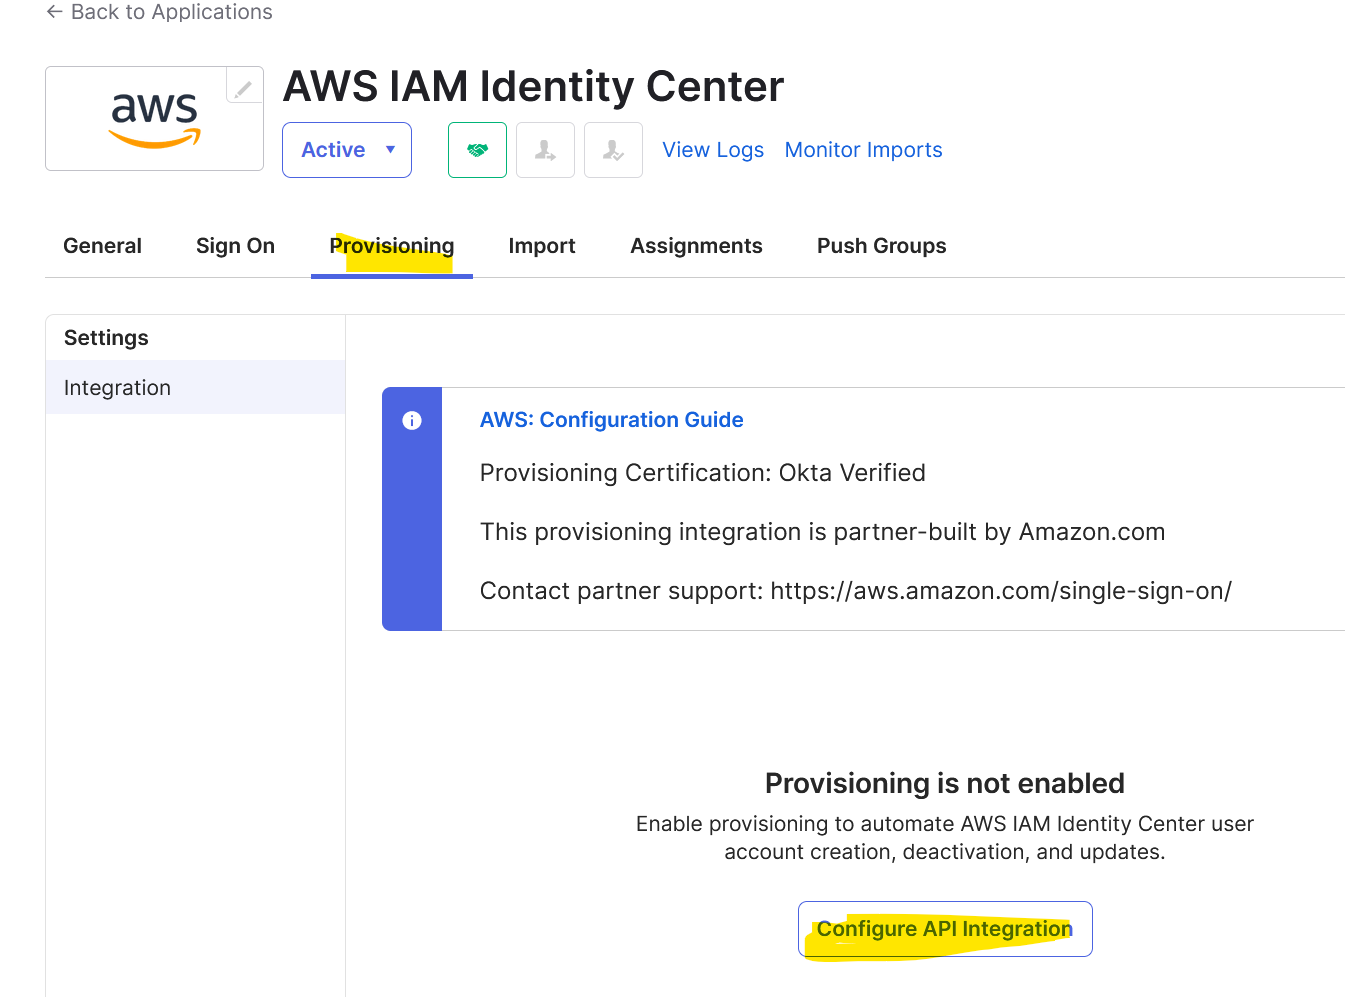
Go back to Okta and for the AWS app, click on Provisioning and then click on Configure API Integration.
Click Enable API Integration and enter the SCIM endpoint and the token value in the corresponding fields. Click Save. Remove the trailing slash from the end of the Base URL (SCIM endpoint) if you get an error (Base URL: Does not match required pattern)
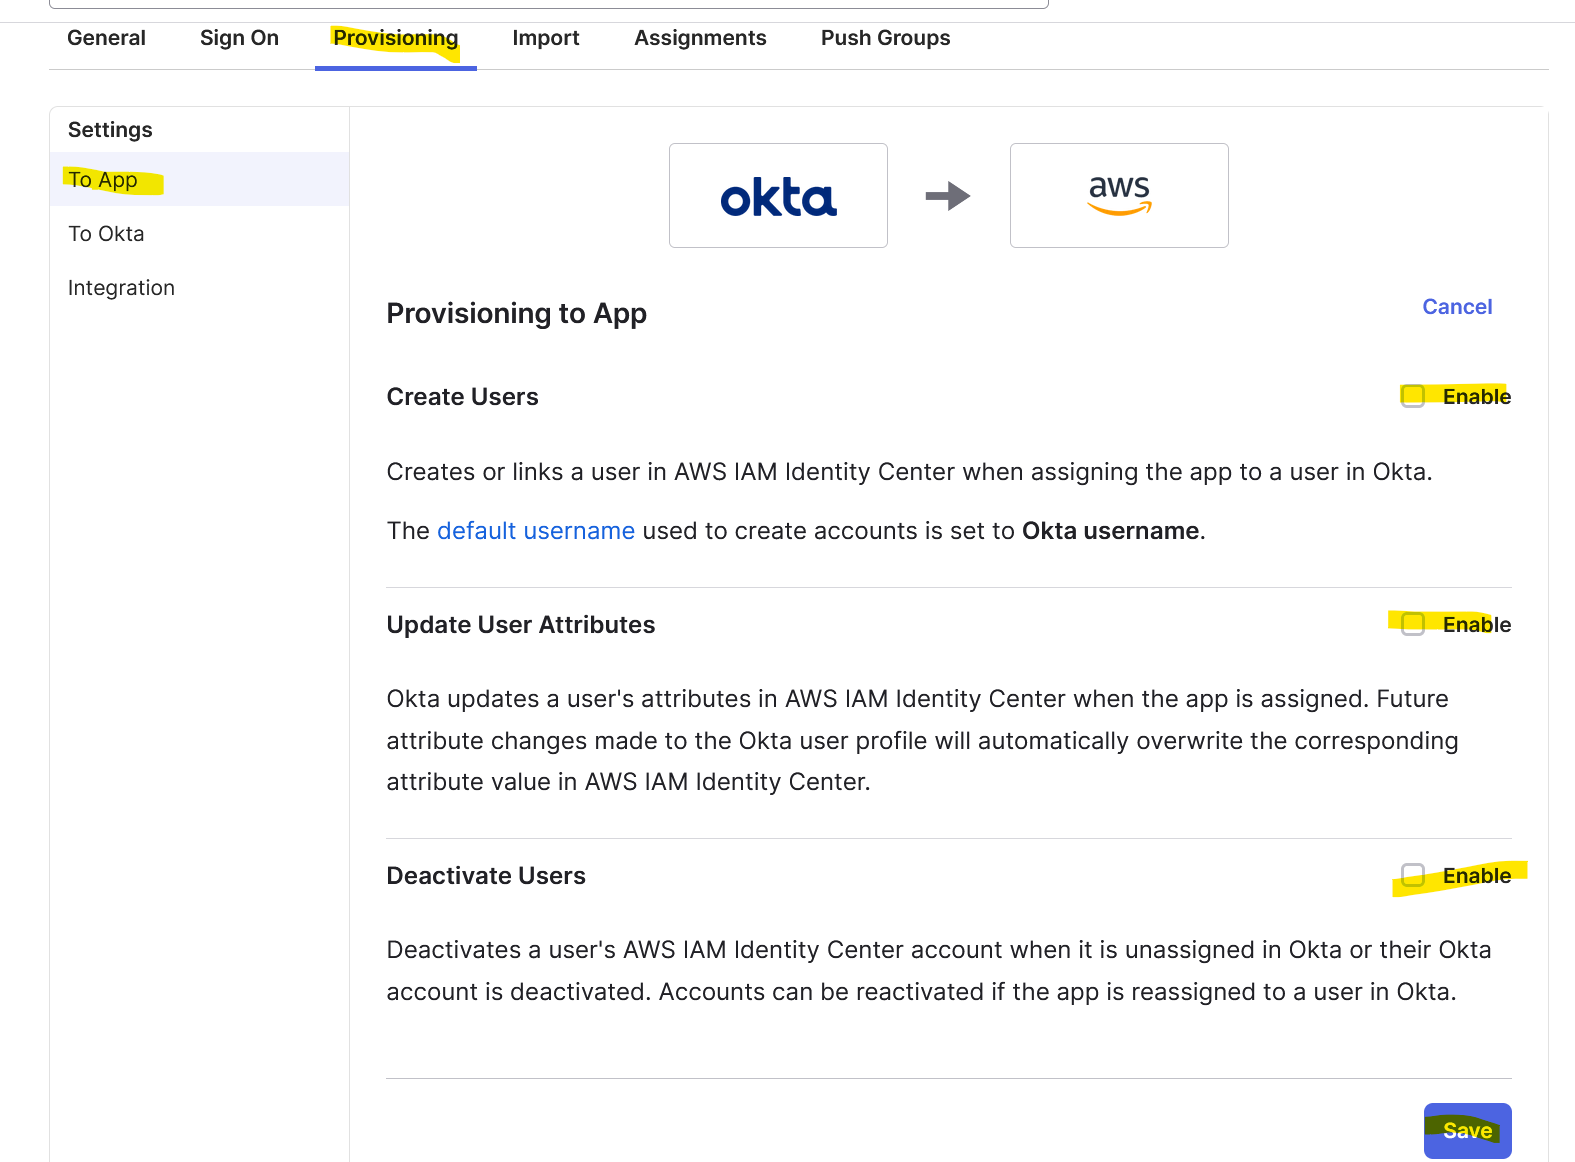
Under Provisioning tab, click on To App, click Edit and select all three checkmarks. Click Save.
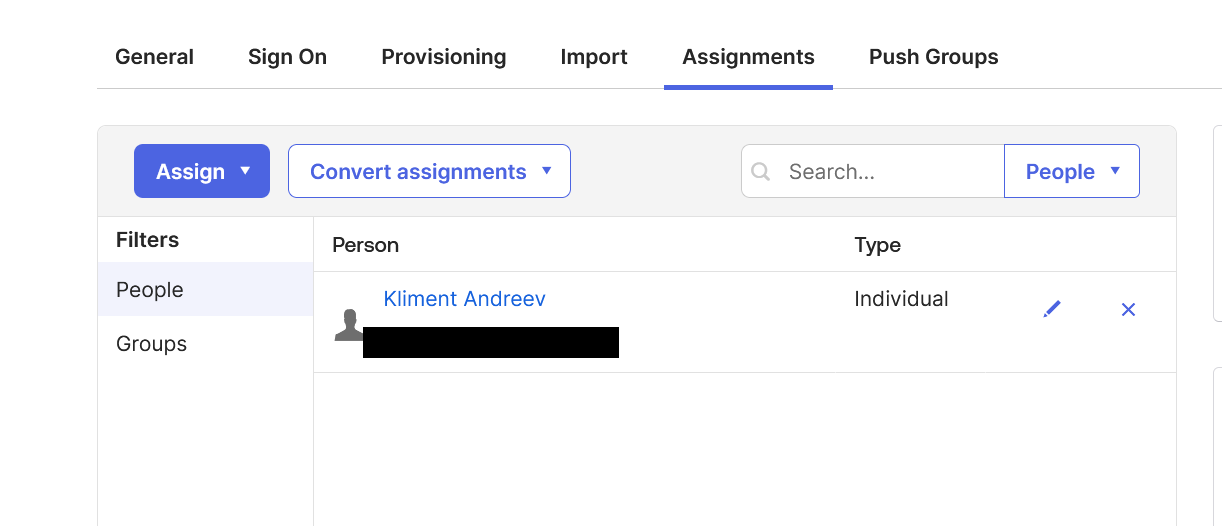
Then, go to Assignments tab and assign a group or a user to this AWS app.
AWS
Go back to AWS and under IAM Identity Center and then Users, you can see the user that we just assigned.
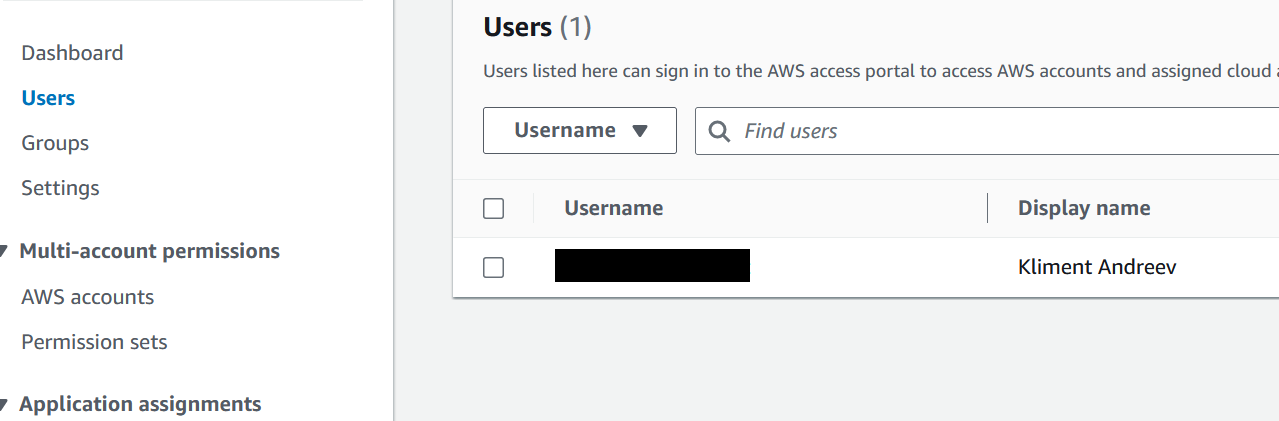
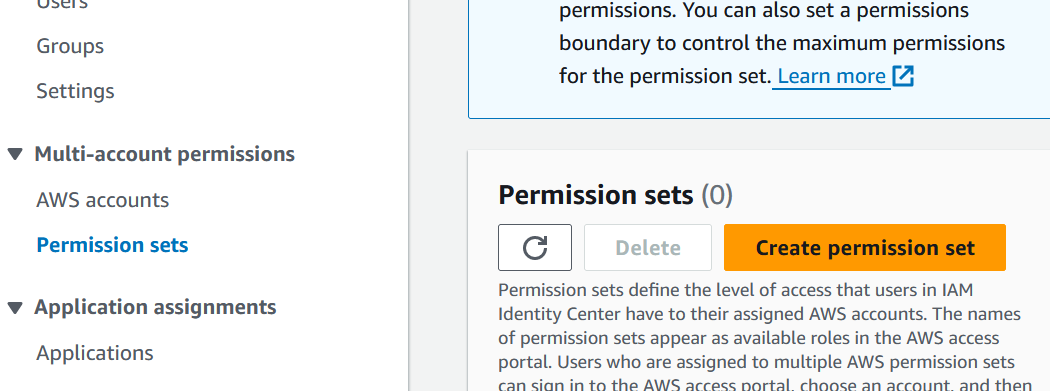
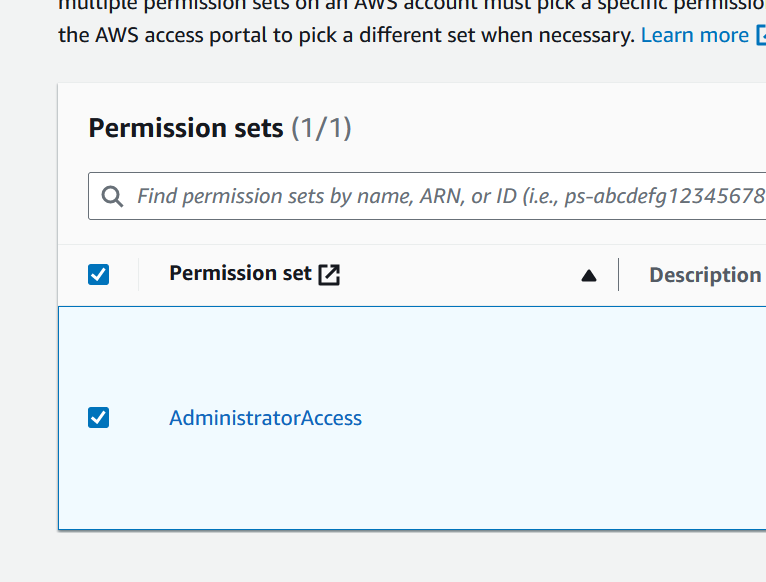
But this user has no rights in AWS, so we have to create a Permission set and then assign this user to that permission set and the account that this user has access to. Click on Permission sets on the left and then Create permission set.
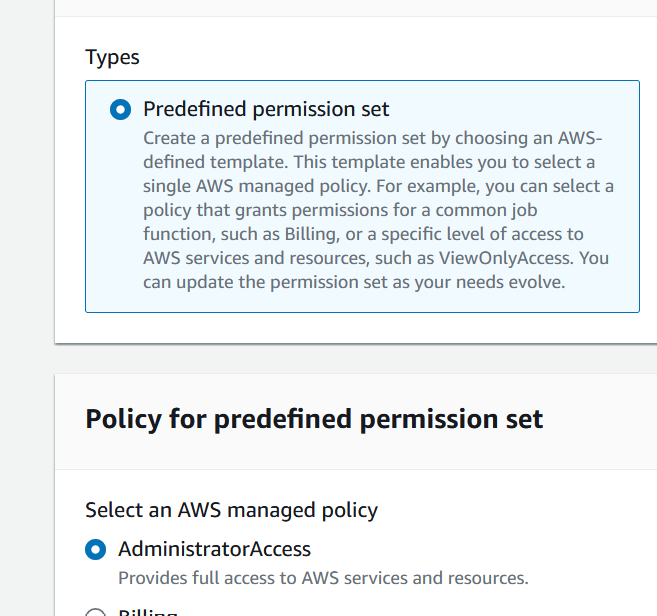
I chose AdministratorAccess from the Predefined permission sets.
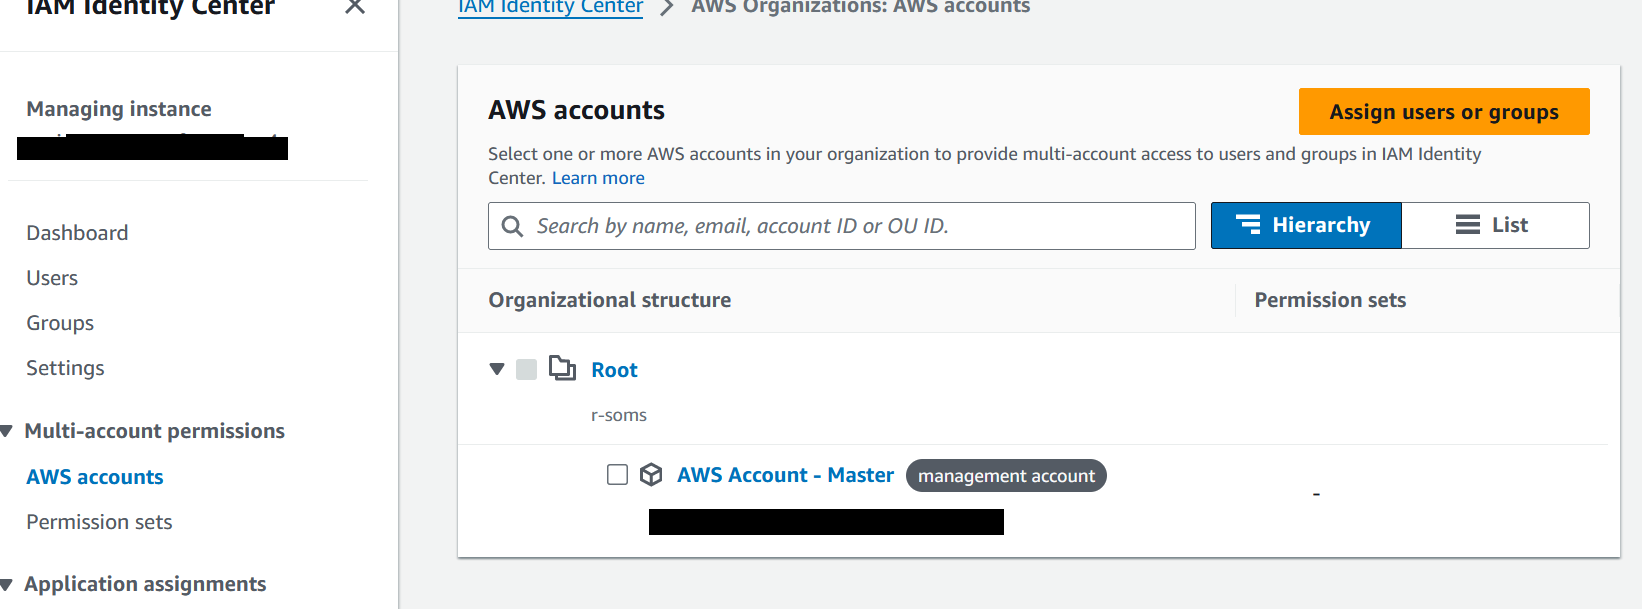
Go back to AWS accounts, click on the account and choose Assign users or groups.
Select the User tab, click on the user, click Next.
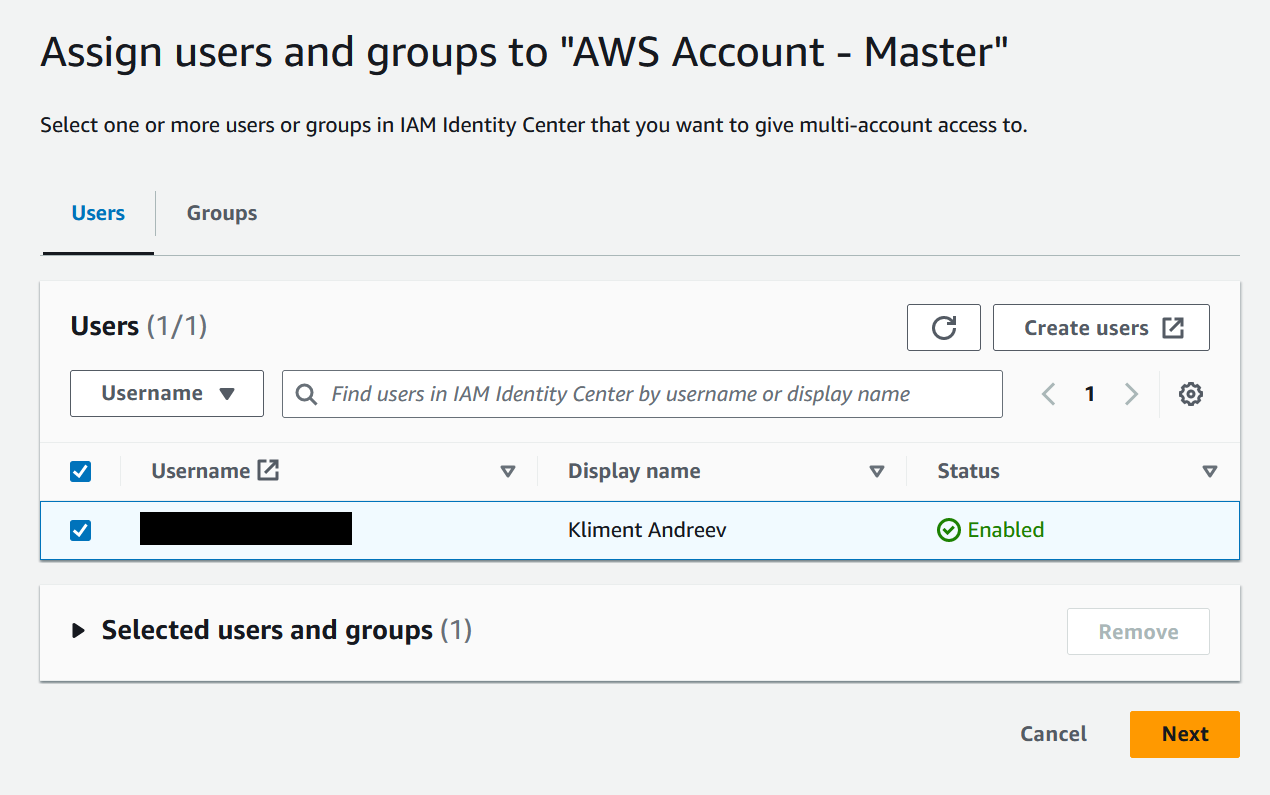
Select the permission set that we just created and click Next then Submit.
We just told AWS that the user xyz will have access to the account abc with AdministratorAccess permissions.
Test SSO
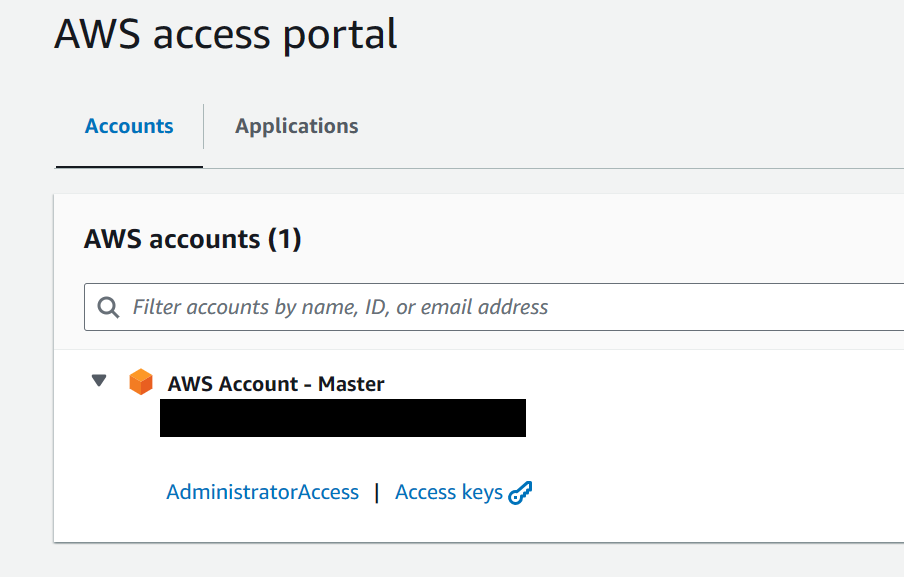
Open a new tab and go to the URL that you configured earlier (Customize AWS access portal). It should be https://whatever.awsapps.com/start.
AWS will redirect you to Okta where you’ll enter your Okta username.
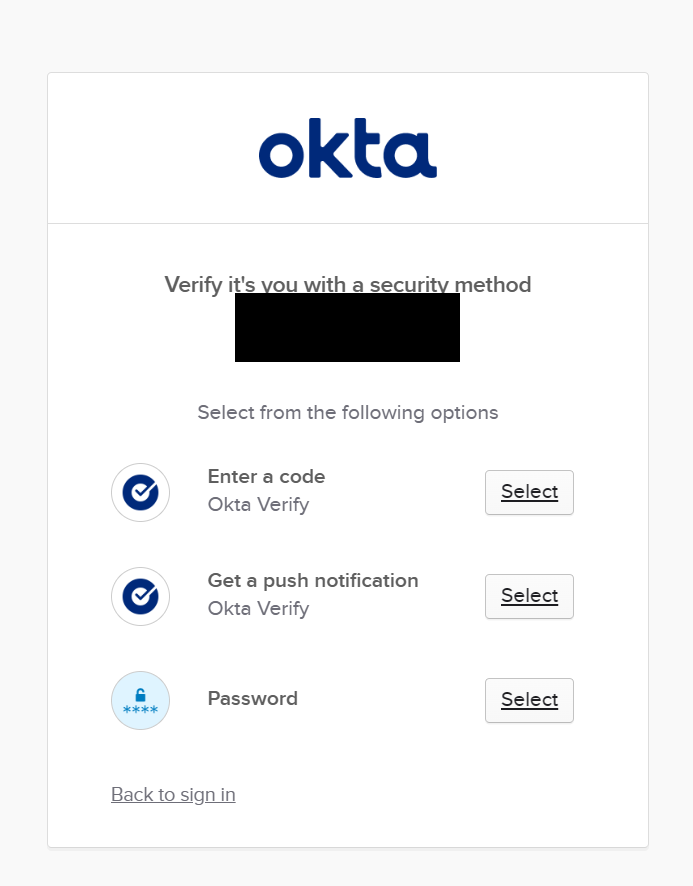
Once authenticated, you’ll see the AWS accounts in your org and the permissions that you have.