
Rocky Linux was finally release today (5/1/2021) and I’ve decided to try it in my lab. I’ve downloaded the minimal ISO (Rocky-8.3-x86_64-minimal) and installed it under my vCenter version 6.x.
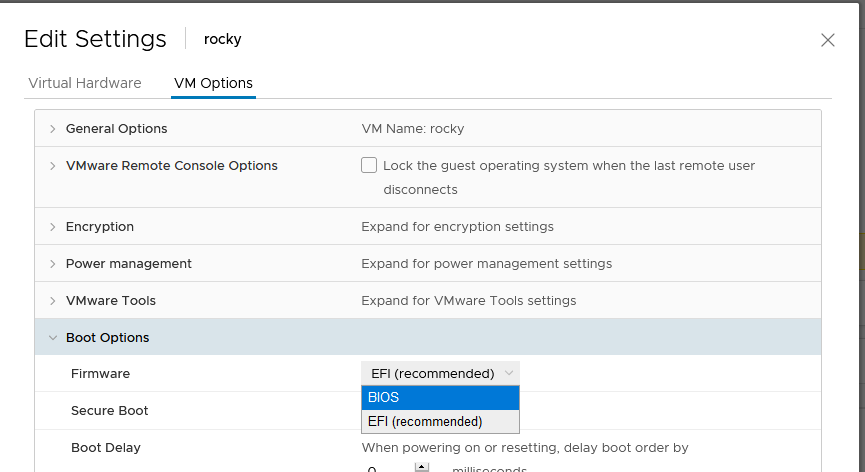
I chose CentOS 8 as a base OS and after I mounted the ISO, I got an error saying ERROR Verification failed: (0x1A) Security Violation. If this is the case, shut down the guest, go to Settings | VM Options and if you expand Boot Options, change the Firmware from EFI to BIOS. This should do the trick.
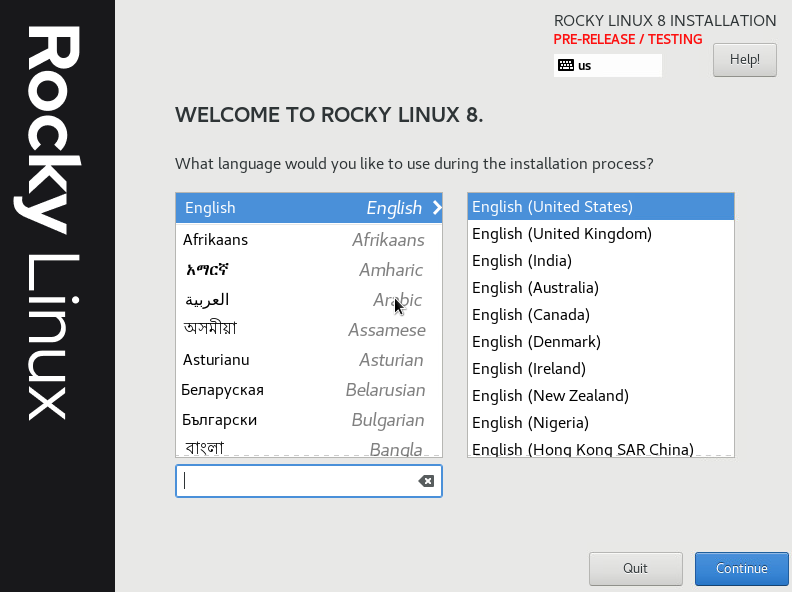
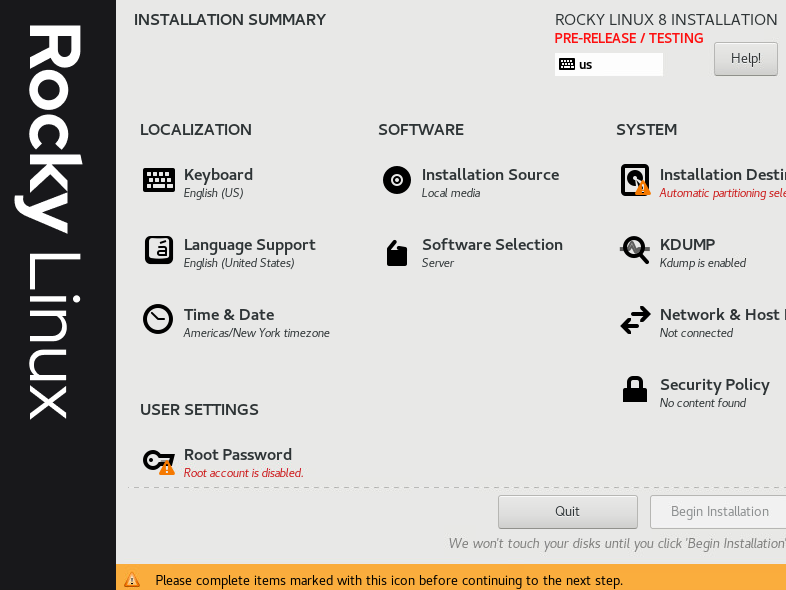
What you’ll see next is pretty much the same as any other CentOS 7/8 installation.
NOTE: The current version is not considered for production.
Do the same as you do with any other CentOS install. Partition the hard drive, change the root password, configure the network and add a user.
Once the server is up, you’ll see the login prompt.

Check the kernel version and the release.
uname -a
Linux rocky.andreev.local 4.18.0-240.22.1.el8.x86_64 #1 SMP Mon Apr 12 04:29:16 UTC 2021 x86_64 x86_64 x86_64 GNU/Linux
cat /etc/redhat-release
Rocky Linux release 8.3
By default, both the firewall and SELinux are enabled.
systemctl status firewalld
sestatus
You can use dnf, yum or rpm to manage the packages. If you need to change the network settings, use nmtui.
Let’s install WordPress now. As root or using sudo, install Apache, PHP and MariaDB.
dnf install httpd php php-mysqlnd mariadb-server wget php-json
Start the Apache and MariaDB and enable them on both to start on reboot.
systemctl enable httpd --now
systemctl enable mariadb --now
Open port 80 on the firewall for the Apache.
firewall-cmd --permanent --zone=public --add-service=http --permanent
firewall-cmd --reload
Do the initian MariaDB configuration and specify the new root password for the SQL server.
mysql_secure_installation
Log as the SQL root user to MariaDB.
mysql -u root -p
Create the database and the WordPress user.
CREATE DATABASE wordpress;
GRANT ALL ON wordpress.* TO 'wpadmin'@'localhost' IDENTIFIED BY 'supersecret';
FLUSH PRIVILEGES;
Get the latest WordPress release under /tmp, unzip it and copy it where it belongs (root Apache data directory).
cd /tmp
wget https://www.wordpress.org/latest.zip
unzip latest.zip
mv wordpress/* /var/www/html/
chown -R apache:apache /var/www/html
Change the SELinux context for the root Apache data directory.
chcon -t httpd_sys_rw_content_t /var/www/html -R
At this point, you can access your WordPress install at http://your_IP_or_hostname.