In this post I’ll describe how to install openvpn running as a server on FreeBSD 10 and then how to use a Windows 7 client to connect to it. The FreeBSD in my case runs in the cloud (public IP) and the Windows 7 runs at home.
First, let’s install openvpn.
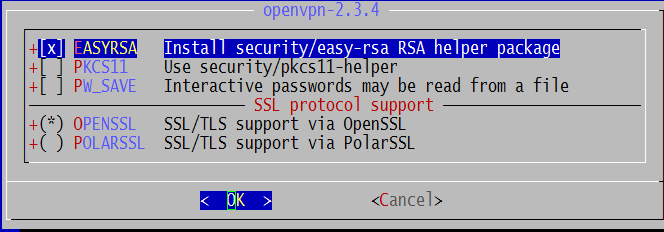
cd /usr/ports/security/openvpn
make all install clean
Accept the defaults for openvpn and lzo compression utility.

Once completed, edit /etc/rc.conf and add
openvpn_enable="YES"
Go to
cd /usr/local/etc/rc.d
./openvpn
This is how you start, stop openvpn.

Before we can start openvpn, we need the configuration file.
cd /usr/local/etc
mkdir openvpn
cd /usr/local/share/examples/openvpn/sample-config-files/
cp server.conf /usr/local/etc/openvpn/openvpn.conf
Edit this file if you want to change something, in my case I didn’t have to change anything.
openvpn relies on certificates, so we can generate them like this.
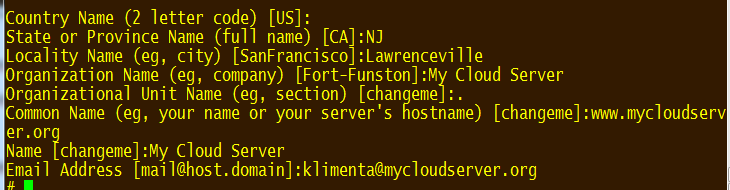
cd /usr/local/share/easy-rsa/
sh
. ./vars
./clean-all
./build-ca
See the example below for my settings, it’s pretty much self-explanatory. If you want a blank value, use “.” (dot).
That was the certificate authority, now we need a server certificate.
./build-key-server server
Same thing, see the example below. At the end, sign the certificate by typing “y”.
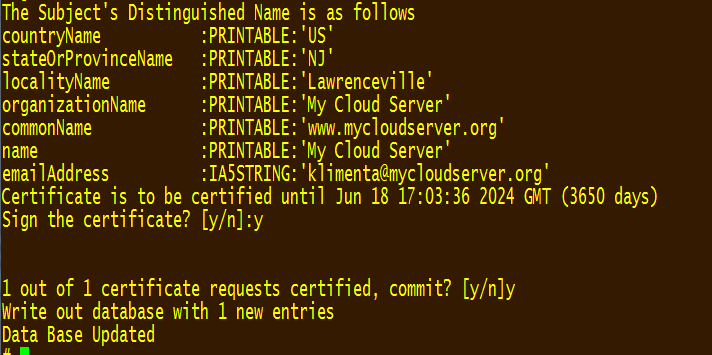
Now, let’s create a certificate for one client. In my case, the hostname is liquid. The name of the client host doesn’t matter, it’s more like a unique description, but make sure that the common name is unique. Otherwise, you’ll receive an error saying “failed to update database, TXT_DB error number 2“.Sign the certificate as well.
./build-key liquid
Finally, build the certificate parameters.
./build-dh
Now that the certificates are generated, go to that folder and copy the certificate to our openvpn config folder.
cd /usr/local/share/easy-rsa/keys
cp server.crt /usr/local/etc/openvpn/
cp dh1024.pem /usr/local/etc/openvpn/
cp server.key /usr/local/etc/openvpn/
cp ca.crt /usr/local/etc/openvpn/
At this point, we can start the openvpn server.
/usr/local/etc/rc.d/openvpn start
Check /var/log/messages for any errors.
In case you want to revoke the client certificate for client liquid, do:
cd /usr/local/share/easy-rsa
sh
. ./vars
./revoke-full liquid
Once we have the server up and running, we should configure the client.
On your Windows machine, install the openvpn from here.
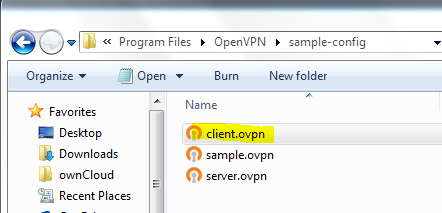
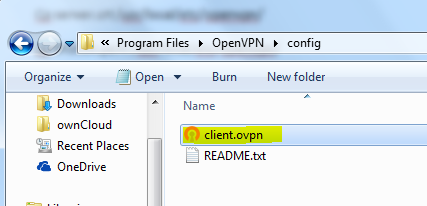
Go to C:\Program Files\OpenVPN and copy the client.ovpn file from sample-config folder to the config folder.
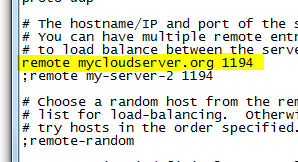
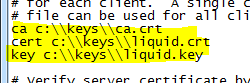
Edit the client.ovpn file and change the values for the server and the path to the client certificates. In my case I had to specify mycloudserver.org and I’ve decided to keep the certificates under c:\keys. (Note: use double back-slash). If you are having problems saving the file under C:\Program Files, save it on the desktop first and then manually copy it over to C:\Program Files\OpenVPN\config folder.
Copy these three files from the server (/usr/local/share/easy-rsa/keys) under c:\keys folder on your Windows 7 machine.
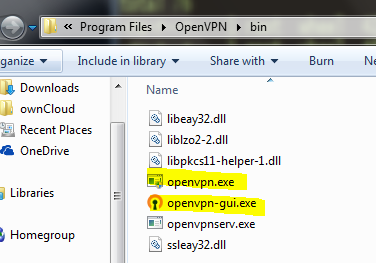
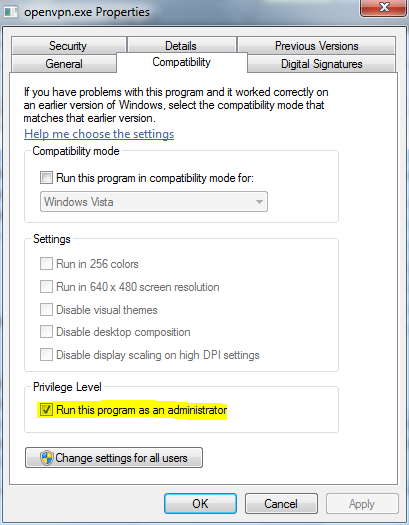
Then, make sure that openvpn executables always start with full admin privileges. Go to the bin folder, right click each executable, click Properties and check Run this program as administrator.
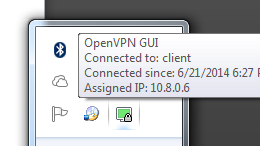
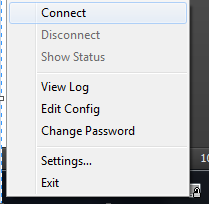
The OpenVPN GUI creates an icon in the tray, right-click that icon and click Connect.
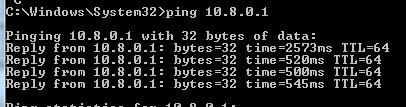
If everything is fine, you should see that openvpn client is connected and that you can ping the server. In case something is wrong, right-click the same OpenVPN GUI icon and choose View log. If you have a firewall enabled, allow port 1194 UDP.