I’ll explain a quick way to install the so called LAMP stack on CentOS.
Apache
First, let’s install Apache and configure it to start on boot.
yum install httpd
chkconfig httpd on
Once installed, by default Apache expects the configuration files under /etc/httpd, the content under /var/www and log files under /var/log/httpd directories. Edit /etc/httpd/conf/httpd.conf file and change these two lines.
ServerName www.yourserver.com:80
ServerAdmin [email protected]
Start Apache with service httpd start and check if it’s running with ps -eaf | grep httpd. From another computer go to www.yourserver.com and see if you get a welcome page. If you get a time-out error, most likely you have iptables configured to block port 80. Either stop the firewall (service iptables stop) or better yet, configure iptables (/etc/sysconfig/iptables) to allow port 80. If you want to install https on port 443, do:
yum install mod_ssl
If you want to use virtual hosts (e.g. host1.something.com, host2.something.com) landing on the same instance of the Apache, edit /etc/httpd/conf/httpd.conf and uncomment NameVirtualHost *:80 directive. Then you can put all of your virtual hosts as this example below.
<VirtualHost *:80>
    ServerAdmin [email protected]
    DocumentRoot /var/www/host1.something.com
    ServerName host1.something.com
    ErrorLog logs/host1.something.com-error_log
    CustomLog logs/host1.something.com-access_log combined
</VirtualHost>
<VirtualHost *:80>
    ServerAdmin [email protected]
    DocumentRoot /var/www/host2.something.com
    ServerName host2.something.com
    ErrorLog logs/host2.something.com-error_log
    CustomLog logs/host2.something.com-access_log combined
</VirtualHost>
If you want a virtual host over SSL (port 443), you need a certificate. In our case, it will be host3.something.com.
You can buy or create a self-signed certificate (for testing only). To generate a self-signed certificate do:
openssl genrsa -out host3.something.com.key 1024
This will create a key that is unique to you and that will be used to sign all certificates.
openssl req -new -key host3.something.com.key -out host3.something.com.csr
This will create a request for a certificate.
Fill out the questions asked. The most important thing is “Common Name (eg, your name or your server’s hostname)”. Enter the FQDN of the domain in our case host3.something.com
Finally, sign the certificate with the certificate key that you generated in step 1.
openssl x509 -req -days 365 -in host3.something.com.csr -signkey host3.something.com.key -out host3.something.com.crt
The file with the .crt extension is your server certificate. Copy the certificate file *.crt under /etc/pki/tls/certs directory and copy the key file under /etc/pki/tls/private.
Edit /etc/httpd/conf/httpd.conf file and right after NameVirtualHost *:80 add NameVirtualHost *:443.
The definition for the SSL virtual hosts have the same structure as regular hosts on port 80, except that you have to specify the certificate path and the key path. Also, you have to specify the port 443, very similar to a regular host.
In our case, it will be.
<VirtualHost *:443>
        SSLEngine on
        SSLCertificateFile /etc/pki/tls/certs/host3.something.com.crt
        SSLCertificateKeyFile /etc/pki/tls/private/host3.something.com.key
        ServerAdmin [email protected]
        DocumentRoot /var/www/host3.something.com
        ServerName host3.something.com
        ErrorLog logs/host3.something.com-error_log
        CustomLog logs/host3.something.com-access_log combined
</VirtualHost>
Now, go to https://host3.something.com and you should be able to access your SSL site (make sure you have valid HTML content under DocumentRoot).
MySQL
Next, install mySQL server, configure it to start on boot and start the database server with:
yum install mysql mysql-server
chkconfig mysqld on
service mysqld start
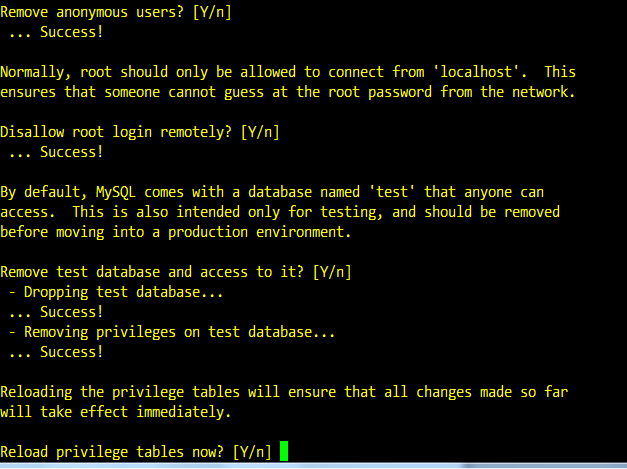
Do an initial configuration with:
mysql_secure_installation
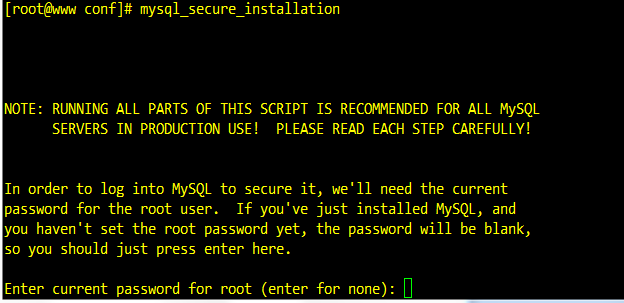
Pretty much all you have to do is to create a new root password for the database and accept the defaults.
PHP
Finally, install PHP and its modules and restart Apache.
yum install php php-mysql php-gd php-mbstring php-pecl-apc
service httpd restart
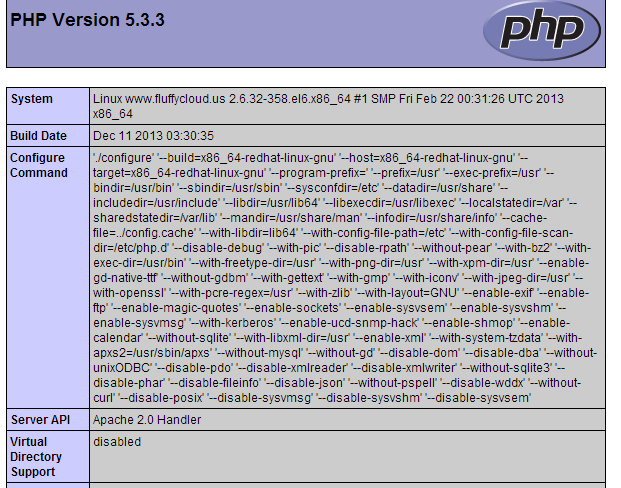
Create this file (/var/www/html/info.php) and add the following content. Save and quit.
<?php
        phpinfo();
?>
Go to www.yourserver.com/info.php from a browser and you should be able to see this.