
This is the procedure that I used to install Windows XP, Windows 7, Windows 2008 R2, FreeBSD 9.0, CentOS 6.2 and BackTrack 5.1 on the same hard drive, using GRUB boot loader as the primary OS loader. In addition to the installation media for all of these operating systems, you will need a bootable partition manager. I used GParted, a free download from here.
NOTE: The procedure will erase any previous content on your hard drive. Make sure that you know what you are doing.
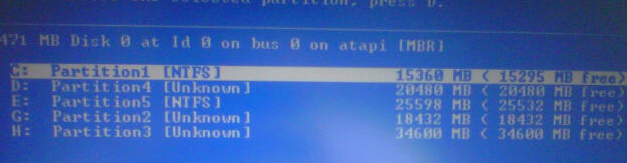
First, boot into GParted and create the partitions upfront. Windows XP needs one primary partition and we will use one extended for Windows 7, Windows 2008 R2, BackTrack and swap for both CentOS and BackTrack. FreeBSD needs one primary and we can accommodate CentOS on the last primary. So we have:
- 1st primary for Windows XP
- 2nd extended (Windows 7, Windows 2008R2, BackTrack and swap for BackTrack and CentOS)
- 3rd primary for FreeBSD
- 4th primary for CentOS
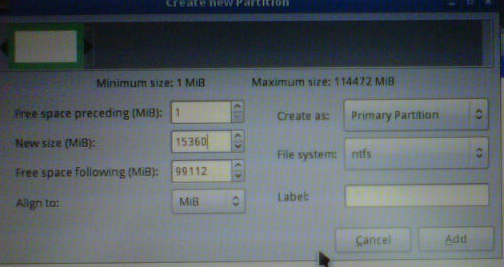
Create the XP partition first. Right-click on the unpartitioned space, choose New and enter the size of the XP partition. In my case, I’ll use 15360MB. You can set the file system type as NTFS, but that’s step is not that important. If you don’t specify the file system type, Windows will complain that it can’t install itself on that partition, so you’ll have to recreate that partition from the Windows partition manager. You’ll have to play with the partitions first and see how much space you want to allocate for each OS. The numbers that I am using correspond to the size of my HDD.
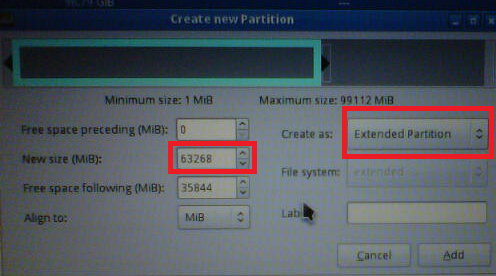
After you create the first primary partition, create the Extended Partition. I’ll use 20480MB for Windows 2008R2, 25600MB for Windows 7, 3500MB for the Linux swap and 13688MB for BackTrack. That’s a total of 63268MB. Right-click, choose New, type the new size and change the type as Extended.
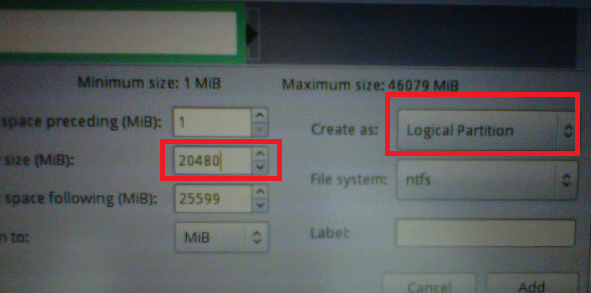
Once you create the extended partition, we have to divide this partition into four. Select the extended partition on top, right-click, choose New and type 20480 for the size or whatever you’ve decided. As you can see, this is a logical partition.
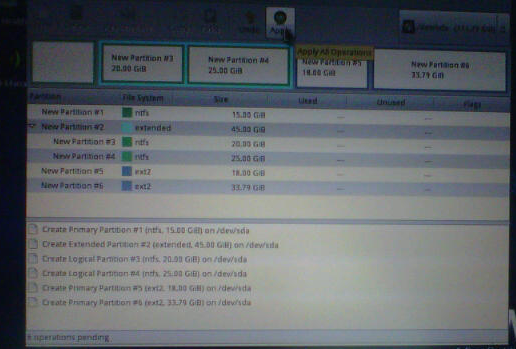
Repeat the same step for Windows 7, Linux swap and BackTrack, changing only the size of the logical partition. Now we have one primary partition for XP and one extended with four logical partitions for Windows 7, Windows 2008R2, shared Linux swap and BackTrack.
For FreeBSD, we have to create another primary partition. Right-click, choose new and type 16384MB for size. This partition is also a primary. Finally, I’ve created another partition. I’ve accepted 19456MB (all that’s left over from my HDD) and created it as a primary partition as well. I’ll use this partition for CentOS.
Now that these partitions are created, click Apply and reboot the system.
NOTE: If GParted fails to create some of the partitions, create one at a time, then click Apply and proceed to the next.
Next, boot with Windows XP installation media and select the C: partition to install XP.
After that, install the OS as usual. Make sure that XP boots fine then insert the Windows 2008 R2 DVD. Select the version that you want to install (Core, Standard, Enterprise, etc…) and then choose Custom (Advanced). When you are presented with the disk partitioning program, select the partition (you’ll recognize it by the size that you’ve entered) and follow the rest of the prompts to install the OS. If needed delete the partition and recreate it from here. As long as you select the right partition, you can’t go wrong.

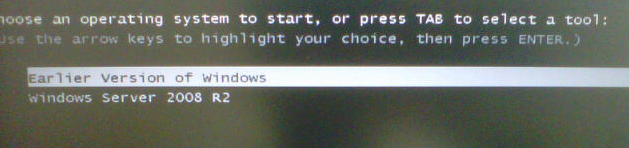
Once the OS is installed, remove the install media and let the OS reboot. You should be presented with the following Windows boot loader. Make sure that both XP (Earlier Version of Windows) and 2008 R2 can be booted normally.
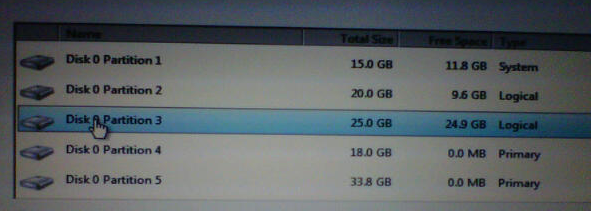
Insert the Windows 7 install media and reboot. When prompted “Which type of installation do you want?”, click on Custom (Advanced). Then select the “Disk 0 Partition X” where X is however you created that logical partition and proceed with the installation.
Once the Windows 7 is installed, remove the media and reboot. Make sure that all three operating systems work.
NOTE: If you want you can change the label of “Earlier Version of Windows” to something else.
Open up the command prompt, type bcdedit (from Windows 7 or Windows 2008R2 only) and confirm that the identifier for the Windows Legacy OS Loader is {ntldr}.
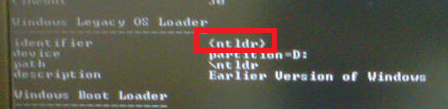
Once confirmed, go to C:\Windows\System32\, right-click on cmd.exe and choose Run as Administrator. Then type:
C:\>bcdedit /set {ntldr} description "Windows XP"
The operation completed successfully.
Now, insert FreeBSD CD and reboot. Use the default boot mode for FreeBSD or hit “1” and Enter. Choose “Install”.

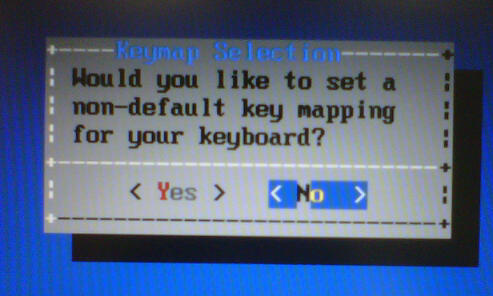
Select “No” if you are using standard US keyboard.
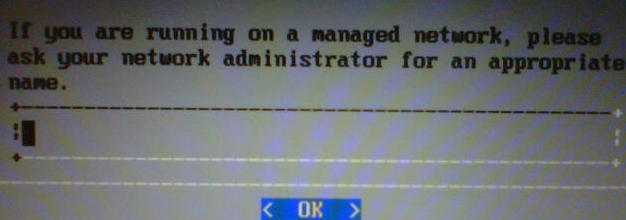
Enter your hostname and click “OK”.
Choose what you want to install.

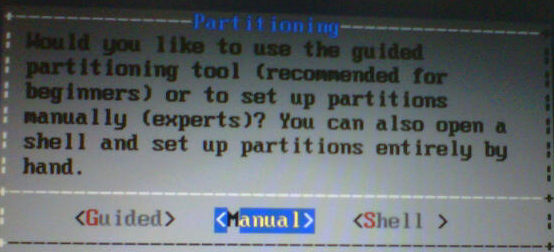
Choose “Manual” install.
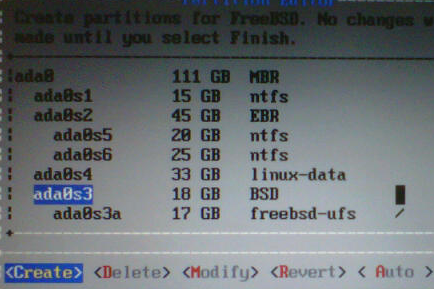
When you see the list of the partitions, scroll down to the third one (/dev/ada0s3) and delete it.
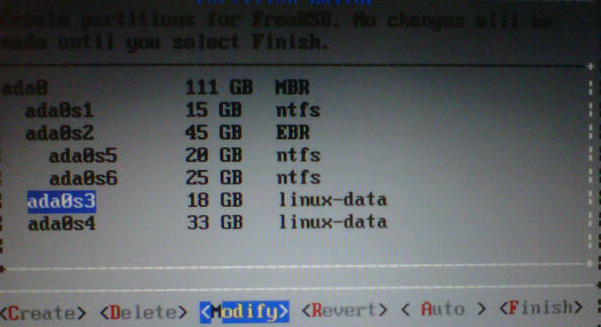
Then select “Create”, accept defaults and hit Enter. This will recreate ada0s3, but this time as a FreeBSD partition. Select ada0s3 again, select “Create” and when prompted, type “freebsd-ufs” for the Type, 15384MB for size and “/” for mountpoint.

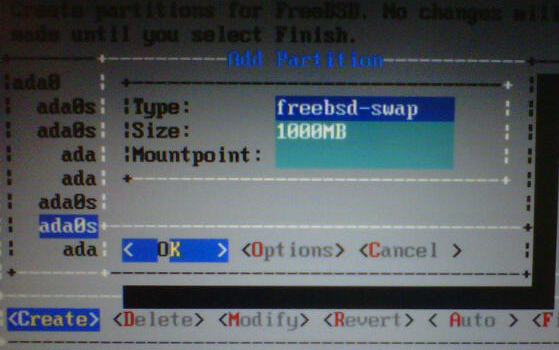
As you remember, we allocated 16384MB for FreeBSD, but we need 1000MB for the swap partition. I came with 1000MB while playing with the various “Auto” options. That’s what FreeBSD recommended, that’s what I am going to use. Select “Create” again.
Then type “freebsd-swap” for Type and 1000MB (it’s probably already there) for the swap partition.
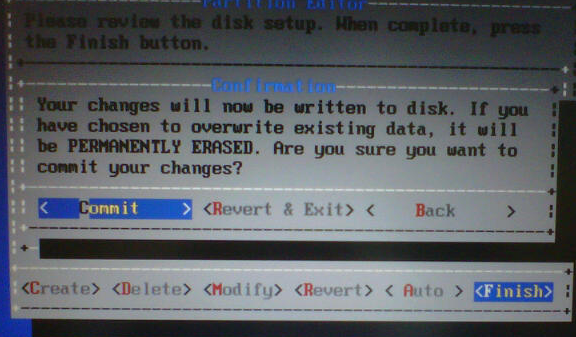
Select OK, then hit TAB several times, select Finish and hit enter. Finally, commit the changes and wait for the installer to finish.
Once the installation is completed, change the root password, configure the network, time zone, and then reboot. When you reboot, you’ll see that the previous Windows boot loader is gone, and there are no prompts for boot options. Let FreeBSD 9.0 boot, log as root, and execute
boot0cfg  -B ada0
reboot
NOTE: replace ada0 with the name of your drive. If you look at the image where I mentioned how to create a swap partition, you’ll see the name of the drive on top.
NOTE: Unlike previous versions of FreeBSD, version 9.0 comes with a new bootloader. Previous versions allowed choosing where you want to install the bootloader (MBR or the partition or no boot loader).
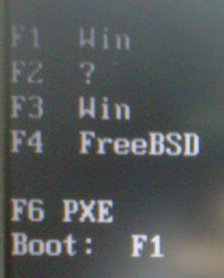
When the system is rebooted, you’ll be presented with the following menu. This is the FreeBSD bootloader. We won’t be using it, so insert the CentOS media, and hit CTRL-ALT-DEL to reboot.
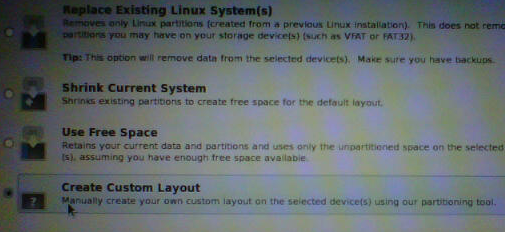
Hit any key when you see the initial splash screen and choose Install. Configure the root password, hostname, time zone, etc. and then choose to create a custom layout.
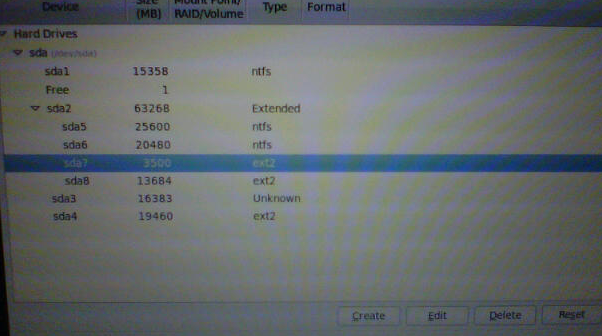
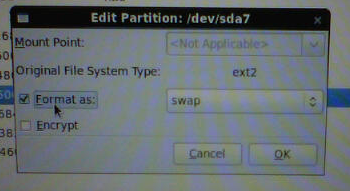
Select the partition that you created for swap (3500MB) and choose “Edit”
Check “Format as:” and select “swap”.
Do the same for the last partition, sda4. Select it, click Edit, change the mount point to “/” and format the partition as “ext4” type.

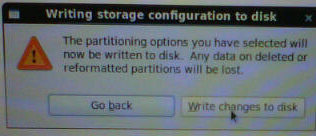
Click Next and confirm the changes.
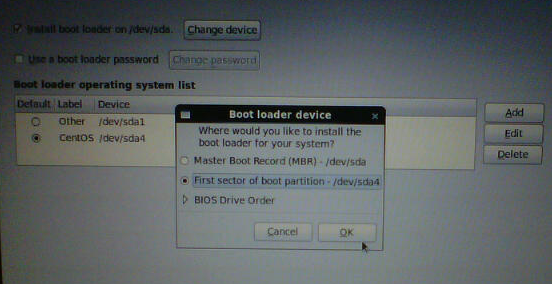
Finally, we have to change the location of the boot loader. Click “Change device” and select “First sector of boot partition – /dev/sda4”.
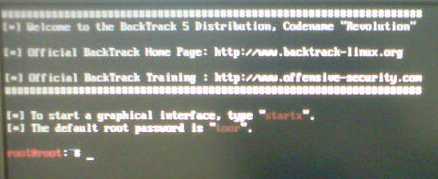
Click “Next” and the installation will begin. Once the installation is complete and you reboot, CentOS will show up under the FreeBSD loader as “F4 Linux”. If you boot this option, you will see that FreeBSD loader actually boots the GRUB boot loader and then Linux. CentOS 6.2 by default uses the old GRUB loader. What we want to use is GRUB v2 which comes with BackTrack. You can configure CentOS after the initial boot, then insert the BackTrack installation media and boot from it. Use the default boot text mode. Type startx and wait for BackTrack to start.
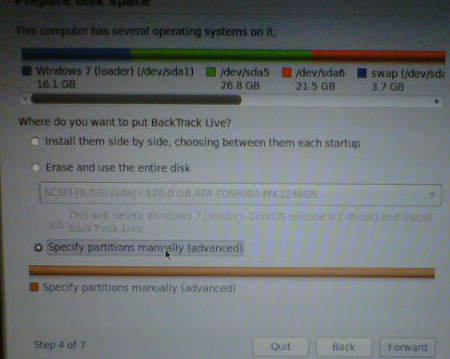
When the GUI starts, there is only one icon on the desktop “Install BackTrack”. Double-click that. When you reach step 4 of 7, select the manual install.
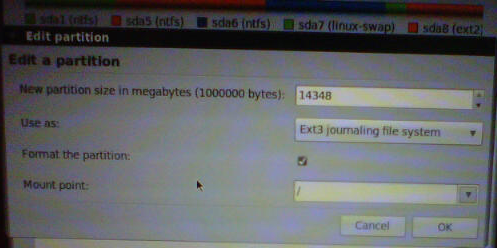
Select the partition that we’ll be using for BackTrack and click Change.

Leave the size as is, change the file system type to ext3 or ext4, check “Format the partition” and use “/” for mount point.
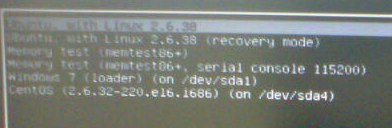
BackTrack will give you a summary where you can see that it will use the same swap partition as CentOS. Once installed, reboot and you’ll be greeted with the GRUB2 loader. As you can see the FreeBSD loader is gone, but also the entry for FreeBSD.
NOTE: If you need more info on GRUB2 visit this site.
For now boot into BackTrack and execute the following:
cd /etc/grub.d
cat >> 35_freebsd
Then start typing:
#!/bin/sh –e
echo “FreeBSD 9.0”
cat << EOF
menuentry “FreeBSD 9.0” {
    set root=(hd0,3)
    chainloader +1
}
EOF
Then hit CTRL-D to save the file and execute:
chmod +x 35_freebsd
update-grub
reboot
As you remember, FreeBSD was on ada0s3 or sda3 or the third partition, that’s why we are using (hd0,3) in the script.When GRUB2 comes back, at the end of the list you’ll see FreeBSD 9.0. If you need to make a default boot OS, I strongly suggest to read the previous link for GRUB2. Now that all OSs are operational, you can go ahead and configure them to your needs.