In this post I’ll describe how I installed vCenter 5.0 on Windows 2008 R2 server using SQL 2008 R2 database. I’ve used two servers in my lab, one for the vCenter and the other one for the SQL. I won’t explain how to install SQL server, it’s fairly straightforward.
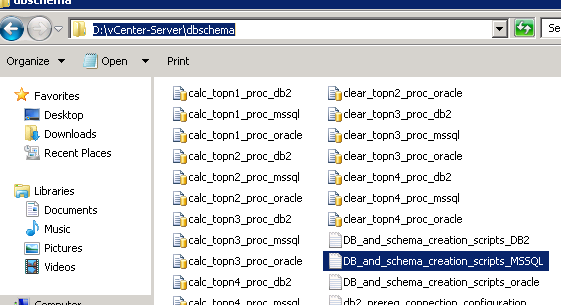
First thing to do is to create the SQL database. VMware provides a SQL script that you can execute to create the database. The script is on the vCenter installation DVD/ISO under source\vCenter-Server\dbschema folder where source is some drive letter (D:\ or E:\). This script does not work right, so we’ll use a modified version. By default, vCenter requires full db_owner rights so it can create some scheduled jobs. If your environment doesn’t allow this type of access, see the installation guide for vCenter. In this post, we’ll grant full db_owner rights for the sql user (vpxuser) to both vCenter database (VCDB) and the msdb system database. Once vCenter is up and running, you can remove the full db_owner rights from the msdb.
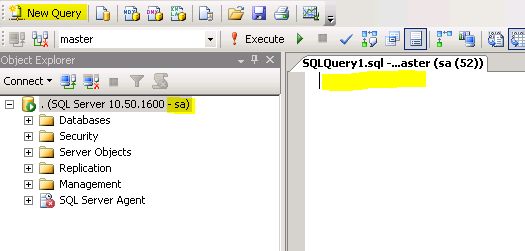
Start the SQL Server Management Studio, log as the sa user or some domain user with full SQL admin rights, and click New Query.
Copy and paste the following script, but change the file path where you want your database to reside. In my case it is C:\DATA. Also, change the password for the vpxuser that we will create.
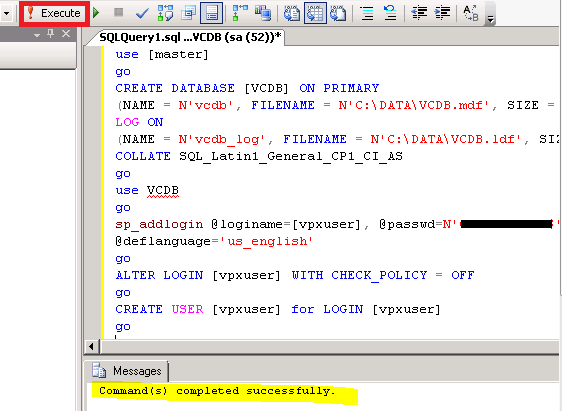
use [master]
go
CREATE DATABASE [VCDB] ON PRIMARY
(NAME = N'vcdb', FILENAME = N'C:\DATA\VCDB.mdf', SIZE = 2000KB, FILEGROWTH = 10% )
LOG ON
(NAME = N'vcdb_log', FILENAME = N'C:\DATA\VCDB.ldf', SIZE = 1000KB, FILEGROWTH = 10%)
COLLATE SQL_Latin1_General_CP1_CI_AS
go
use VCDB
go
sp_addlogin @loginame=[vpxuser], @passwd=N'vpxuserpassword', @defdb='VCDB',
@deflanguage='us_english'
go
ALTER LOGIN [vpxuser] WITH CHECK_POLICY = OFF
go
CREATE USER [vpxuser] for LOGIN [vpxuser]
go
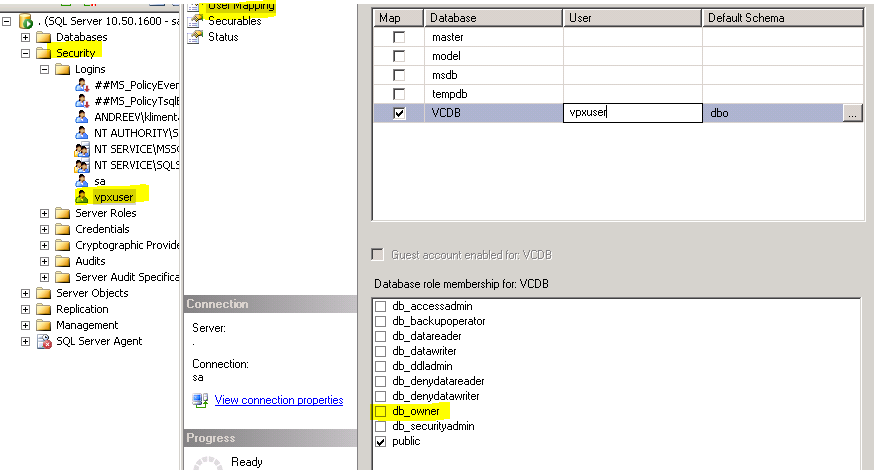
While in SQL Server Management Studio, expand the Security, then Logins. Double-click on the vpxuser and choose User Mapping. Select the VCDB database and put a check mark for db_owner. Put a check mark on the msdb database and do the same (check mark on db_owner).
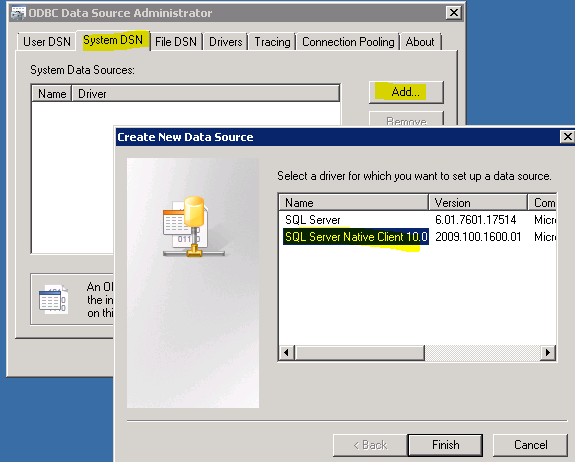
Next thing to do is to install the SQL Server Native Client on the vCenter server. It’s a free download from Microsoft. Once installed, go to Administrative Tools | Data Sources (ODBC). Click on System DSN tab and then click Add. You should see a SQL Server Native Client 10.0 driver there. Do not use SQL Server driver. It won’t work.
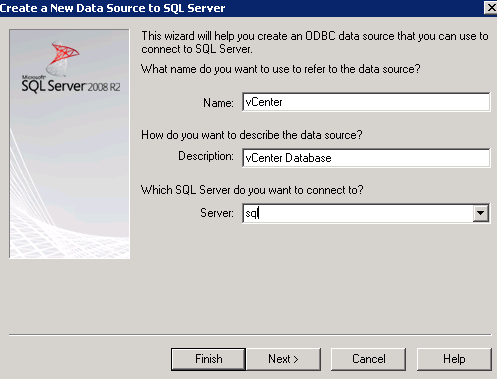
Enter the name for the ODBC connection, a description and type the hostname for the SQL server. In my case, I’ll use vCenter, vCenter Database and sql.
Next, choose SQL authentication and type the SQL user that we just created with the script (vpxuser and its password).

Click the first check mark and select the VCDB database.
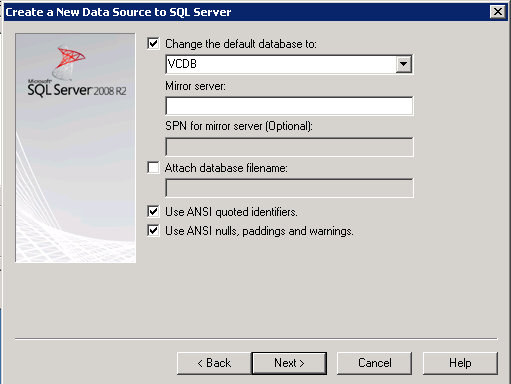
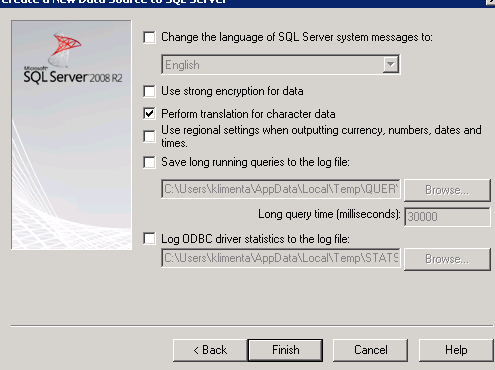
Leave the defaults and click Finish.
Click the Test Data Source button and make sure that it says that the connection completed successfully.

Now, it’s time to install vCenter. Insert the DVD or mount the ISO image and the installer will start.
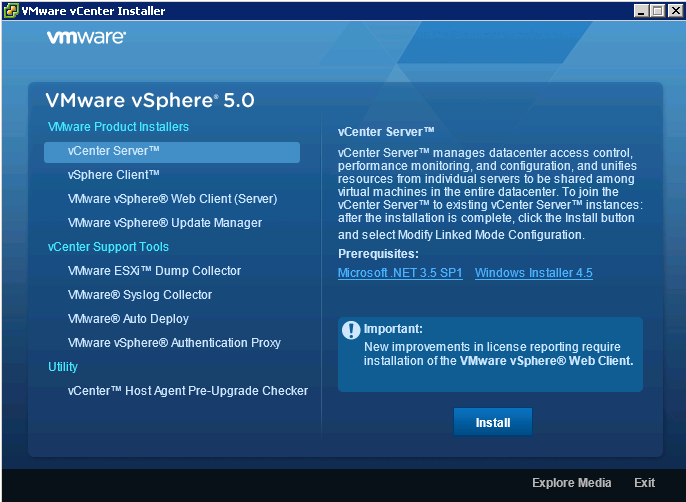
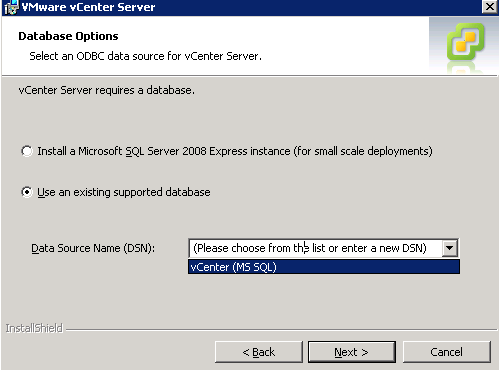
Click the first option vCenter server and go thru the Next, Accept cycle. Once you reach the Database Options, select the second radio button and choose the ODBC connection that we just created.
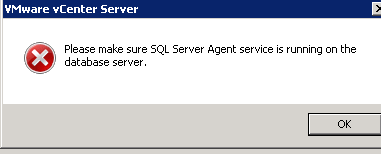
If you get this error, make sure you start the SQL Server Agent on the SQL server. By default this service is disabled. You can stop this service once the installation completes.
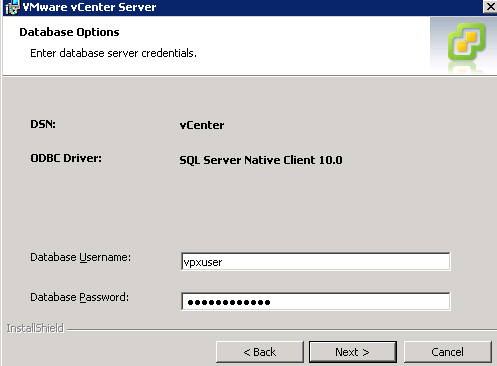
Enter the SQL username and password that we just created.
If you receive the following error, it means that you are not a db_owner on the VCDB database.

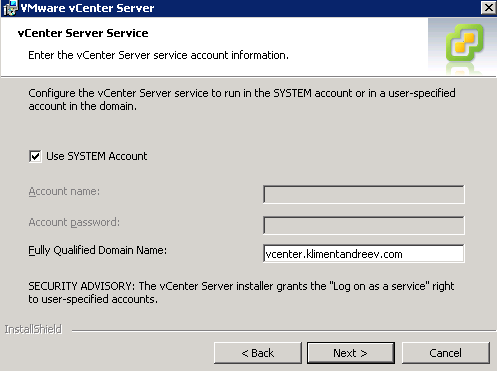
You won’t be able to continue until you fix this. When you reach this screen vCenter Server Service, stop. You have an option to run the vCenter Server service as a local server account or you can choose a domain account. If you use a domain account, it should be a local admin on the server.
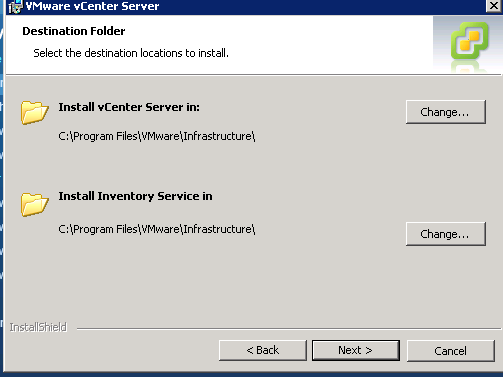
Change or accept the defaults for the vCenter program.
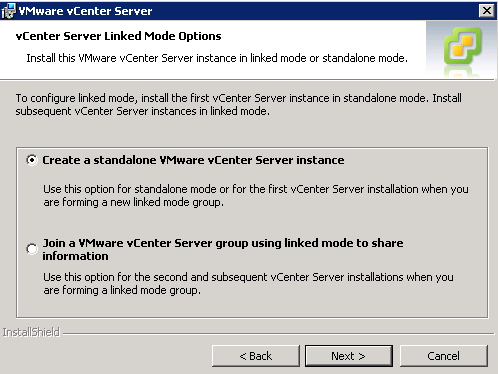
Select the first option.
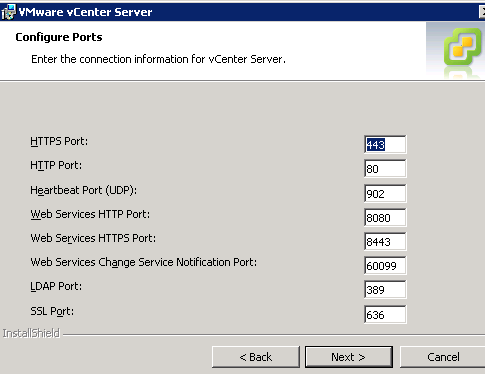
Change or accept the default ports. If you install vCenter on a shared server with IIS installed, you’ll have port conflicts here.
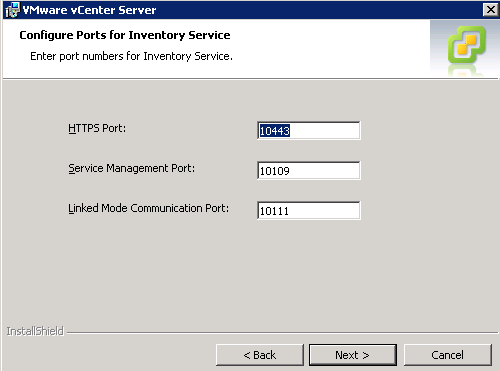
Change or accept the default ports for the Inventory Service.
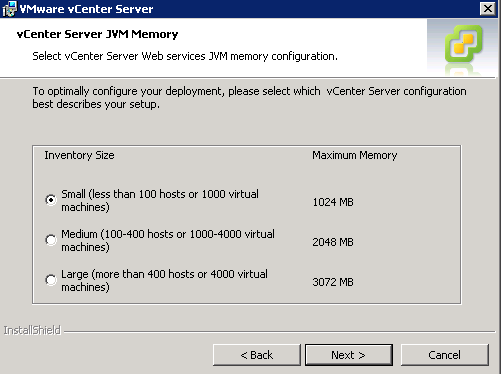
Estimate how many VMs you’ll have.
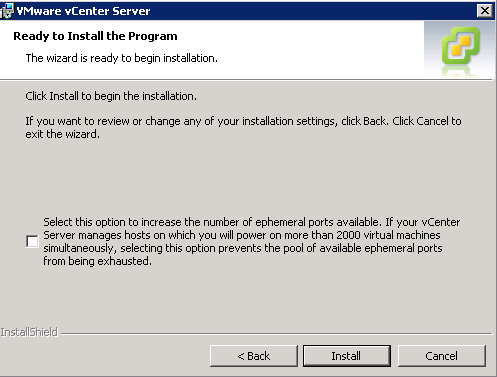
Click Install.
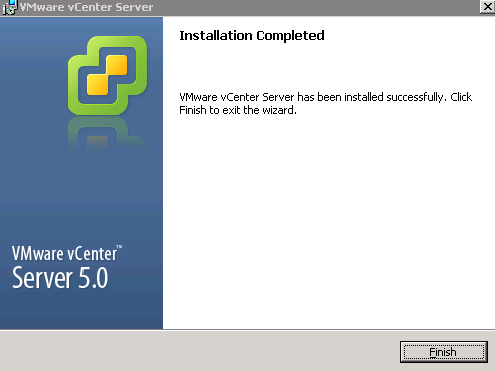
After couple of minutes, click Finish to complete the install. Your vCenter Server should be up and running, but we are not over yet.
We will install the Update Manager now. This part of vCenter is used to patch the vCenter and ESXi hosts. Log back to the SQL server and in SQL Server Management Studio, execute this script that will create a new database for the Update Manager. Make sure you change the file path for the database. In my case is C:\DATA. We’ll use the same vpxuser user for the Update Manager database.
CREATE DATABASE [VCUM] ON PRIMARY
(NAME = N'vcum', FILENAME = N'C:\DATA\VCUM.mdf', SIZE = 2000KB, FILEGROWTH = 10% )
LOG ON
(NAME = N'vcum_log', FILENAME = N'C:\DATA\VCUM.ldf', SIZE = 1000KB, FILEGROWTH = 10%)
COLLATE SQL_Latin1_General_CP1_CI_AS
go
use VCUM
go
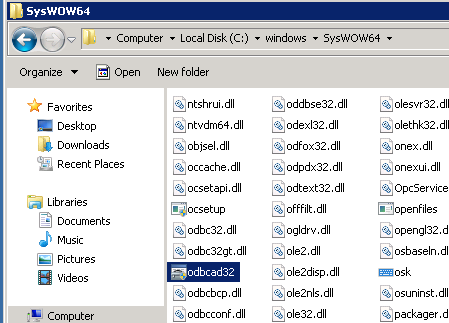
On vCenter server, go to C:\Windows\SysWOW64 folder and run odbcacd32.exe. The Update Manager is using a 32-bit ODBC and by default, if you go to Administrative Tools and start the ODBC manager, you’ll execute the 64-bit version.
Pick a name and description for this ODBC connection and specify your SQL server hostname.
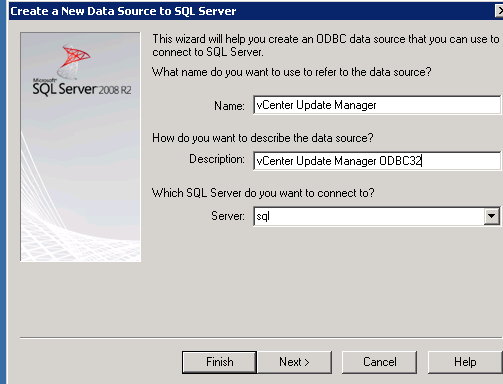
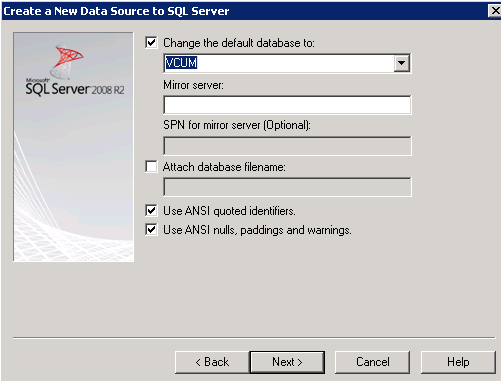
Select the VCUM database that we just created and similarly to the previous ODBC creation, finish the rest of the steps.
Start the Update Manager install.

Accept the defaults.
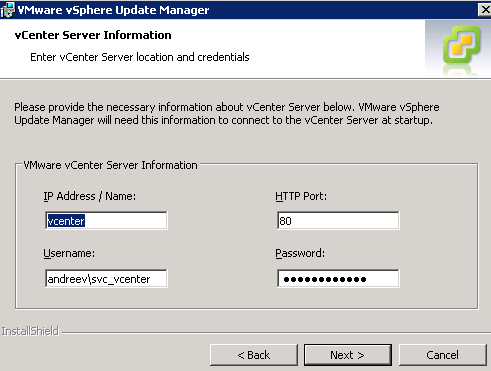
Create a domain user that will run the Update Manager service. In my case I use svc_vcenter.
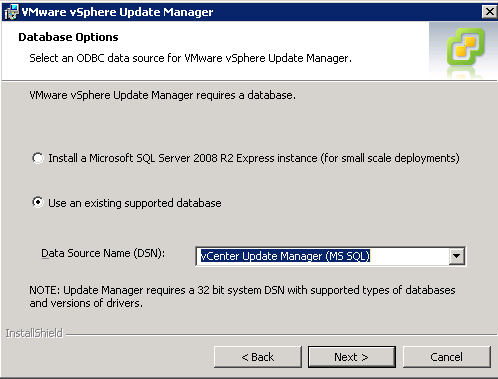
Specify the 32-bit ODBC connection that we just created.
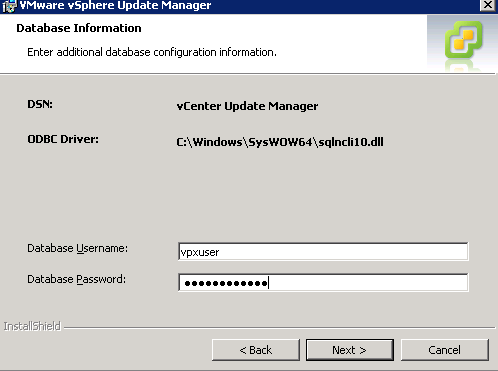
Enter the same vpxuser and password.
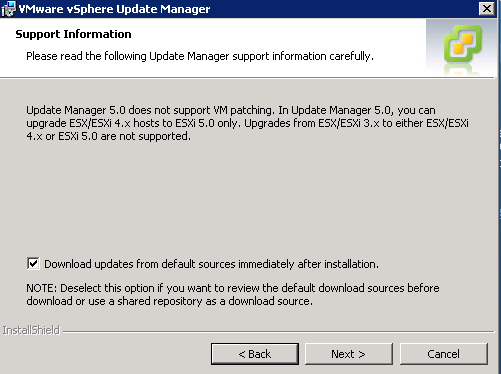
Specify if any proxy servers need to be specified. Update Manager requires Internet connection.
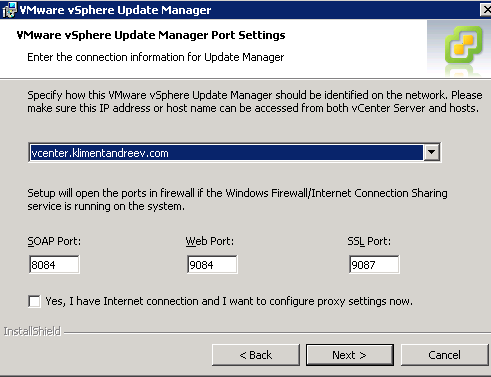
Change or accept the defaults.

The rest of the steps a re just plain Next, Next, Finish.
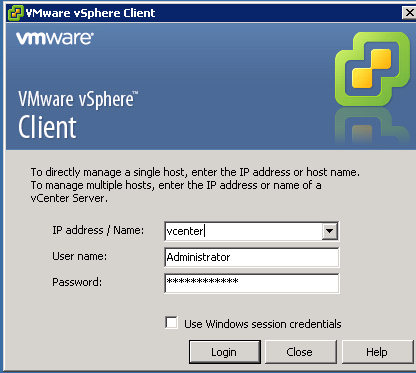
Once installed, go back and install the vCenter client. I won’t explain how to do this. It’s trivial. Log to the vCenter with a local admin password or with a domain account (if you run vCenter service under a domain account).
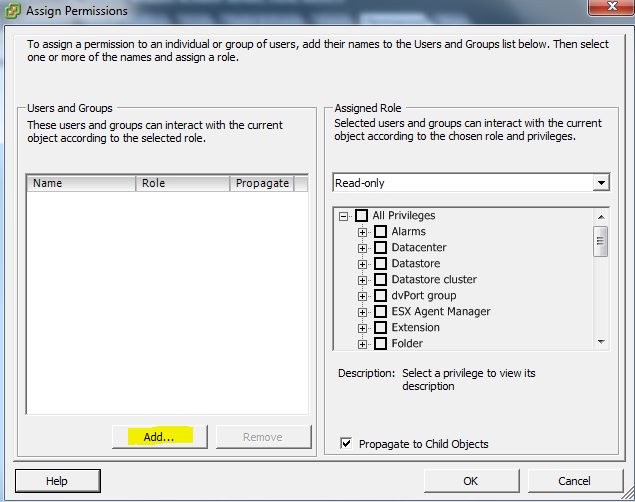
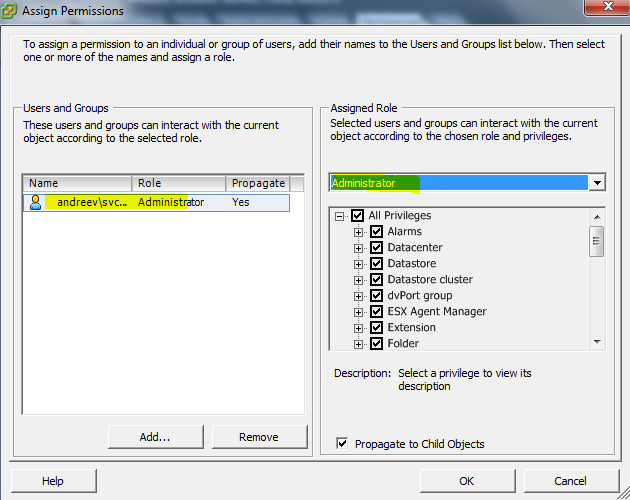
Select the top left vCenter server name and then click on Permissions.

Click Add.
Type your domain, enter a user that you want to grant full admin rights and click Check Names. If everything is OK, the dialog box will just blink.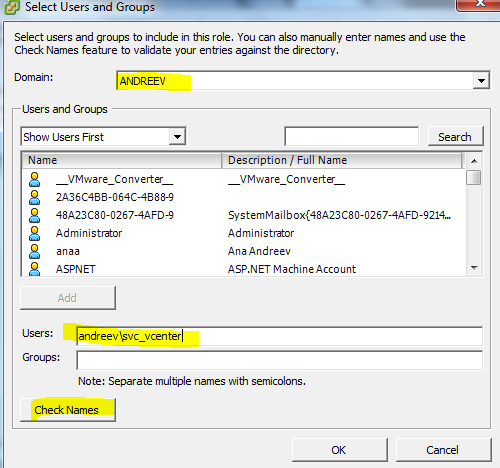
Back in the previous dialog, select Administrator and click OK. We made svc_vcenter an admin vCenter user.
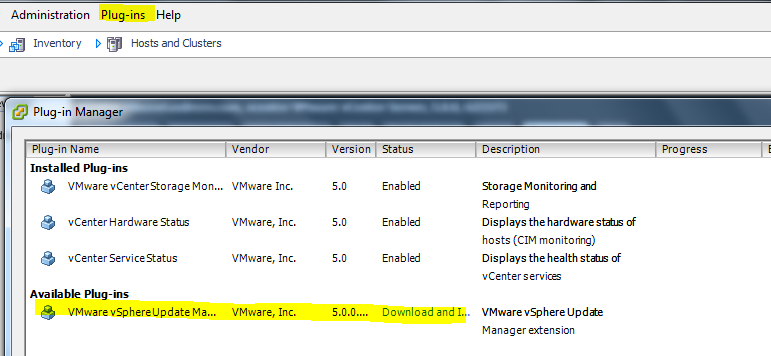
From the vCenter client menu, select Plug-Ins and select the Update Manager plug-in.
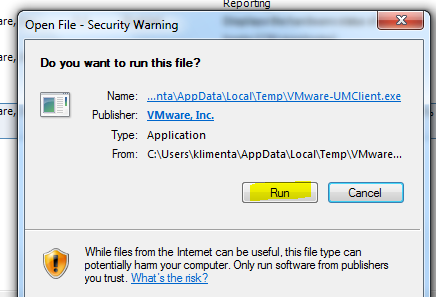
Click Run.
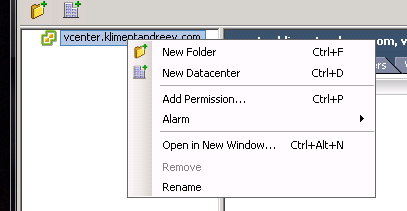
Create a new datacenter, add the ESXi hosts and you are all set.