In my previous post, I’ve explained how to install vCenter 5.0. In this post, I’ll explain how to upgrade from 5.0 to 5.1. This version brings a new authentication Single Sign On mechanism and a new web client. Check the VMware web site for more information about these new products and features.
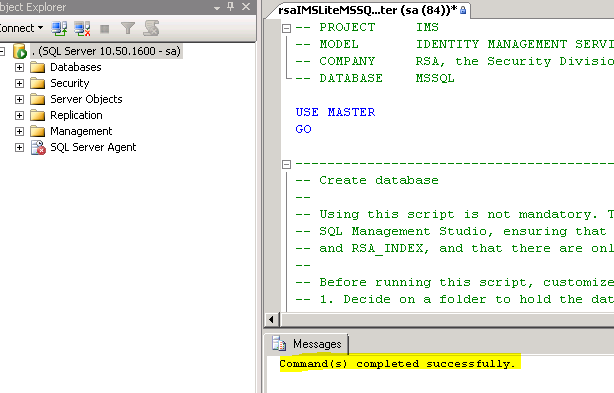
First, start SQL Server Management Studio and open the sql script that comes on the vCenter installation media. Single Sign On requires a separate database.

Open rsaIMSLiteMSSQLSetupTablespaces and change the file paths to suit your needs. There are three occurrences of this file path. I used C:\DATA in my case. Click Execute and make sure you get a message that the commands completed successfully.
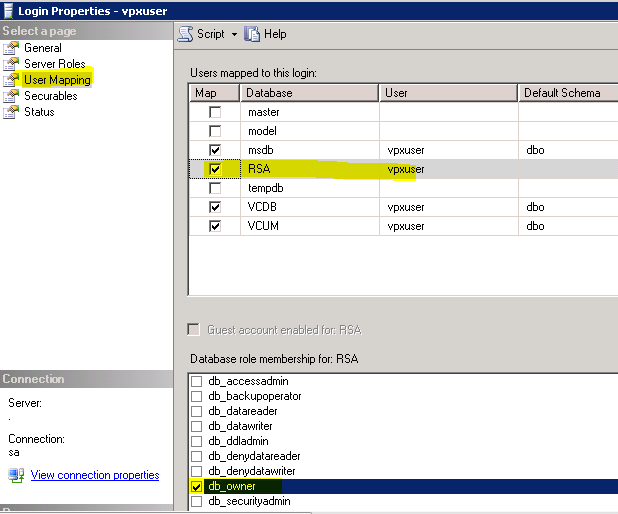
Click on Security, then Logins and double-click the vpxuser. This is the same user that has full db_owner rights on the vCenter and Update Manager databases. Select User Mapping, RSA (Single Sign On database) and click db_owner.
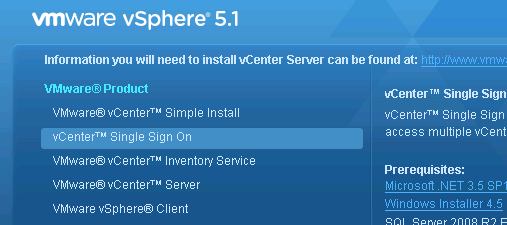
Now start the vCenter installer and select vCenter Single Sign On.
Click Next.
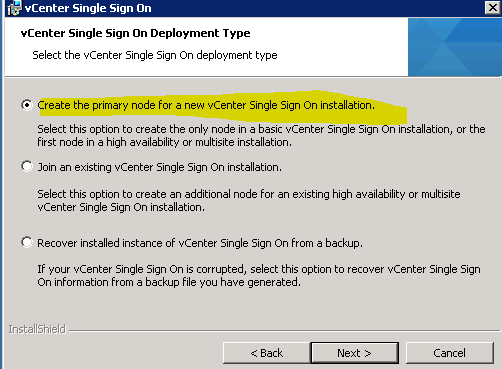
Create the primary node.
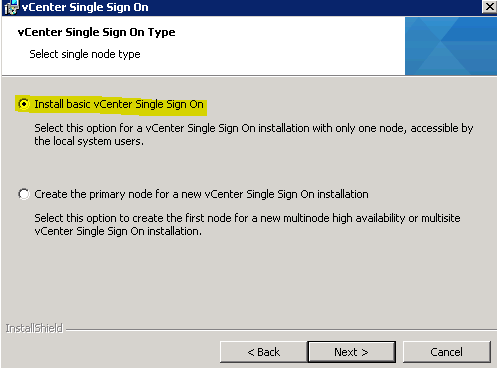
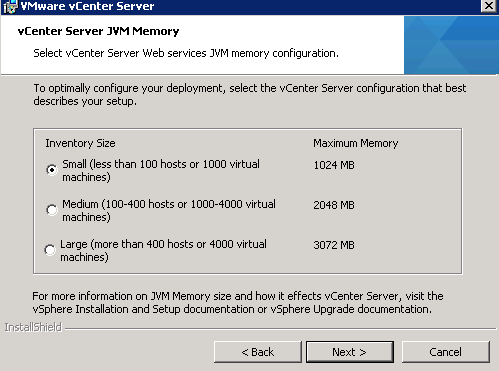
Select the first option.
Enter a password for the admin@System-Domain user.

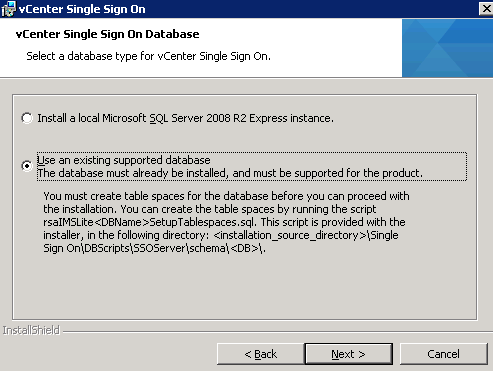
Select the second option.
Type RSA for the database name, the hostname of the SQL server, vpxuser for the database user and its password.

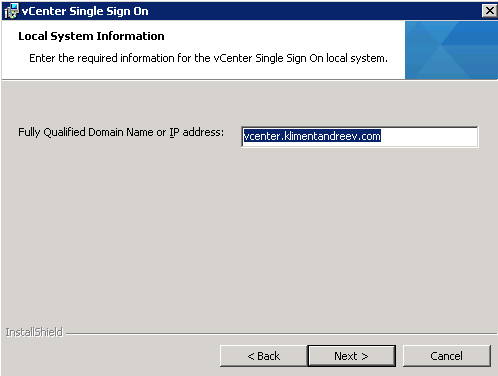
Confirm that your vCenter server is listed here.
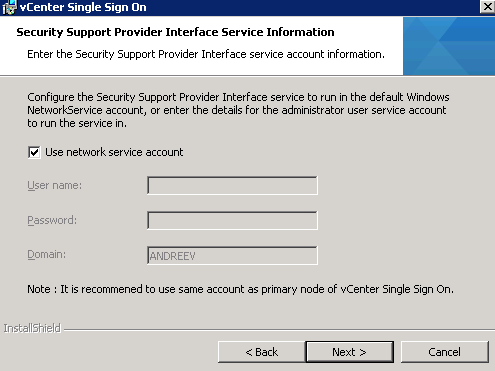
Use the defaults.
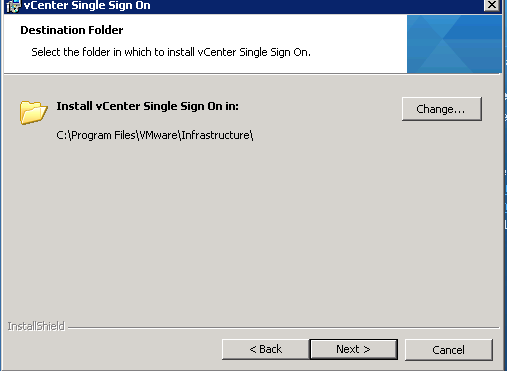
Change or accept the defaults.
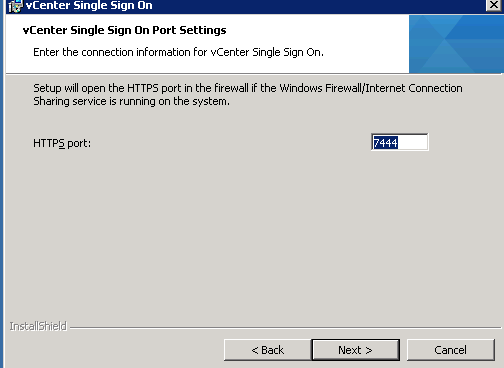
Change or accept the defaults.
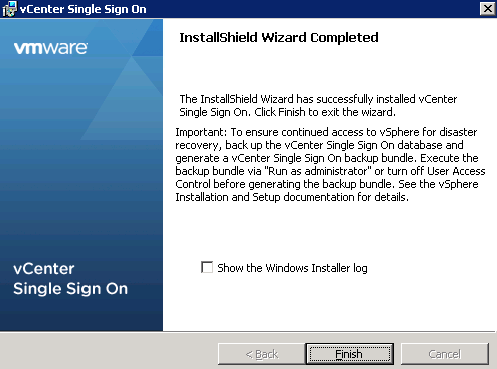
Click Finish.
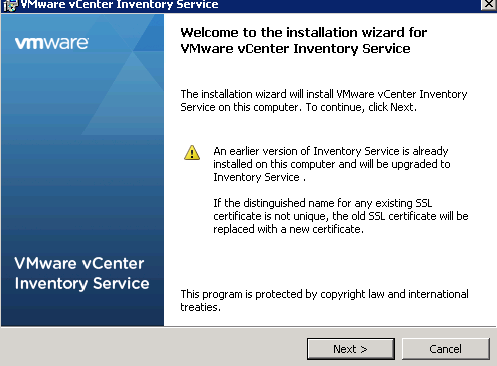
Next, we’ll have to upgrade vCenter Inventory Service. From the same menu where we launched the Single Sign On install, click on vCenter Inventory Service.
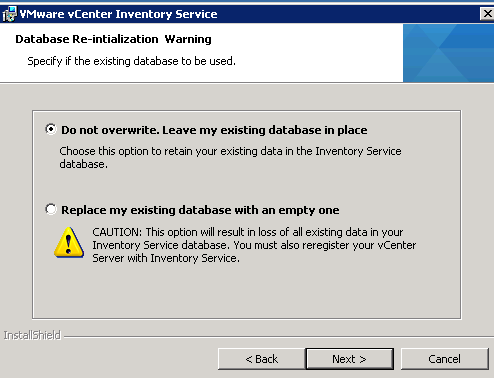
Choose the first option.
Verify that you have the vCenter server name correct.

Change or accept the defaults.
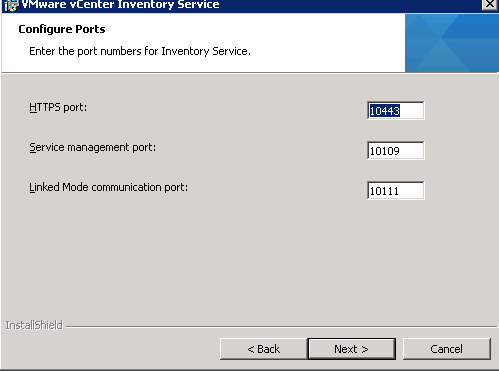
Change or accept the defaults.

Enter the password for the admin@System-Domain user.

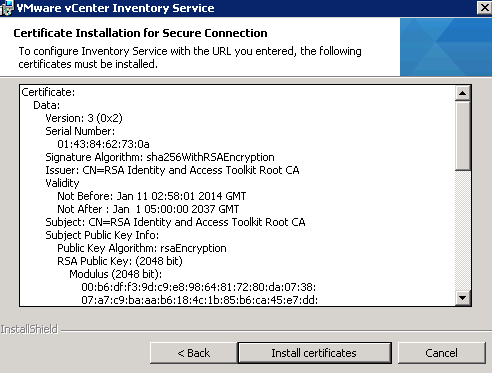
Click Install certificates.
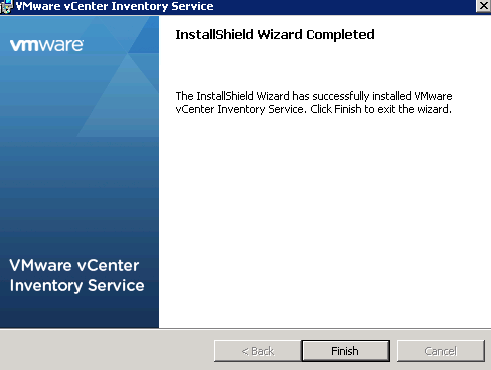
Click Finish.
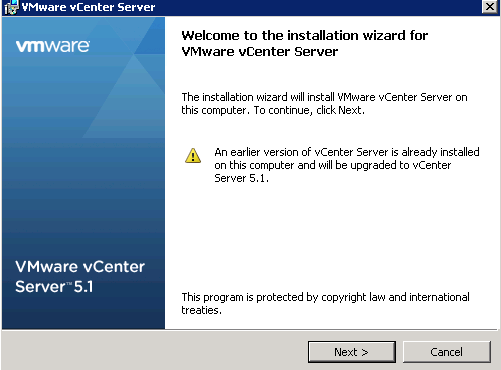
Next, upgrade vCenter.
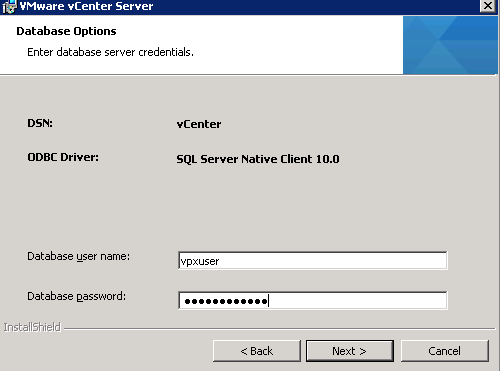
Enter the password for the vpxuser.
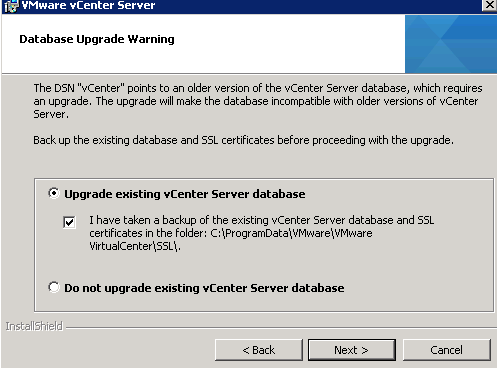
Upgrade the database.
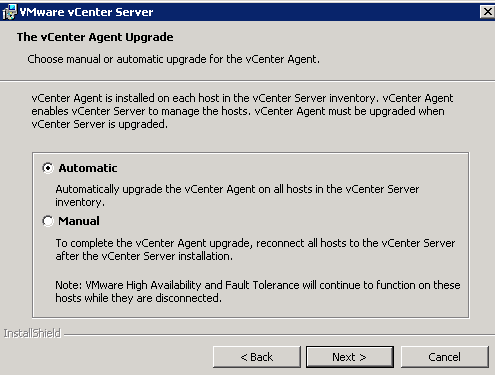
Select the first option.
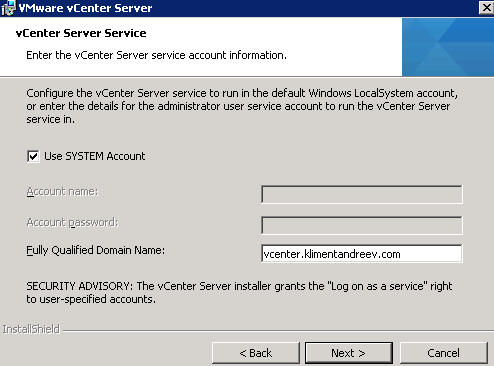
Choose if you want to use a domain account, local account or system account.
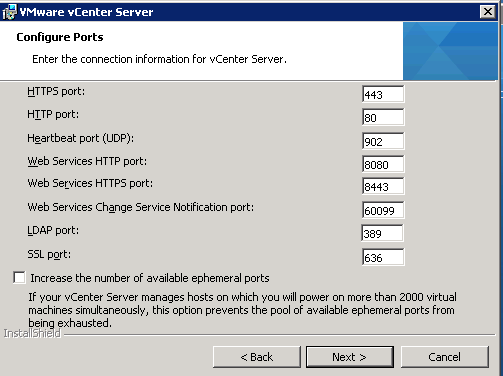
Change or accept the defaults.
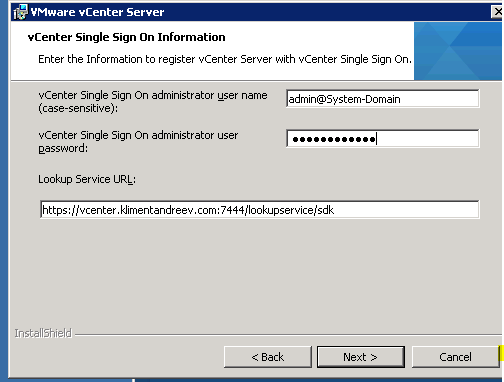
Enter the password for the Single Sign On admin user.
Use this log file if you have any issues later.
Click Finish.

Next, we’ll upgrade the Update Manager. Start the installation.

Accept the default option.

Enter the credentials that were used to run the Update Manager service.

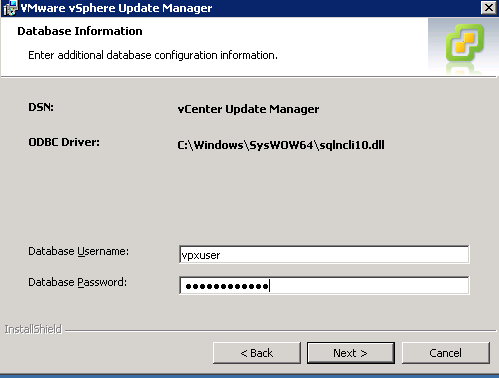
Enter the credentials for the vpxuser.
Upgrade the dabase.

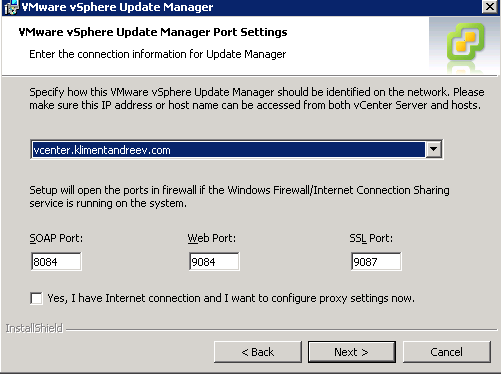
Change or accept the defaults. Make sure the vCenter server correctly appears. Click Finish at the end.
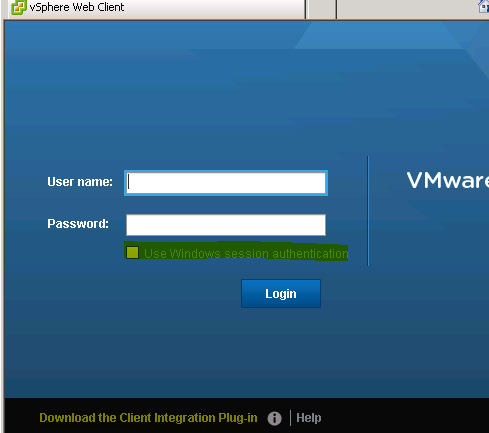
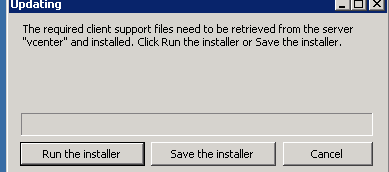
Finally, let’s update the web client. You can run the installer from the media or you can just double-click the old client and this message will show up, prompting you to run or save the installer. Just click Run.
Change or accept the defaults.

Enter the password for the Single Sign On admin user.

If you try to use your Windows domain credentials, you’ll have to download the Client Integration Plug-In first. And, that’s it.