
In this post I’ll explain how to use Visual Studio and BitBucket. I host my own BitBucket server, but it should be the same.
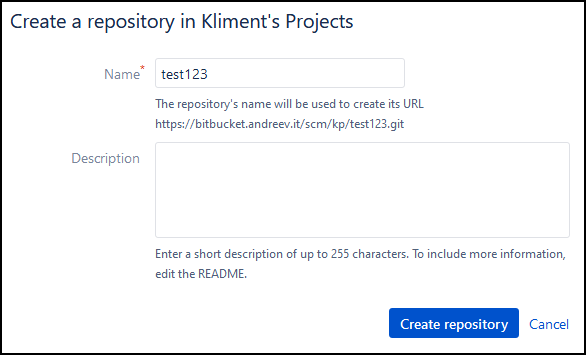
First, create a BitBucket repository and name it. The repo will have to be the same name as the project in Visual Studio.
So, in my case, I’ll create a repo called test123.
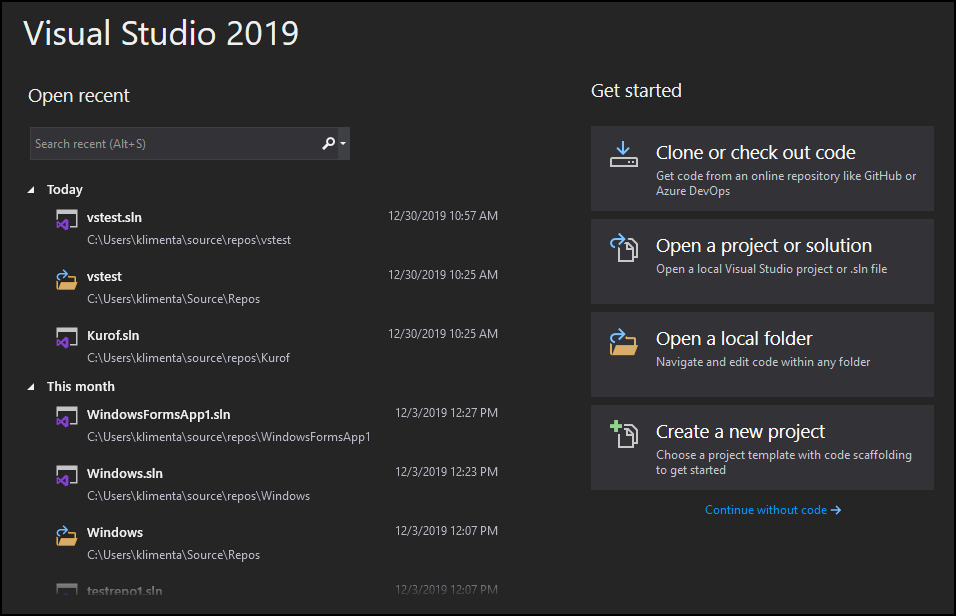
Then, open Visual Studio 2019 and choose Continue without code from the bottom right.
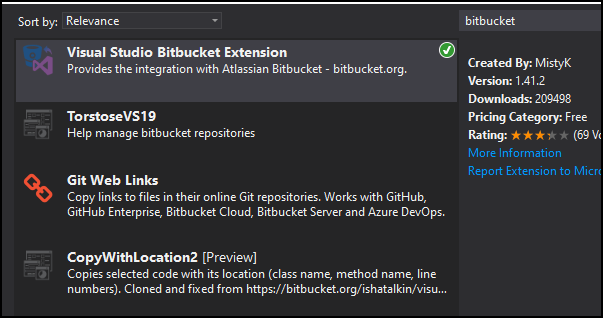
If you don’t have the BitBucket plugin, go to Extensions | Manage Extensions from the menu and install Visual Studio Bitbucket Extension. Once installed, you’ll have to close and re-open Visual Studio.
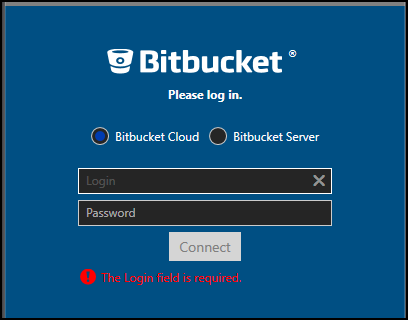
Go to View | Team Explorer from the menu and click Login for the BitBucket exptension.
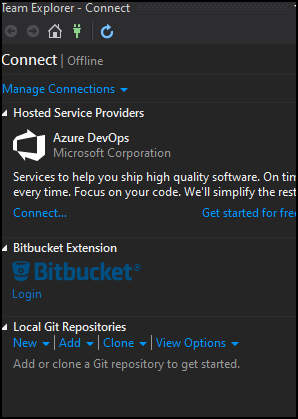
Depending on your BitBucket server (cloud or on-prem), enter the necessary parameters and click to Connect.
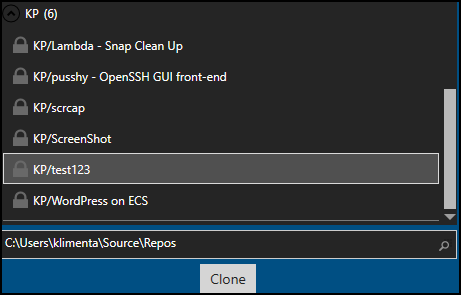
Once logged in, click on Clone.

Select the repo and click Clone.
Create a new project (File | New | Project) and name it the same as the repo.
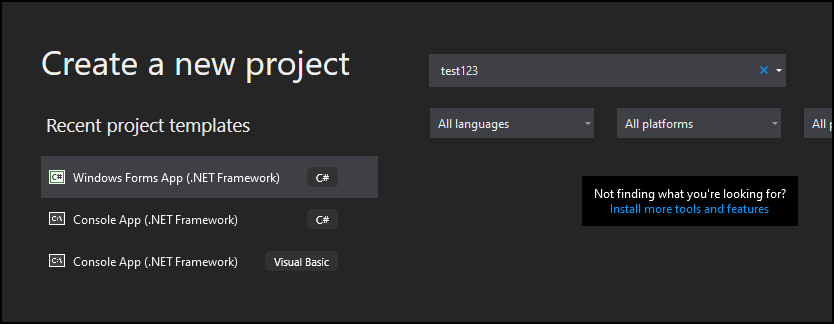
Click Next and name the project the same again, then click Create.

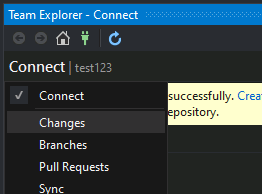
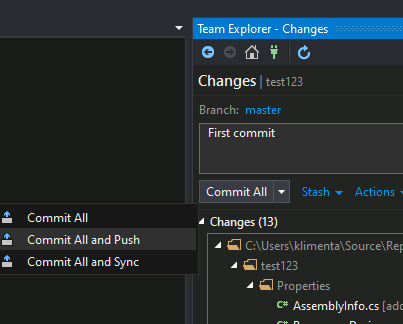
You can push the initial code now. First click File | Save All. Then in Team Explorer, click where it says Connect and switch it to Change.
Type something for the first commit and click on Commit All and Push.
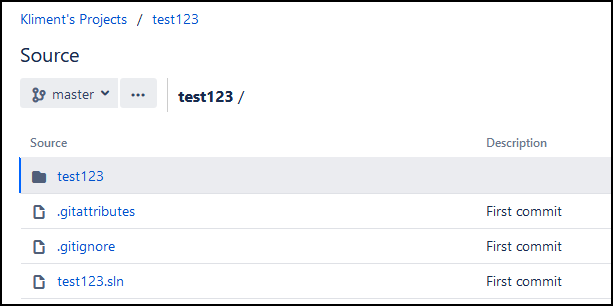
If you go back to BitBucket, you’ll see your code there.
14.5K