My FreeBSD VM was running out of space, so instead of expanding the existing partition, I’ve decided to add a new disk.
NOTE: If you want to add an IDE disk, you’ll have to power off the VM. For SCSI disk, the VM can stay up.
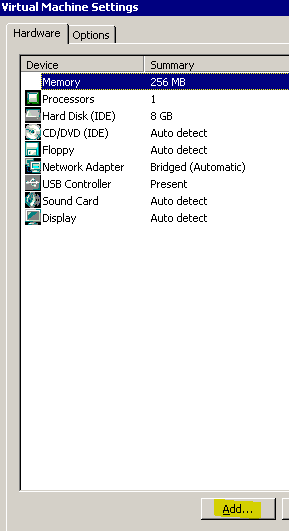
First, right-click the server name and choose Settings.

When Virtual Machine Settings dialog opens up, click Add.
Select Hard Disk and click Next.

Choose Create a new virtual disk and click Next.
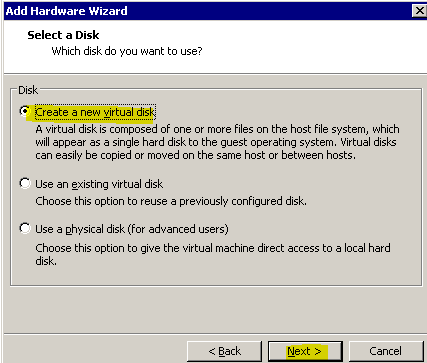
SCSI should be the only choise if the VM is up, but if the VM is down, select the Virtual disk type and click Next.

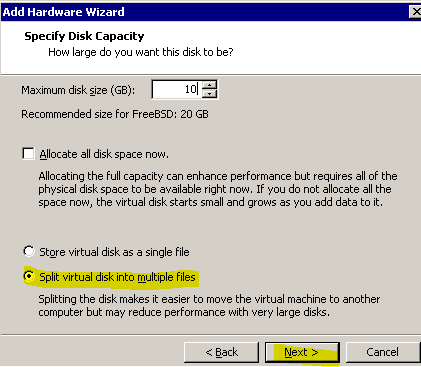
Pick a single or multi VMDK files, for 10GB disk that I am adding, it’s not that important which option is selected.
Name the VMDK file, whatever.vmdk and click Finish.

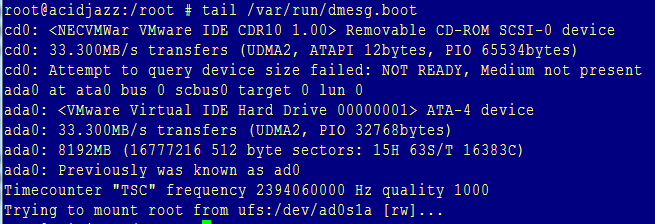
If you have the console open, you’ll see the port rescan right away. This is what showed up on my console, once I clicked Finish. The name of the disk is da0. The prefix da is reserved for SCSI disks and ad for IDE disks. So, if I added a second IDE disk, it would be ad1, because we already have ad0.

You can also see the drives if you type:
tail /var/run/dmesg.boot
Once the disk is recognized, type:
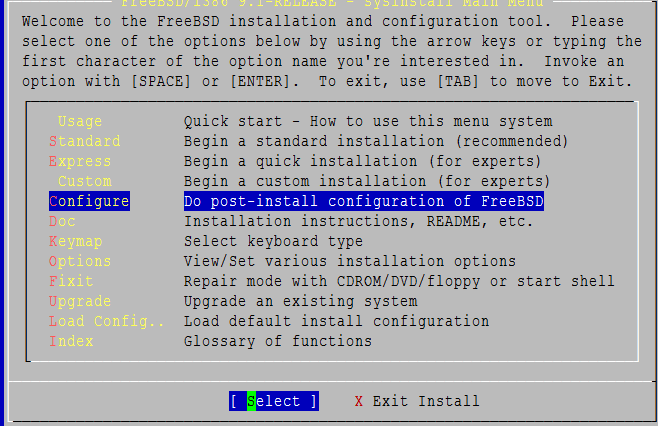
sysinstall
Select Configure.
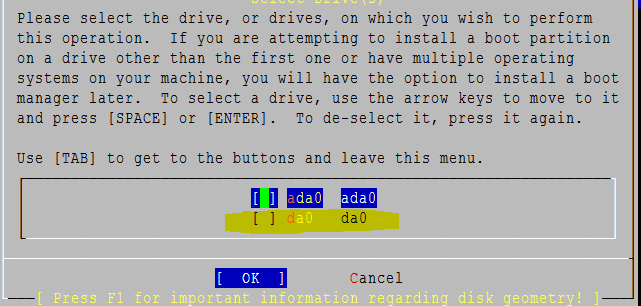
Select the drive that you’ve just added.
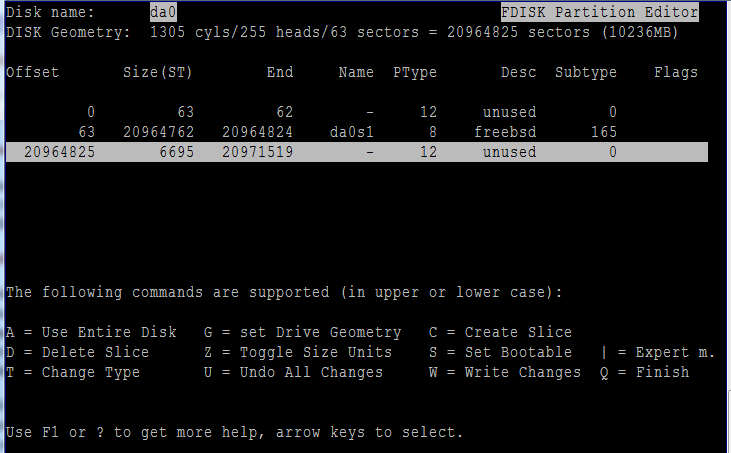
When fdisk starts, double-check the disk name in the upper left corner. Make sure it’s the new drive.
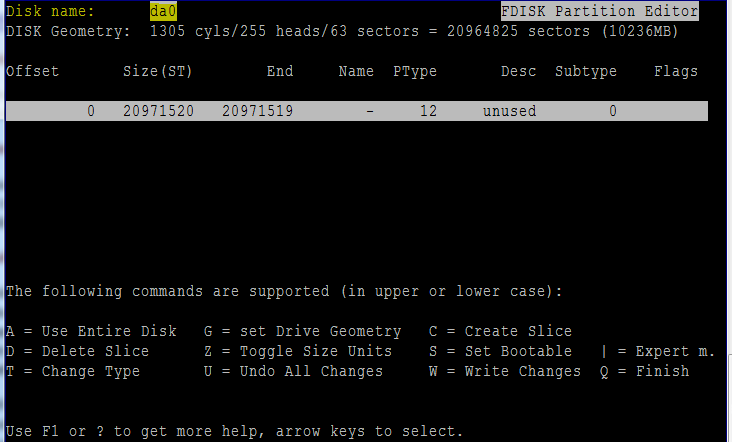
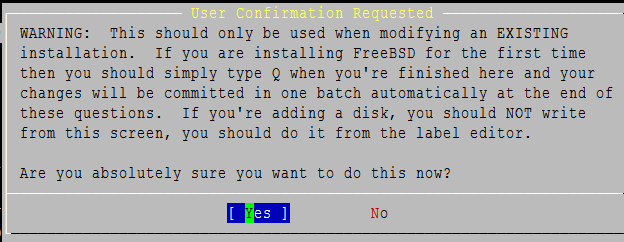
Hit “A” to use the entire disk or “C” if you want to partition the disk. I used “A” for the entire disk and then i hit “W” to write changes and Q to finish. You’ll see this warning. Select “Yes”
You don’t need a Boot Manager, this is just a data drive, so select “None” and “OK.

If everything is OK, you should see this.

… and this.
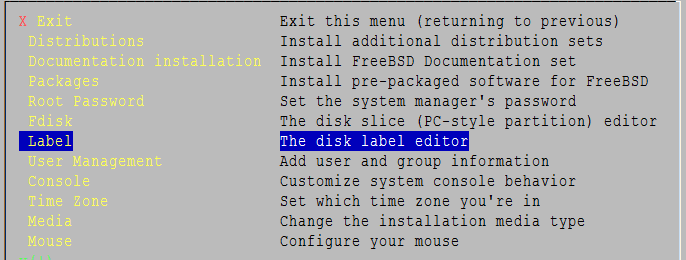
Once you partition the disk, it has to be labeled. This is similar with formating, partitioning and labeling in Windows. So, from the same sysinstall menu, select “Label”.
Hit “C” to create the partition.
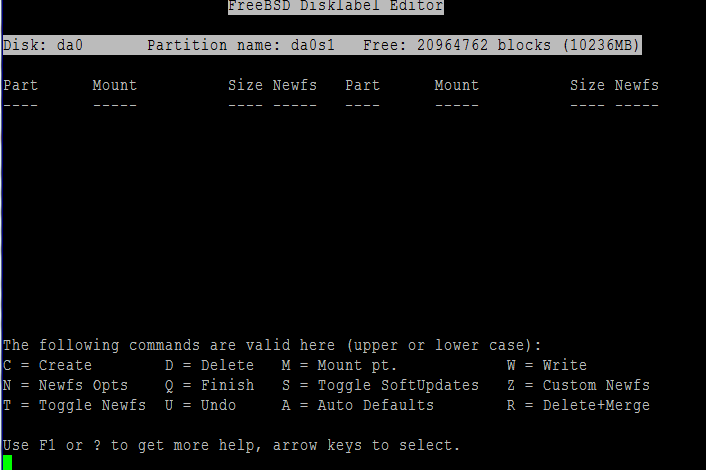
Enter the size (1 block = 512 bytes), but FreeBSD will round the number for you.
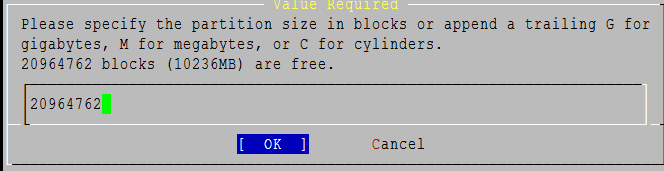
Make sure you select a file system, not a swap partition.

Finally, select the mounting point. In my case, I used the /data folder.

You will see the result of creating your partition. The file system type is UFS2 by default. Make a note of the partition name “da0s1d”. You will need this info.

Now, hit “W” to write the changes and “Q” to finish. Exit the sysinstall, and type:
cd /data
ls -l
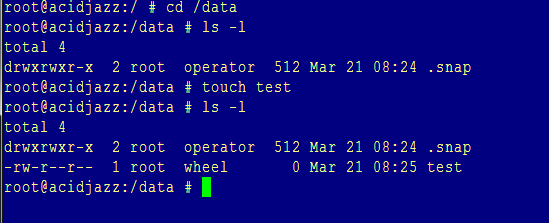
You should see a .snap file. Create a test file.
touch test
ls -l
You should be able to see the test file now.
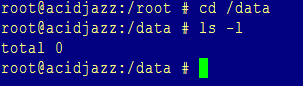
If you reboot at this point and the server comes back, you won’t be able to see the file that you just created. The file is actually not lost, but the server doesn’t automatically mount any new file systems.
In case you want to see all mounted file systems, type:
mount

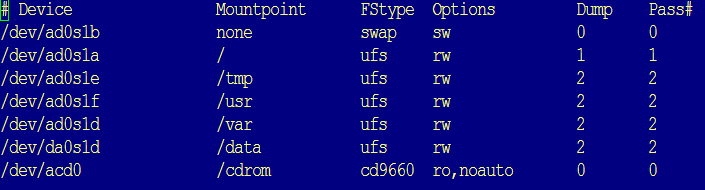
Finally, edit /etc/fstab using vi, nano or whatever your editor of choice is and put the following line just above the /cdrom or as a last line if you don’t have a CD-ROM. This will ensure that the new filesystem is mounted after reboots.
/dev/da0s1d /data ufs rw 2 2
If you need more info about the FStype, Options and the other values, type man fstab. I just used the same values as /usr and /var partitions.
Source: FreeBSD Handbook