Vagrant helps developers building and maintaining portable virtual software development environments under VirtualBox, Hyper-V, Docker, VMWare etc..Vagrant uses pre-made boxes as VMs managed with Vagrantfile config file. By default, Vagrant is tied with VirtualBox to run the VMs, but VirtualBox requires to run on a physical box with VT enabled in BIOS. Not anymore. Azure supports VMs that can run Hyper-V on Windows 2016 if the VMs are Dv3 and Ev3 Azure Virtual Machines. So, all we have to do is deploy a Dv3 or Ev3 Azure Windows 2016 server and install VirtualBox. This is a good solution if you don’t have a physical server available and want to use Chef and Test Kitchen.
Table of Contents
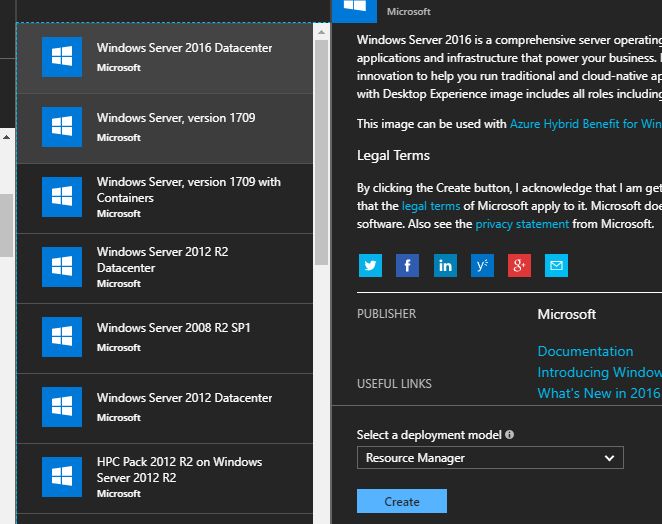
Provision Windows 2016
Create a new Windows 2016 datacenter and click Create.
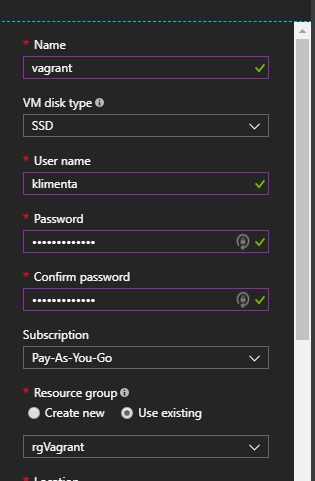
Choose the basics (username, password, disk, location etc).
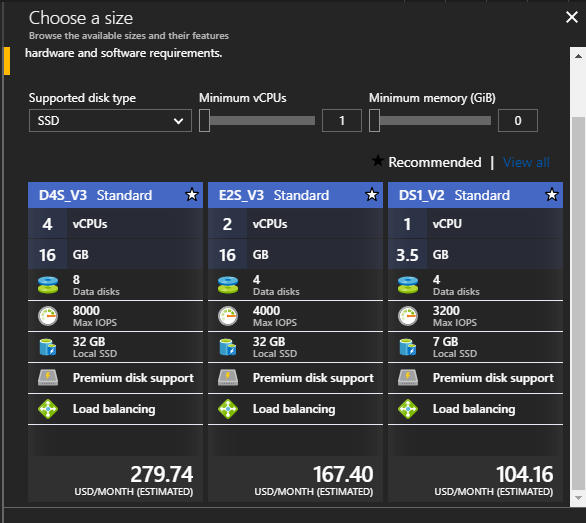
I’ll go with E2S_V3 because it’s the cheapest. DS1_V2 doesn’t support virtualization.
Choose the settings and finish the deployment.
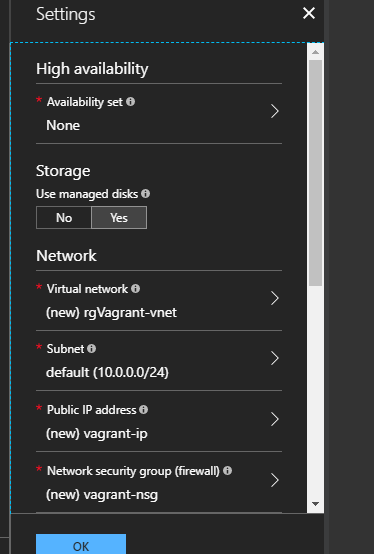
Once completed, go to the All Resources on the left and click on the Network Security Group.

Click on Inbound Security Rules and then click Add.
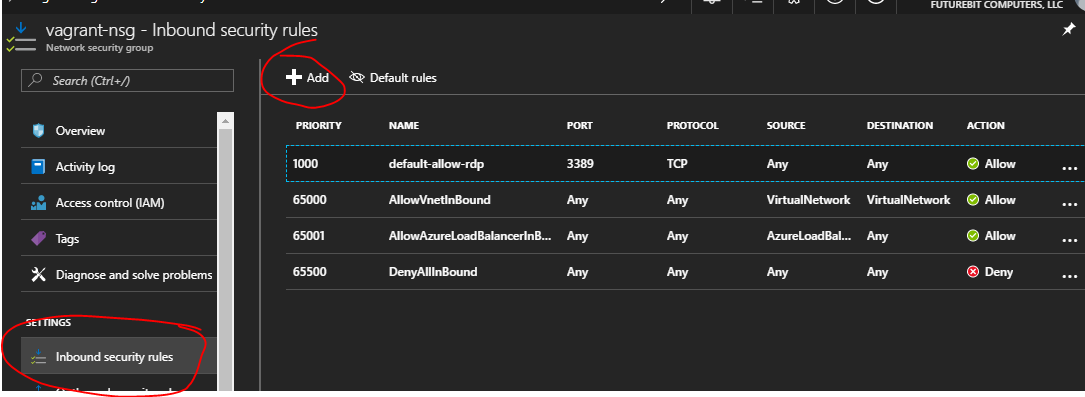
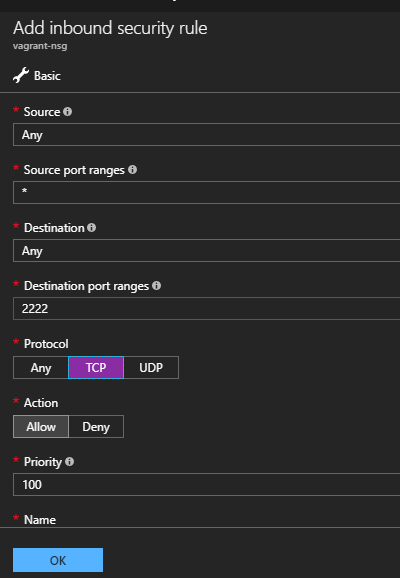
Add port 2222 TCP. This will be used for SSH on the virtual machines running on VirtualBox.
Vagrant/VirtualBox install
Download and install Vagrant and VirtualBox from here and here.
Provision and access a test VM
Open up the command prompt and type:
vagrant init bento/centos-7.4
Depending on what folder are you in, use some editor and edit the Vagrant file that was just created. Un comment the line that looks similar to this and change ports 80 and 8080 with 22 and 2222. This will allow port 22 to be forwarded to 2222 and make it publicly available.

Power up the VM.
vagrant up
Finally, allow port 2222 on the Azure OS VM (we already took care of Azure firewall). Go to Control Panel, click on Windows Firewall and then Advanced Settings.
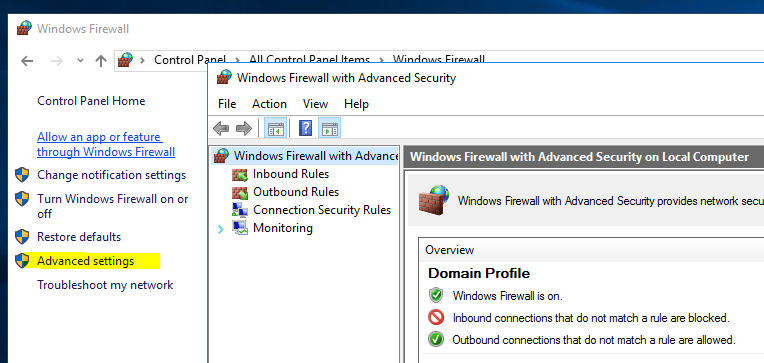
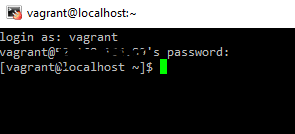
On the left side, click Inbound Rules, right-click it, then select New Rule. Select Port, then TCP, port 2222, Allow and select All Profiles. The VM should be accessible from the outside now. Open up putty or any other SSH client and access the instance over port 2222. Use vagrant/vagrant as username and password.