In this post I’ll explain how to install and use AWS CLI. It will be a basic document that will be referred in the following posts. We’ll cover installation on Windows, FreeBSD 10.1 and CentOS 7.0. The installation and basic use is trivial.
Table of Contents
Windows
Go to AWS CLI home-page and download your 64-bit or 32-bit version. Double-click the installer and follow up the prompts. I wanted to do some screenshots, but it’s not worth it. Three time click Next, once Install, Finish and you are done. Open a command prompt and type aws. If you see this, you are all set.
C:\windows\system32>aws
usage: aws [options] <command> <subcommand> [parameters]
aws: error: too few arguments
FreeBSD
The aws cli relies on Python, so if you have Python 2.7 installed, do:
pkg install py27-pip
If you don’t have Python installed, use the same command. It will download and install Python 2.7 for you.
If you have a different version, you might want to use the sources.
Then, install aws cli.
pip install awscli
CentOS
Same thing, aws relies on Python. CentOS 7 comes with Python installed. Install pip first.
yum install wget
wget https://bootstrap.pypa.io/get-pip.py
python get-pip.py
pip install awscli
AWS
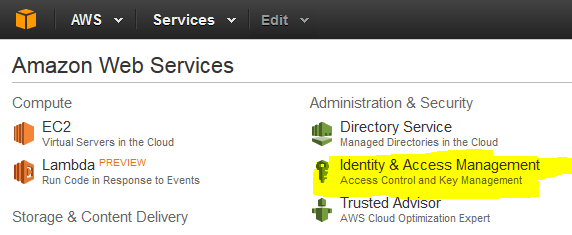
Log on to AWS Console and click on Identity & Access Management.
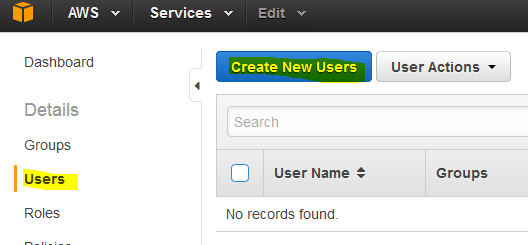
Click on Users and then Create New Users.
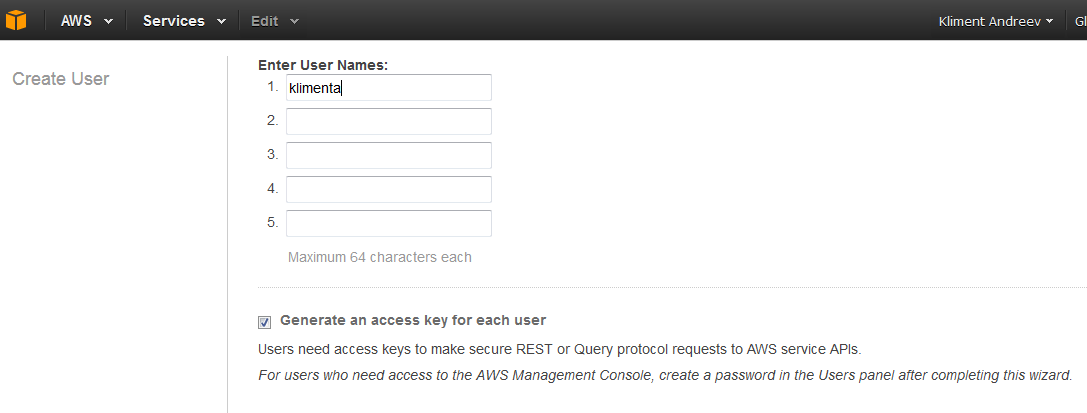
Type the username of the first user and make sure that the check mark at the bottom is checked.
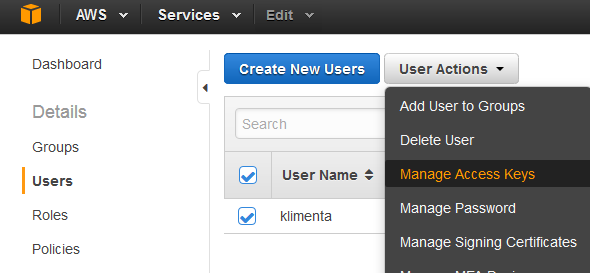
Click on Download Credentials and store them somewhere safe. If you lose this file or forget your credentials, you can regenerate the access keys, by selecting the user, clicking on User Actions and then Manage Access Keys.
Now that you have the credentials file downloaded, which is a simple text file, do the following.
aws configure
Enter your Access Key Id, Secret Access Key, Default Region Name and the Default output format (text, table, JSON).
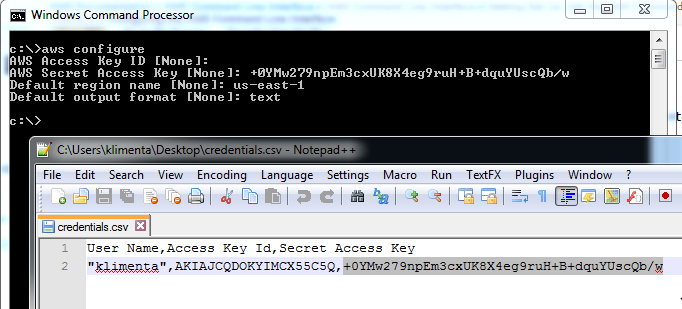
Don’t share these keys with anyone. The keys that I am using are for test use, they are gone by now.
Test the CLI.
c:\>aws ec2 describe-instances
You should receive this.
A client error (UnauthorizedOperation) occurred when calling the DescribeInstances operation:
You are not authorized to perform this operation.
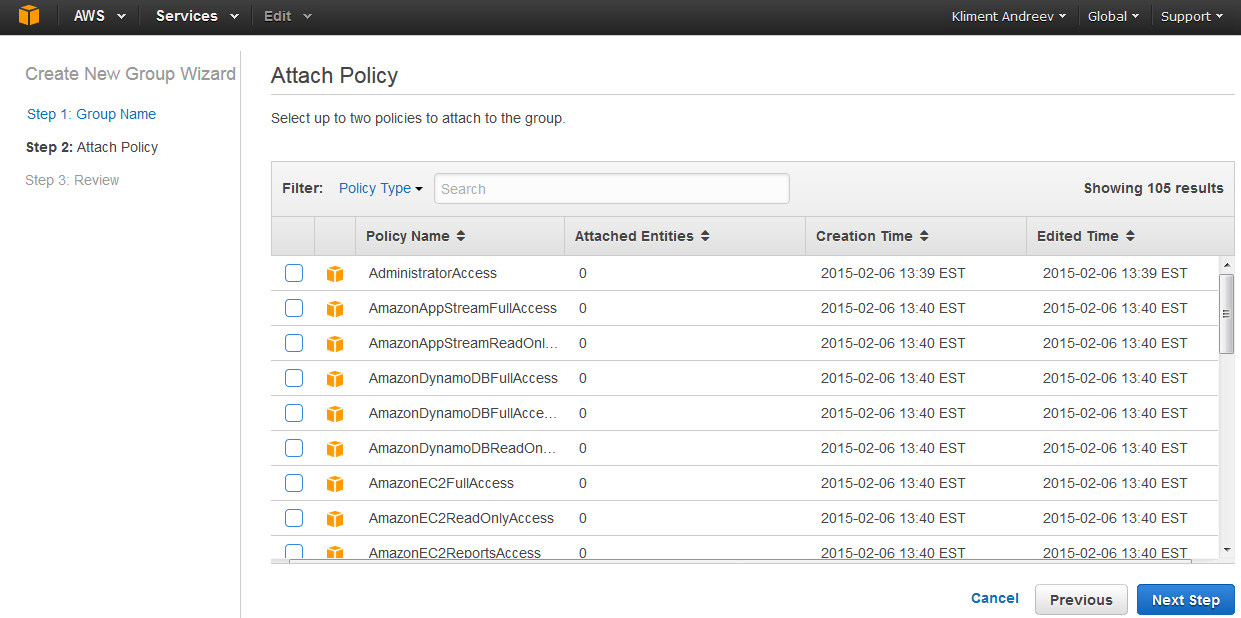
Go back to the AWS console and back to IAM menu (Identity and Access Management). Create a new group called Admins or whatever you like.
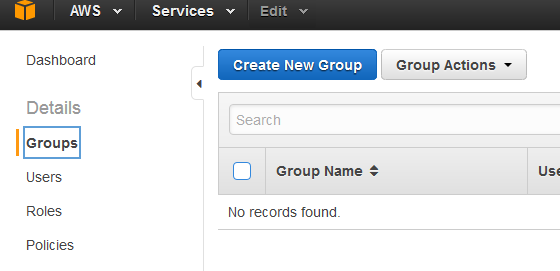
Attach a Policy. In my case, I’ve selected the top option, thus giving the user full admin rights.
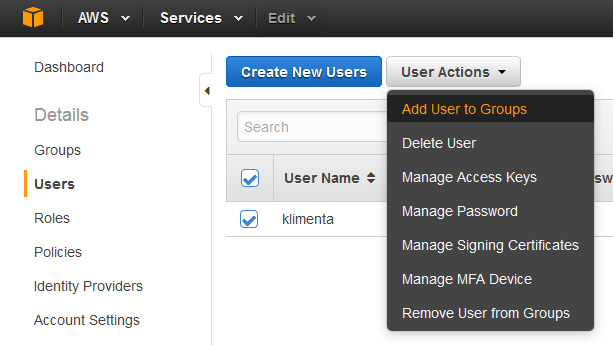
Go back to the Users, select the user, click on User Action and click Add User to Groups. Add the user to the group you’ve just created.
Test the CLI again.
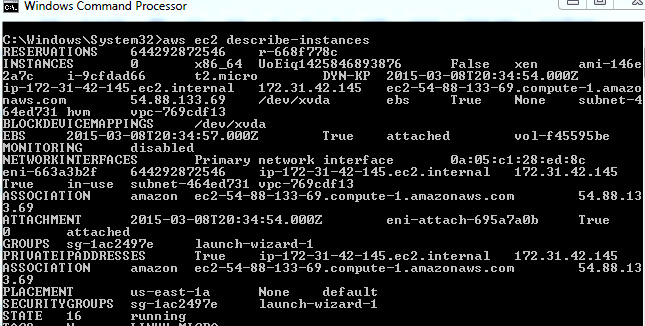
c:\>aws ec2 describe-instances
You should see all of your instances, if any.
The default credentials are stored under %UserProfile%\.aws under Windows and ~/.aws under Linux/FreeBSD.
Proxy
If you are behind a firewall and/or you are using proxy, make sure that port 443 (https) is opened. Amazon AWS CLI uses port 443 to execute API calls on the backend. See this page for more details and how to configure proxy.
If you are using FreeBSD and csh/tcsh shell use setenv instead of export.
setenv HTTP_PROXY http://your-proxy-name-or-IP:your-proxy-port
or
setenv HTTPS_PROXY http://your-proxy-name-or-IP:your-proxy-port


