
AWS Console has its own authentication/authorization directory using IAM users, roles and policies. On top of that, they also offer multi-factor authentication, so your logins are much more secure. But, I wanted to see how I can use Okta for SSO between my AD domain at home and AWS. The setup is very simple as you can see from this diagram.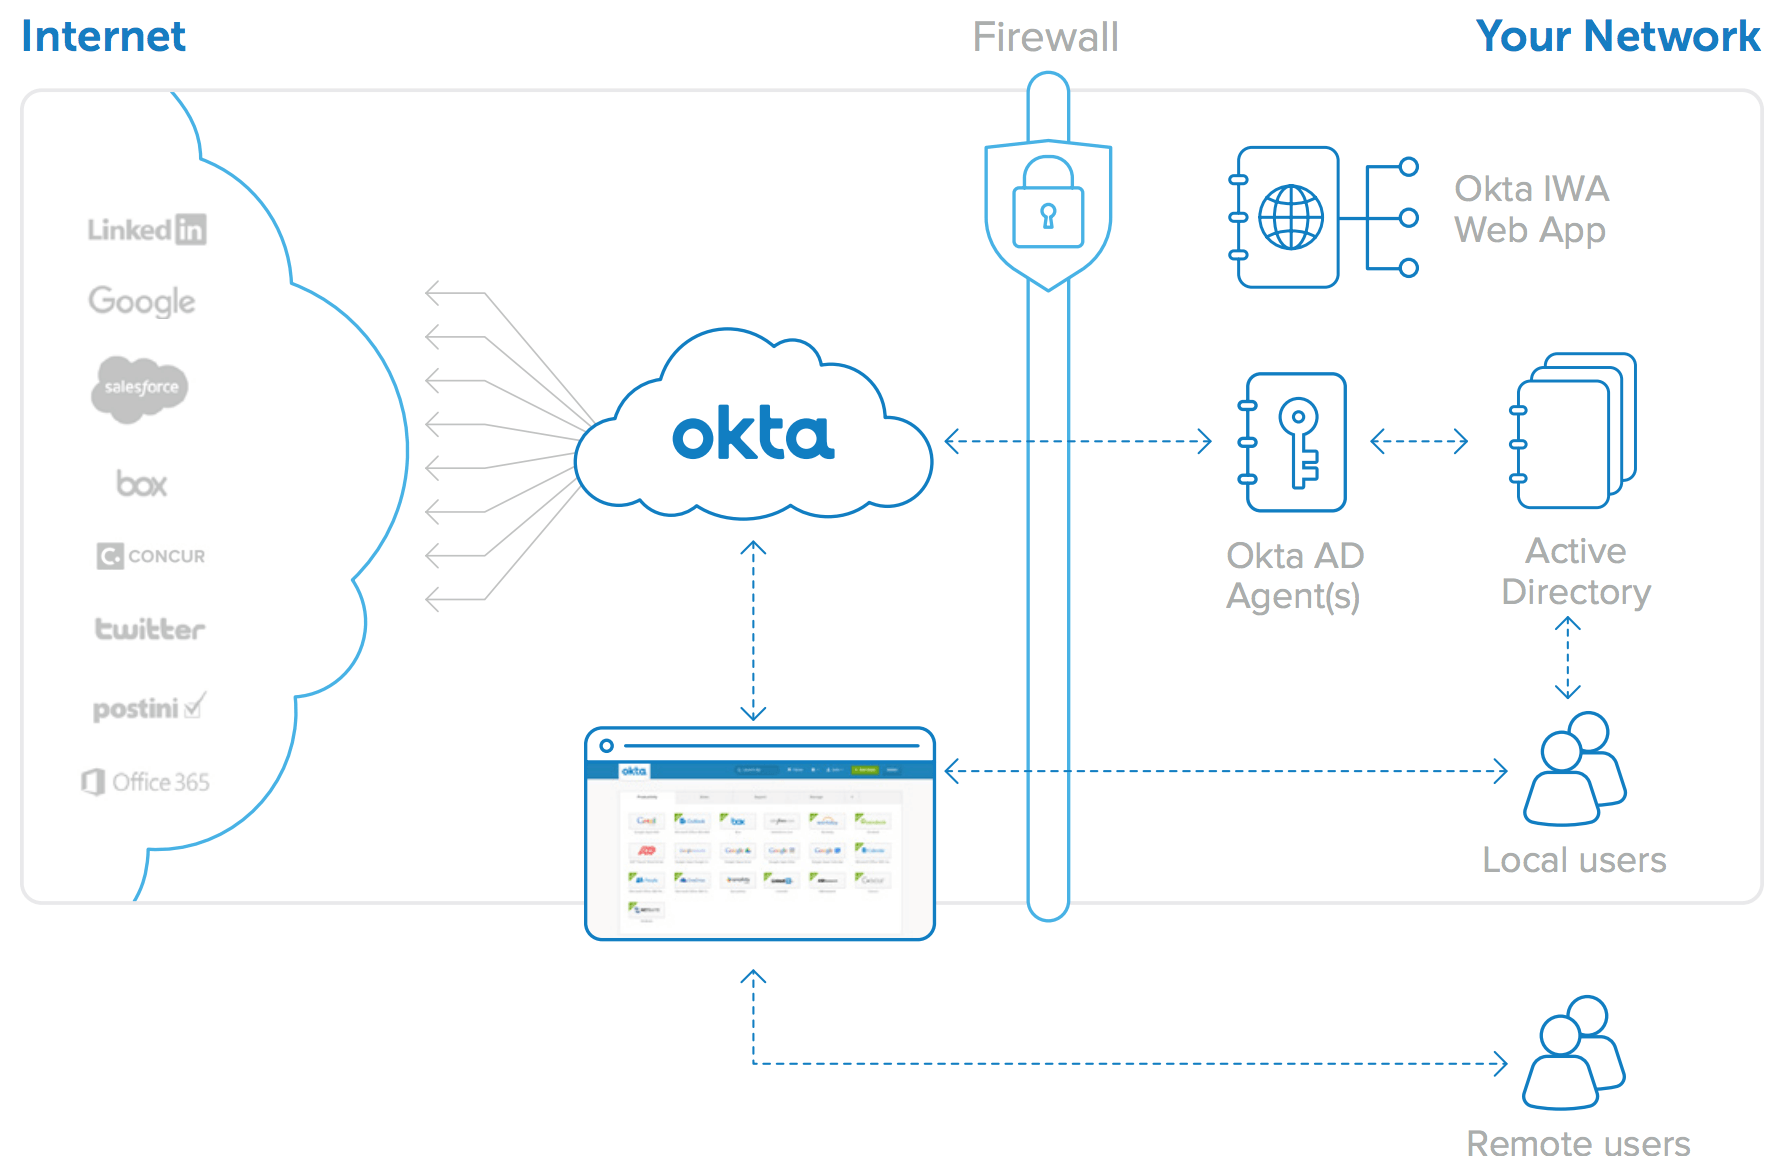
On the left side, AWS is missing – but you get the point. In my case, I’ll have two AD groups, AWS Full Admin and AWS Read Only. I also have two AD users, admin.user and ro.user. If you haven’t integrated your AD with Okta it’s time to do so.
Table of Contents
Okta
Go to the Okta dashboard and from the menu go to Directory | Directory Integrations.
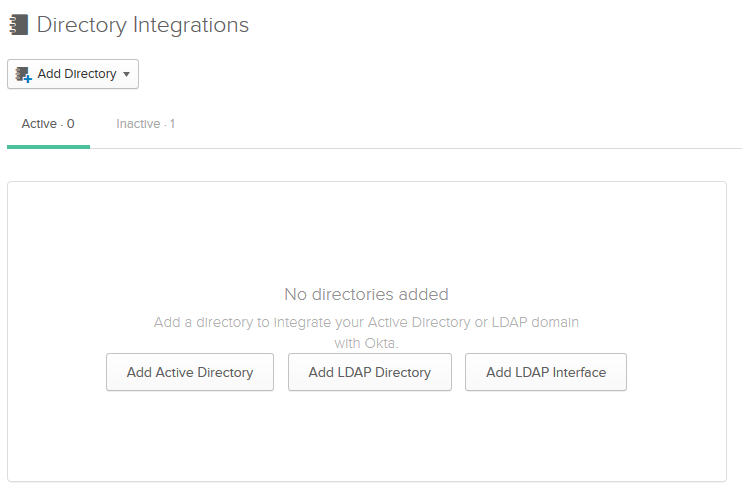
Click on Add Active Directory and proceed so you can download an agent that you have to install on a member server with at least 8GB RAM. You can also install it on a domain controller, which I did in my lab, but I guess it’s not recommended. You’ll see this page telling you that Okta is waiting for your AD to connect.
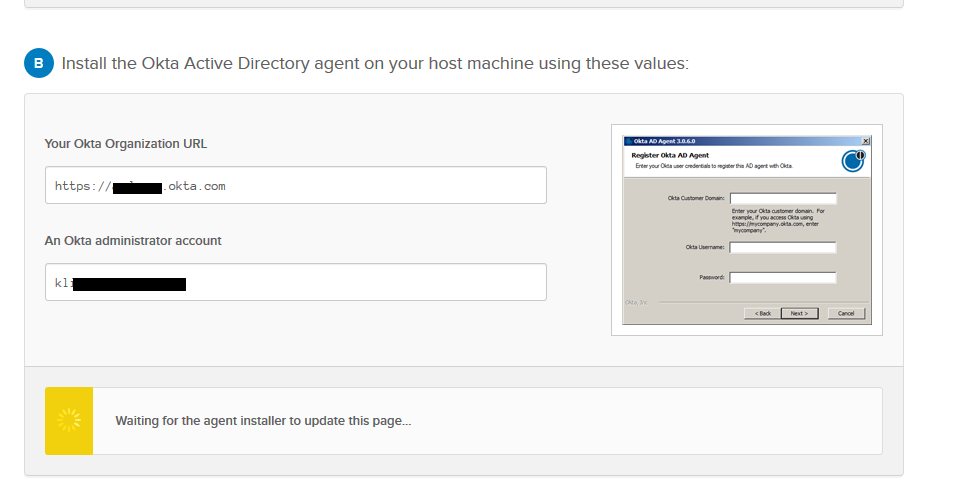
Go ahead and install the agent. You’ll be prompted to specify the domain name (andreev.local in my case), create a service account OktaService or choose an existing one, choose a proxy to connect to Okta servers over HTTPS (if needed) and finally you have to specify your Okta domain, e.g. the prefix for your Okta landing page, https://company.Okta.com. You have to type -company-.

Once the service starts and authenticates with your Okta admin account to the Okta servers, your dashboard page will change asking you to specify what OUs in your AD you want to sync. Choose the OUs and choose your Okta username format.
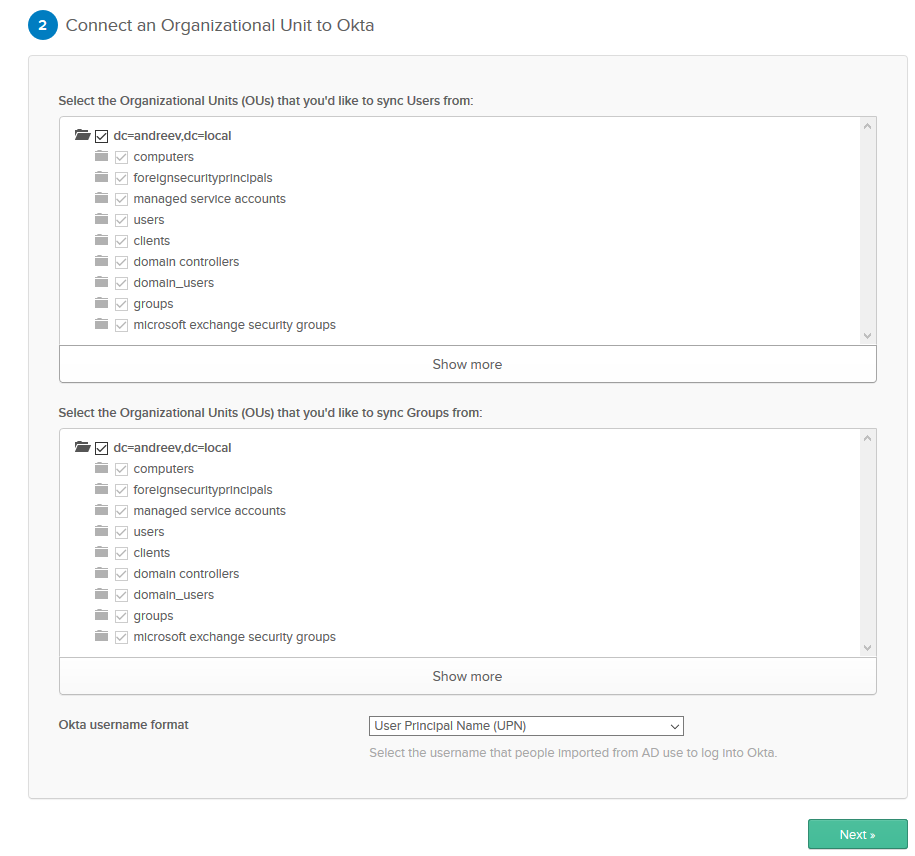
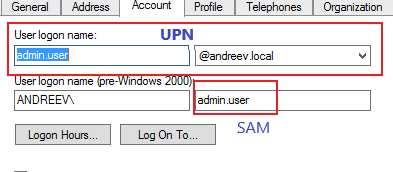
In my case I’ll use UPN which is [email protected], but you can choose e-mail if your have a valid e-mail specified for the users, e.g. [email protected] or the SAM account which is your login that you use for AD, e.g. username. See below.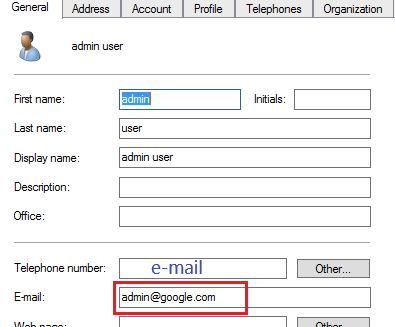
Click Next and unless you have some non-standard AD attributes that you want to map, it’s safe to proceed with the defaults. Under the settings for the AD in Okta, you can choose the scheduled interval for the AD sync. By default, this sync is disabled. To test the integration, go to the settings page of your AD in Okta, choose Test Delegated Authentication (bottom right) and enter the username and password for an AD account that you know it’s synced with Okta.

You can also test the integration if you go to https://-company-.okta.com and log in with a synced AD user.
Okta app for AWS
Before we move to AWS part, click on Applications from the menu and click on Add Application menu. Type Amazon Web Services and select the app. Do not use AWS Console app, that’s a different one.

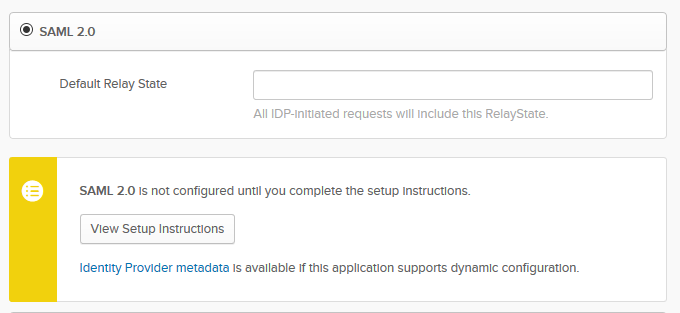
Click Add and you can leave the settings under General Settings or change it to AWS Console. Click Next and on the next screen, use SAML 2.0
Click on the Identity Provider Metadata link and download the file. You’ll need this for later.
Click Done and once this part is completed, we can go to AWS Console and configure AWS IAM and then come back to Okta.
AWS Console
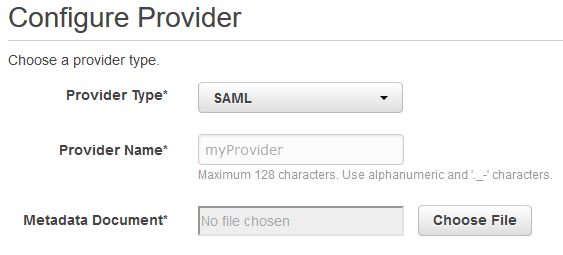
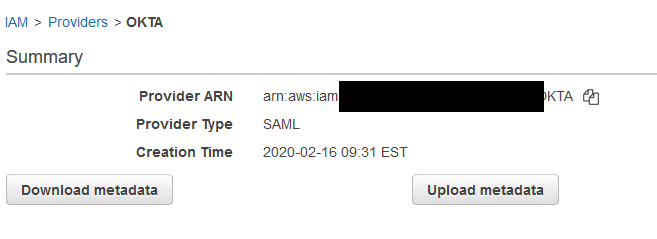
Log to the AWS Console with an account with sufficient rights to create IAM polices, roles and users. Go to IAM and then Identity Providers on the left side. Click Create Provider and choose SAML for Provider Type, type a description (e.g. OKTA) and choose the metadata file that you’ve just downloaded.
Click on Next Step and then Create. Click on the entry that you just created and make a note of the ARN. You’ll need this later.
IAM
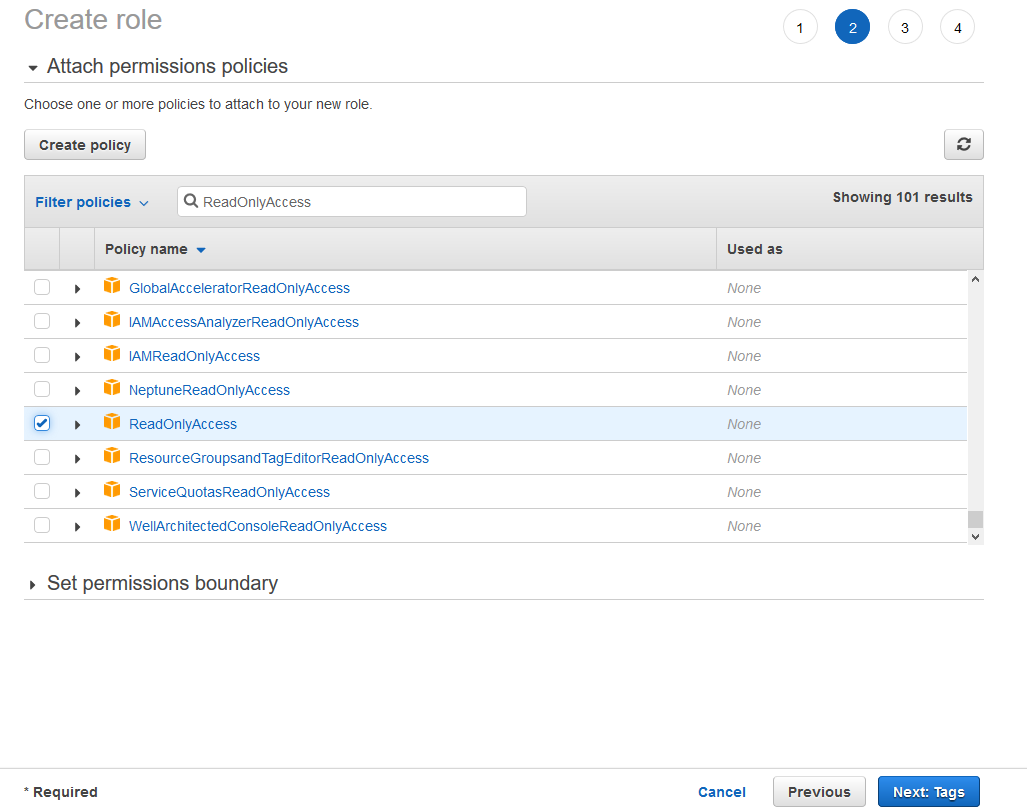
We’ll create two new roles based on existing AWS policies for full admin access and read only access. Go to IAM | Roles and click on Create Role. Click on SAML 2.0 federation, choose the SAML provider that we just created, select Allow programmatic and AWS Management Console access and click on Next: Permissions.

You can create your own policy if you want by clicking on Create policy or choose an existing one like I did by filtering the Read Only policies. Click on Next: Tags after.
You can tag your role and click Next: Review after…and finally you can create the role.

Do the same again IAM | Roles | SAML, but this time create a full admin role named rolFullAdminAccess (filter the policies by Administrator).
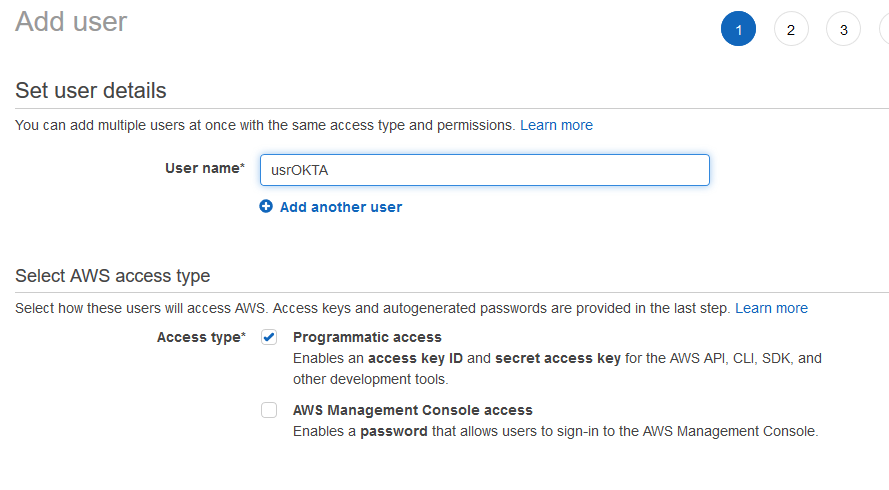
Let’s connect AWS and Okta now, but creating a user that will be able to list the roles. Go to IAM | User and click on Add user. Name your user and allow Programmatic access only.
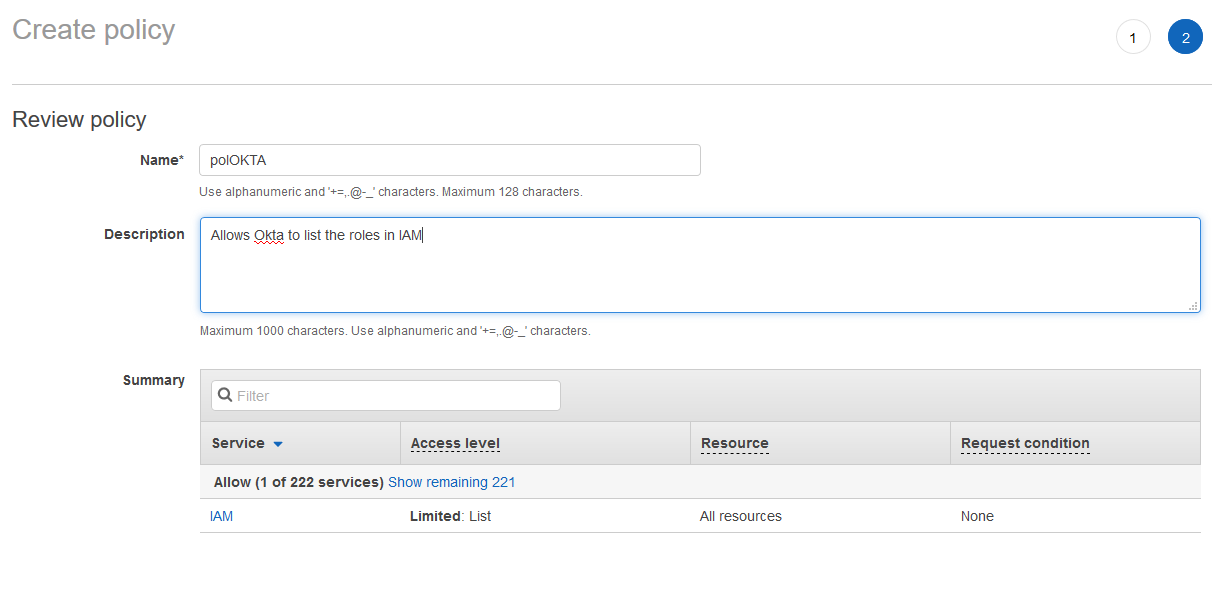
Click on Create policy. This will open a new window. Do not close the previous one.

Click on the JSON tab and paste this policy. Then click Review policy.
{
    "Version": "2012-10-17",
    "Statement": [
        {
          "Effect": "Allow",
          "Action": [
              "iam:ListRoles",
              "iam:ListAccountAliases"
          ],
          "Resource": "*"
        }
    ]
}
Name your policy and click on Create policy.
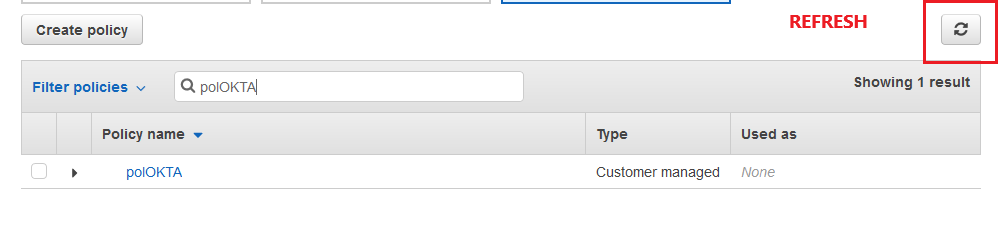
Go back to the previous tab and click on the refresh button, right off the Create policy button. Then filter the policy and assign it. Click Next: Tags.
Proceed to create the user, but make sure you download the CSV file with the credentials for this user.

Okta – app config
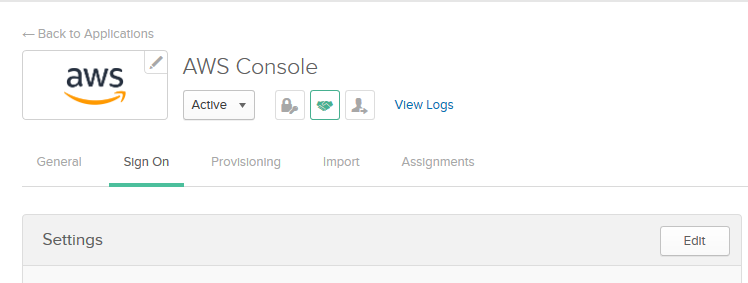
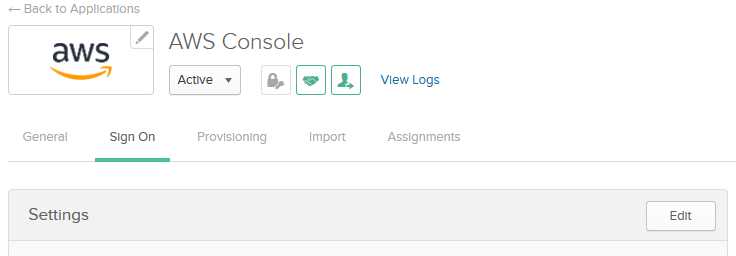
Go back to Okta and click on the Sign On tab and then Edit.
Scroll down a little bit and paste your ARN value (the one that you got from AWS earlier) under Identity Provider ARN (Required only for SAML SSO. It’s under IAM | Providers | -your-provider in AWS. Click Save after.
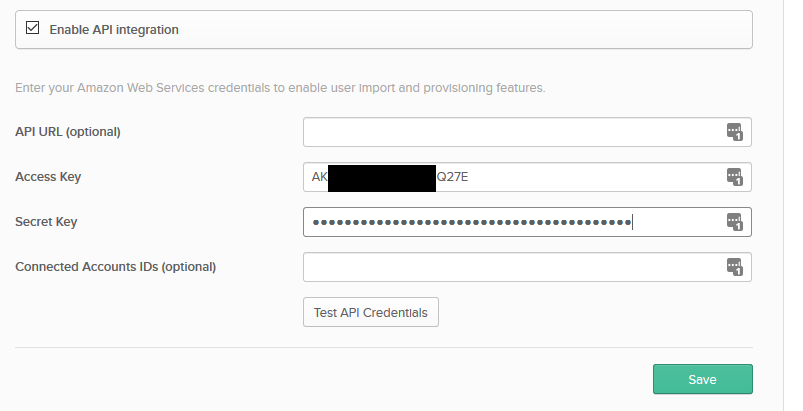
Click on the Provisioning tab next to Sign On and click on Configure API Integration. Click the checkmark, then copy and paste the access key and the secret from the CSV file from AWS. Click Test API Credentials and if everything is OK, click on Save.
Under Provisioning make sure that Create Users and Update User Attributes are enabled.
Finally, go to the Assignments tab and select Groups. Then, click the green button Assign and choose Assign to Groups.
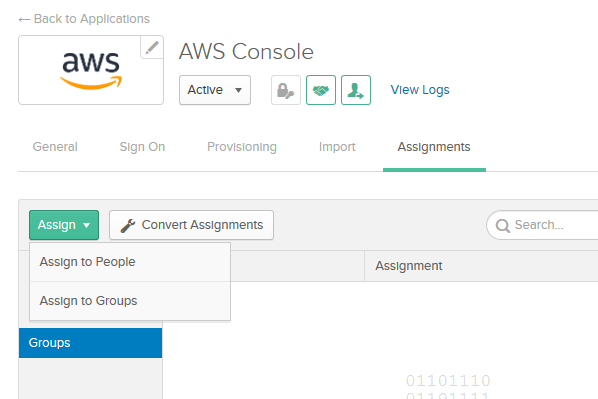
You will see your groups here, select the first one and click the Assign button.

You will see your roles there. Select the admin role and Save.
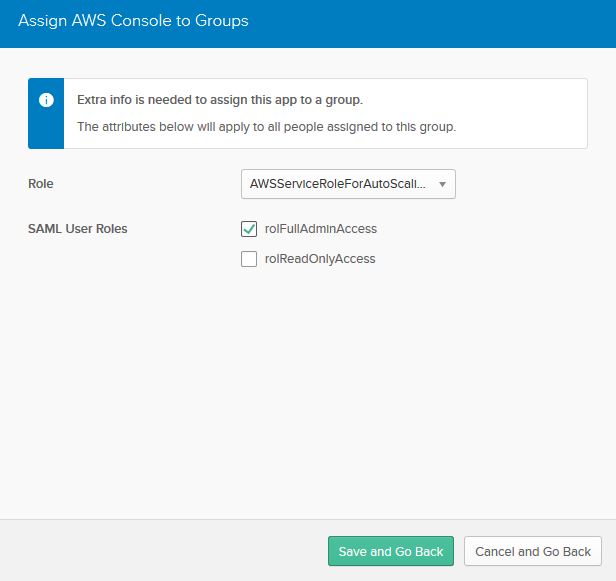
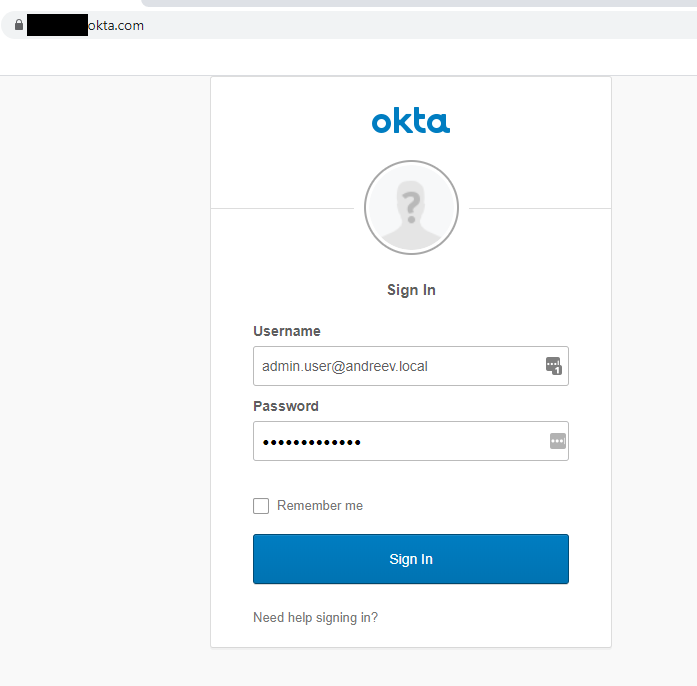
Do the same for the other group and role and pretty much you are all set. Open a new browser and this time log as one of the users, in my case I am logging as admin.user to https://mycompany.okta.com.
You’ll get a note that you have a new app assigned.
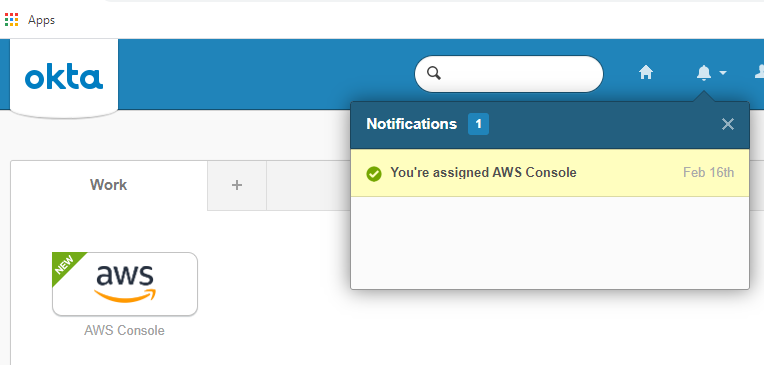
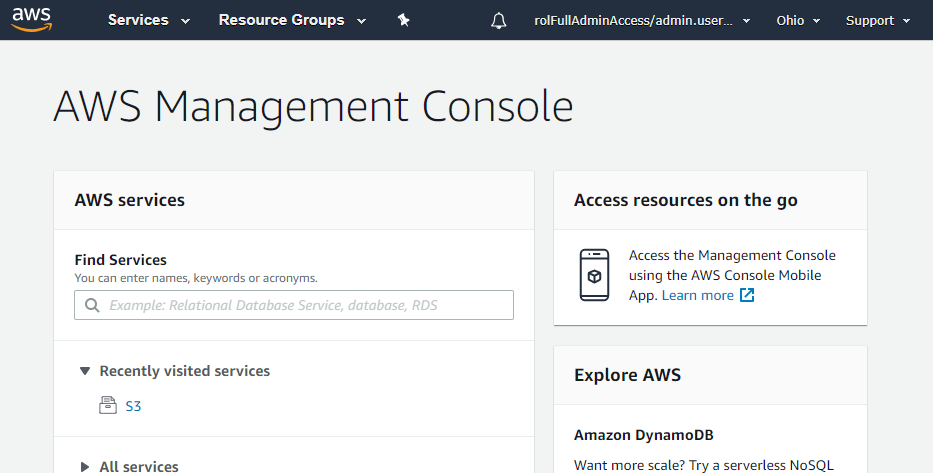
If you click on the app icon, you’ll get logged in to the AWS console without any passwords.
Multi-factor authentication
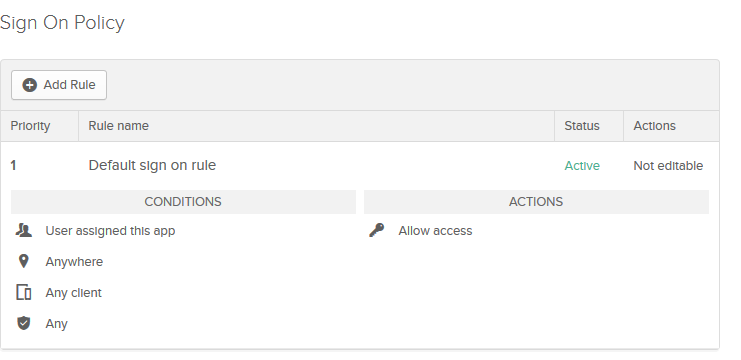
While the above setup looks good, you still need MFA to make things even more secure. Go to the app settings in Okta and click on the Sign On tab then click Edit.
Scroll all the way down and click on Add Rule.
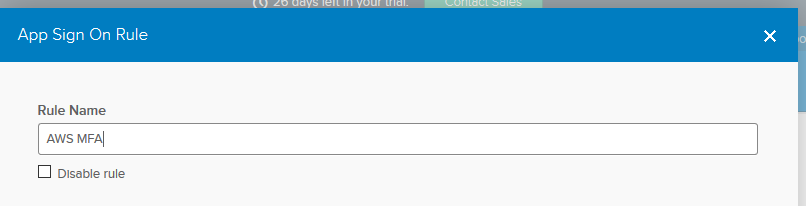
Name the rule however you want and scroll all the way down.
Click on Prompt for fact and choose whatever you want from the settings.
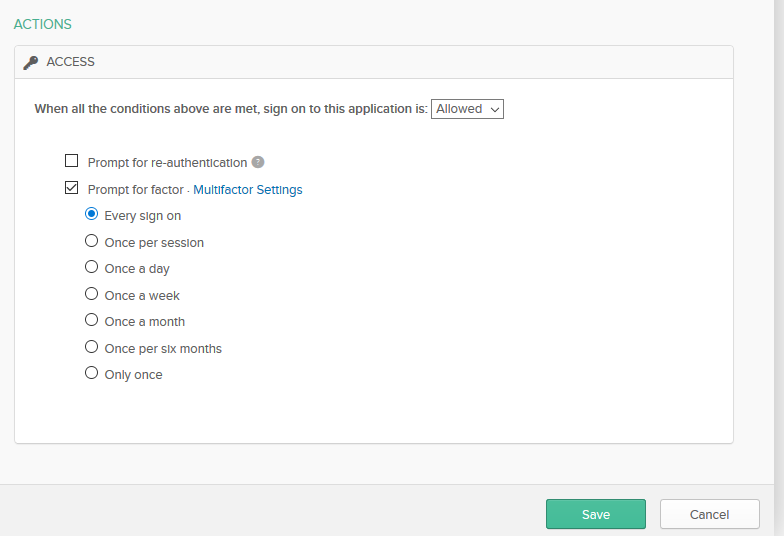
Once configured, when you log in to your Okta dashboard, you’ll get in without prompted for MFA, but when you click on the AWS Console app, you’ll get redirected to AWS to configure your MFA. You can use the Okta mobile app for MFA or Authy which I prefer. This is because we configured the MFA to occur on the AWS level, not on Okta level.
