
I used pfSense a lot in the past 6 months, but I never got any chance to write about it. So, for my 100th post, I’ll talk about it a bit and this will be a placeholder for future reference.
At my home, I was using a Netgear Nighthawk AC1900 (R7000), but this Wi-Fi router has a lot of limitations. I’ve decided to go with a full blown PC, but I needed a one that’s not a desktop/laptop size. After some research I’ve decided to buy Qotom-Q180S from Amazon. It’s about $150 and it arrived in 3 days from Hong Kong. It’s great because there are no moving parts (no fan, no HDD).
First, go to https://www.pfsense.org/download/ and download the ISO.
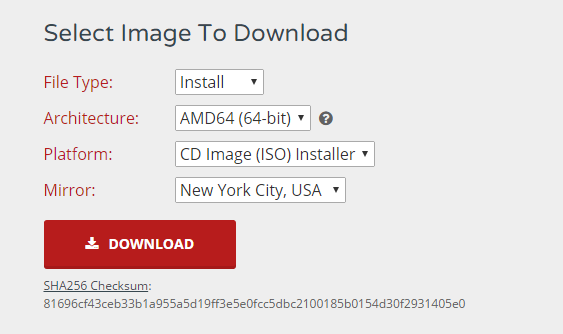
Use something like Rufus to transfer the image to an USB stick.
Go to the BIOS and choose to boot from USB. You can also see how big is the unit compared to a pen.

When pfSense boots up, you’ll see something like this.
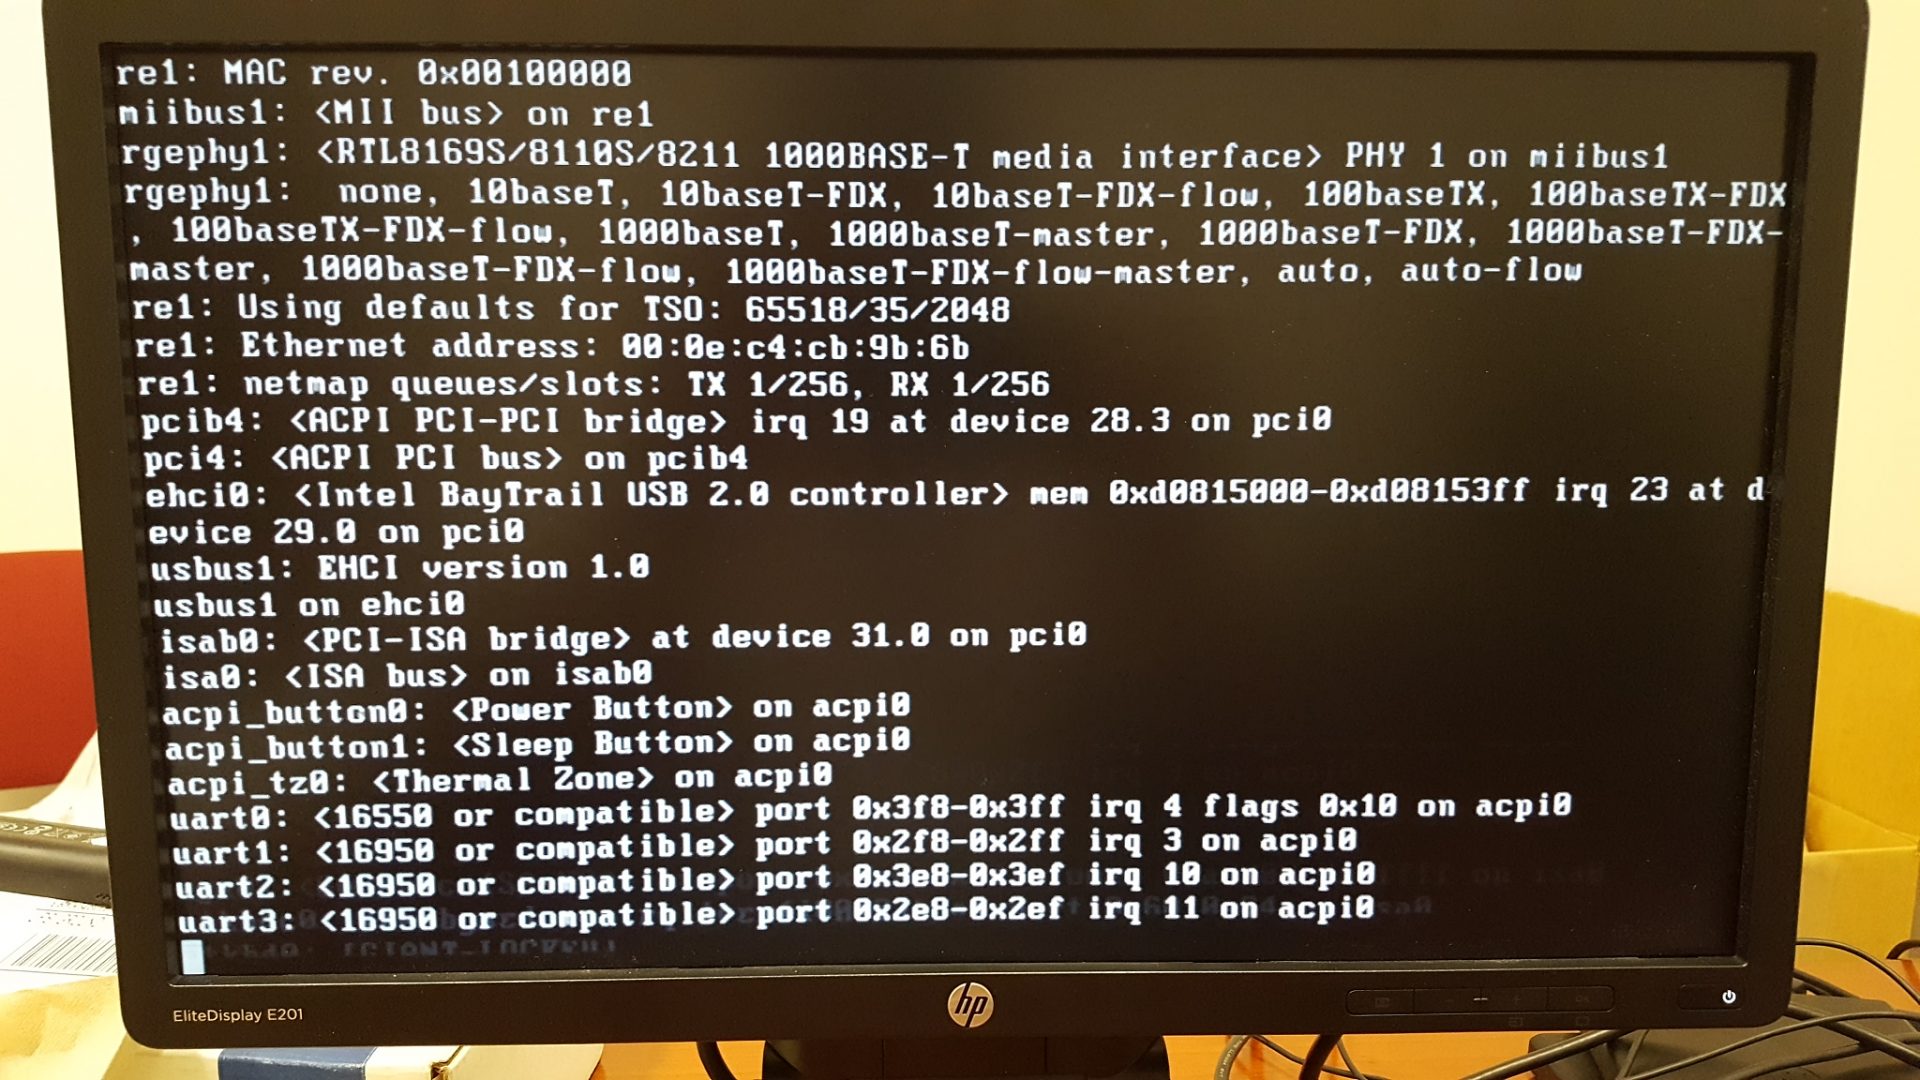
Use the default.

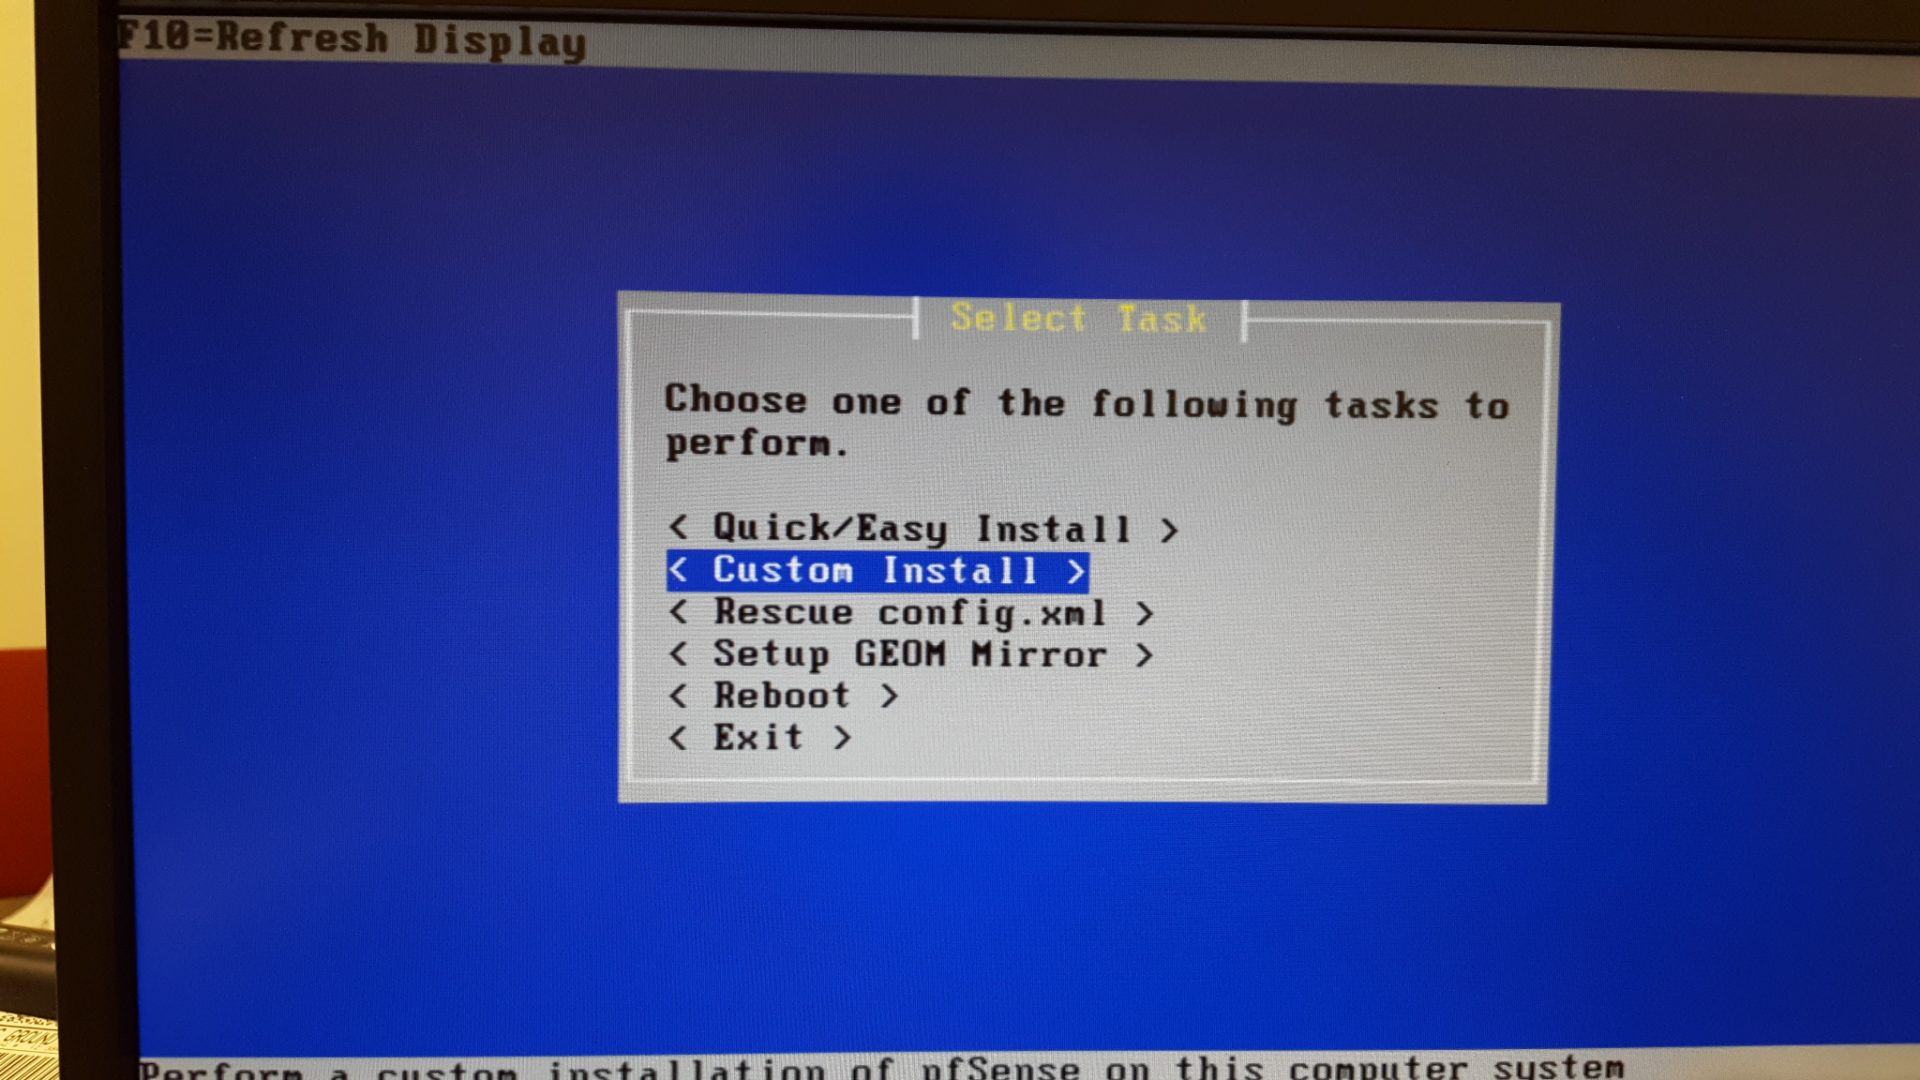
Choose Custom install.
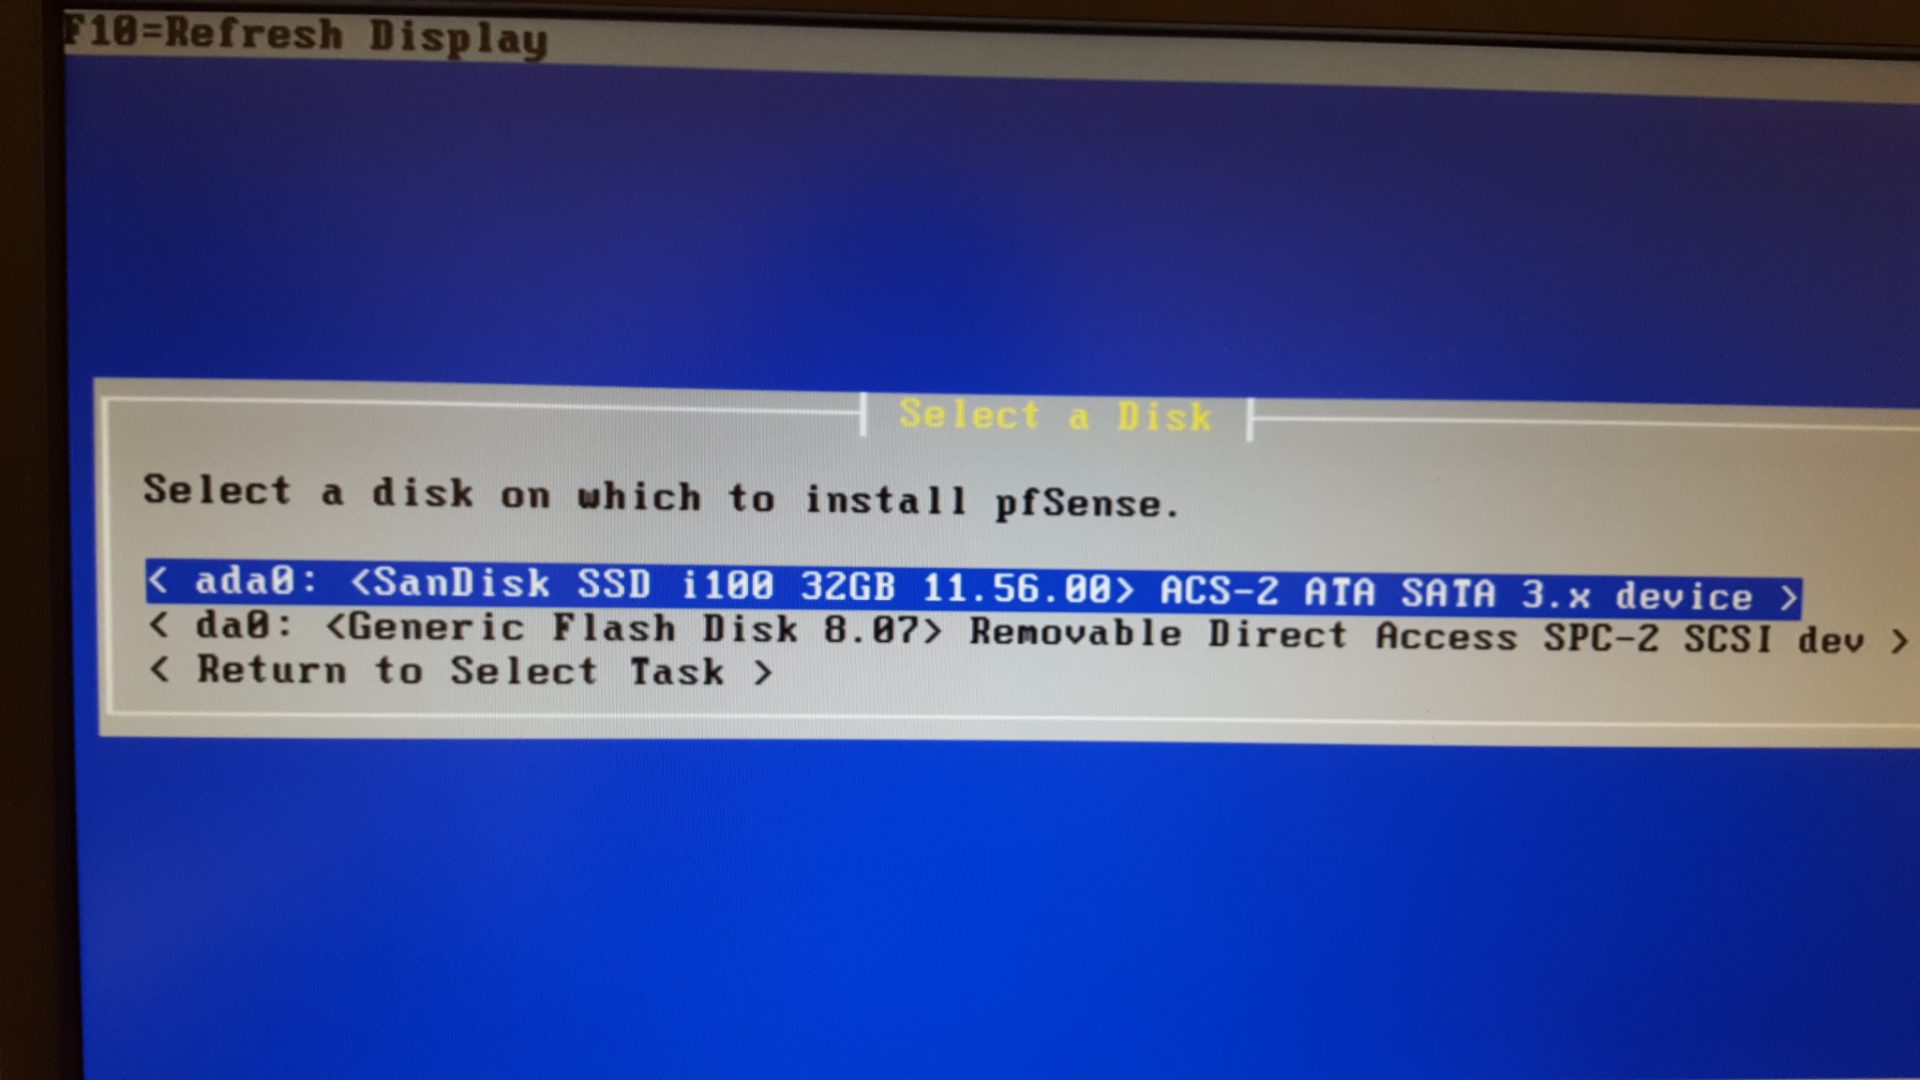
Choose the SSD drive (32GB) that comes with the unit, not the USB drive.
Format the disk, the unit comes with Windows 7 that’s not activated.
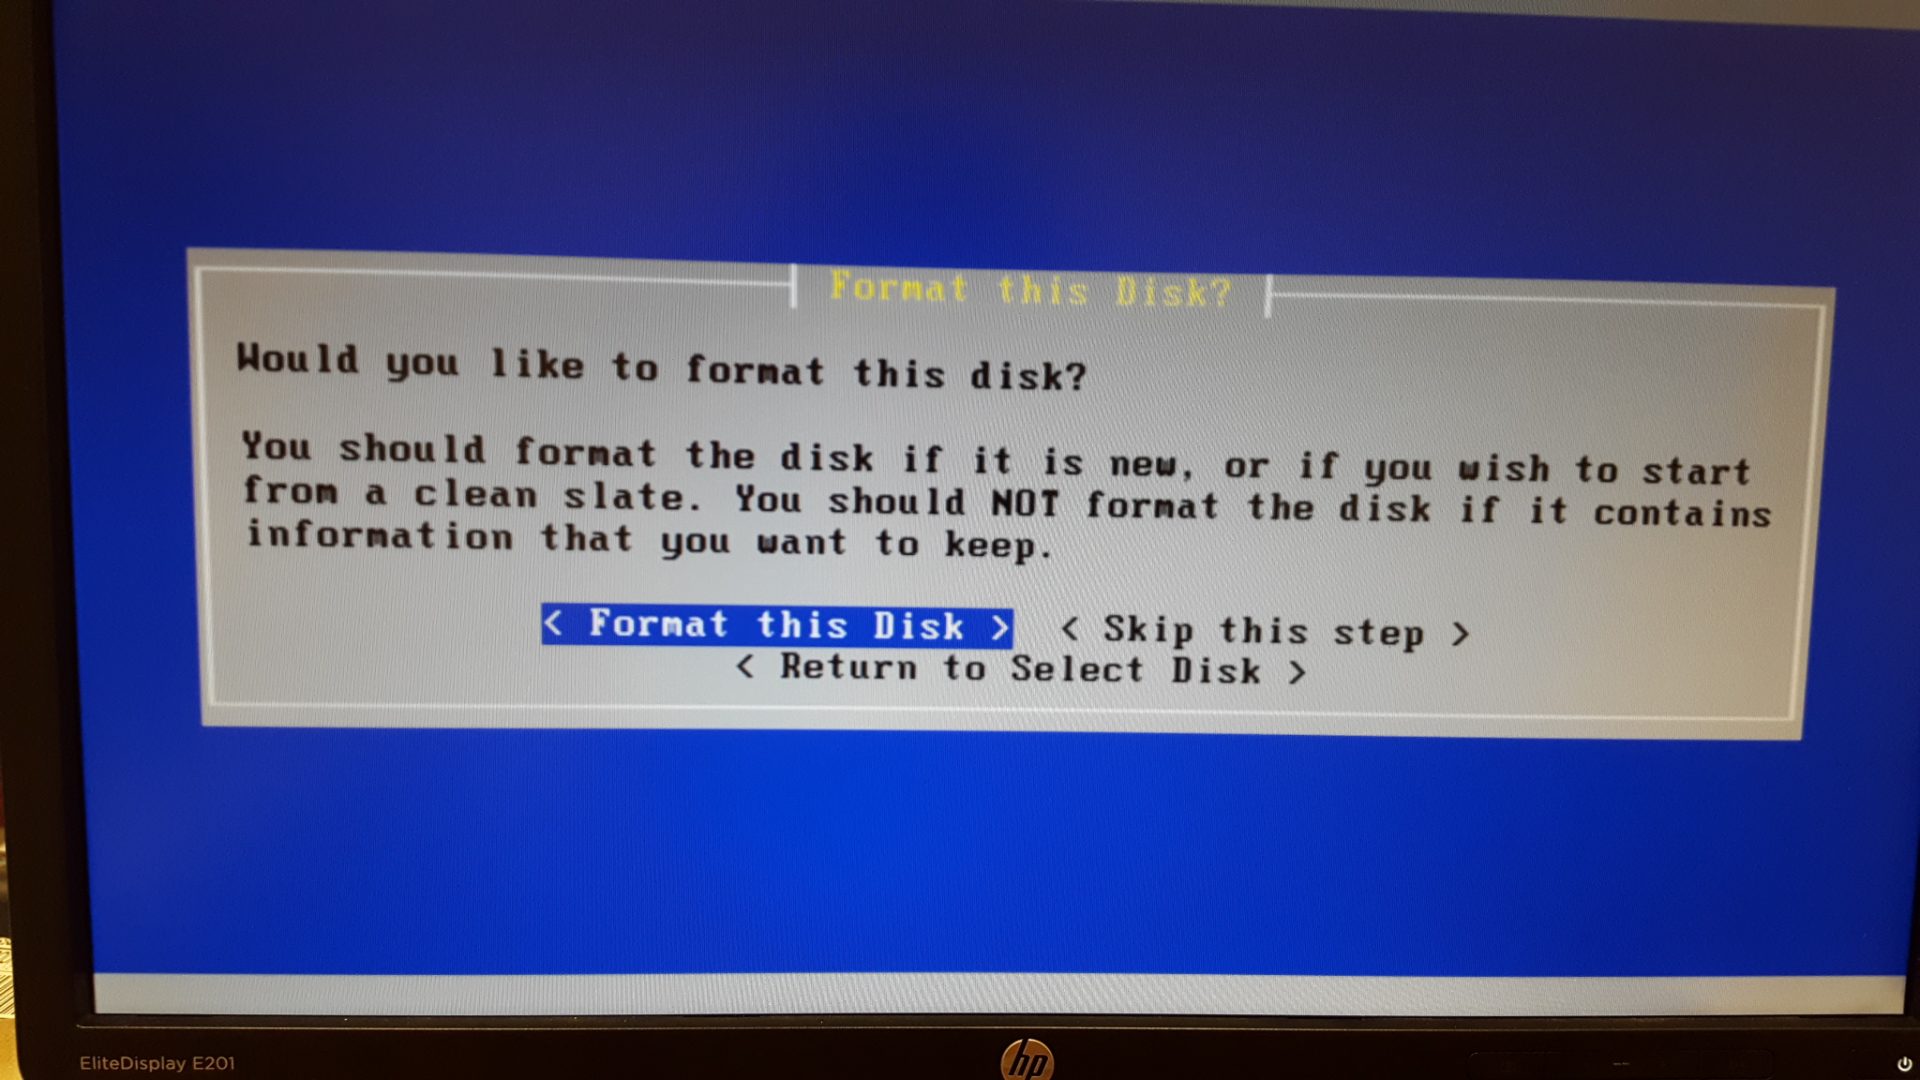
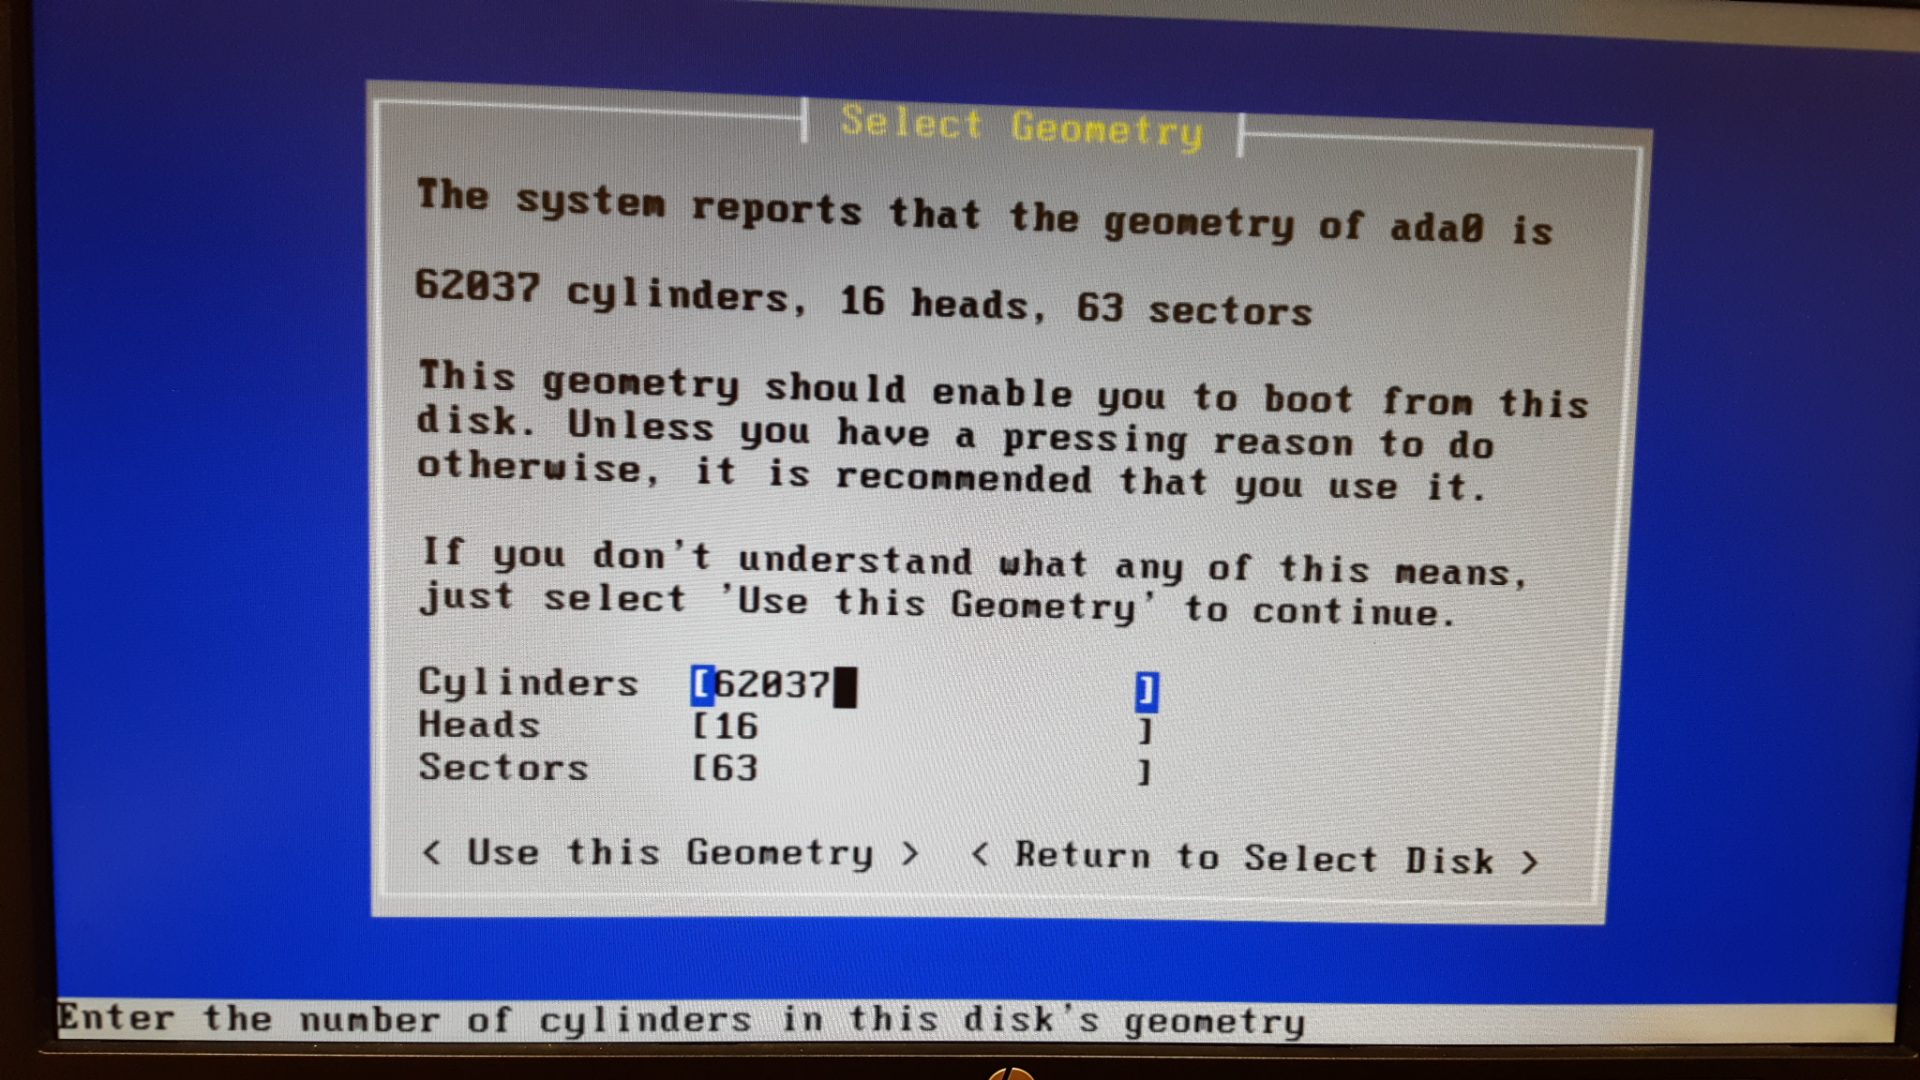
Just use the defaults.
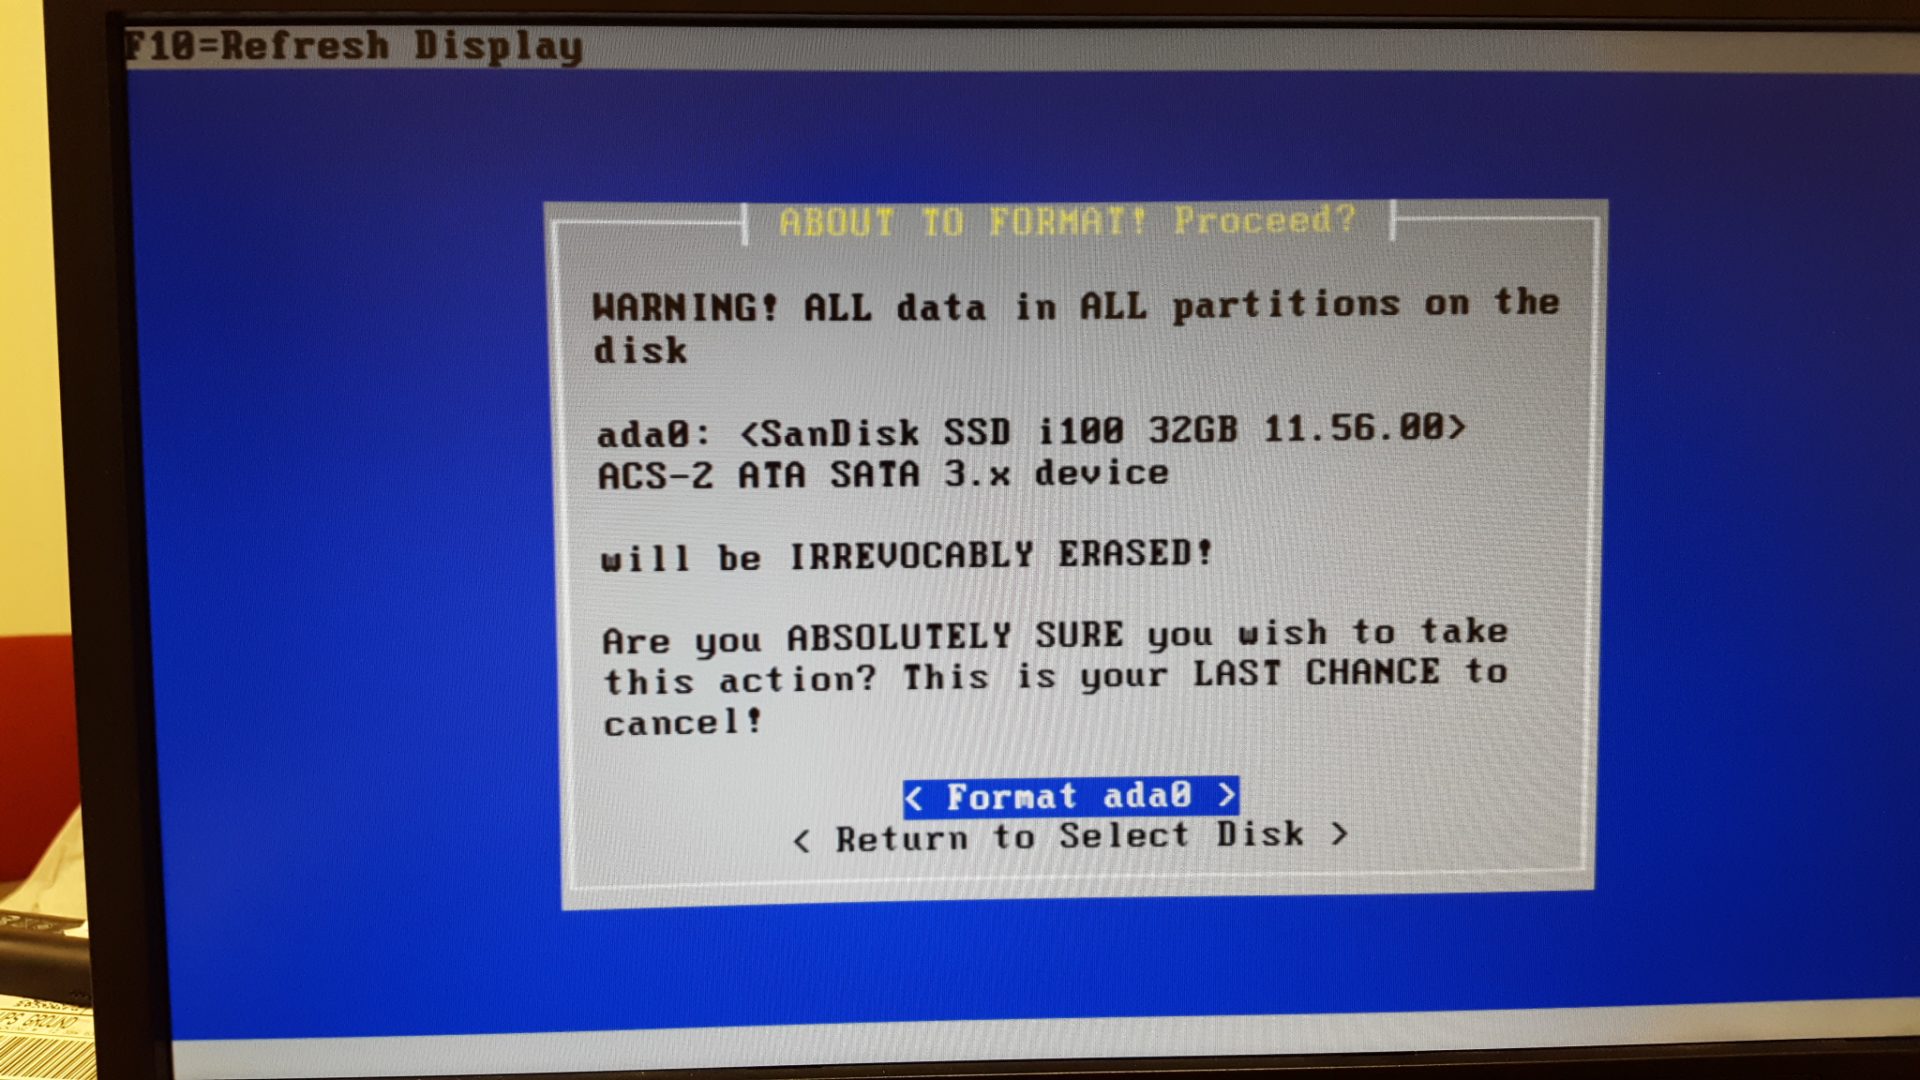
Yep, format.
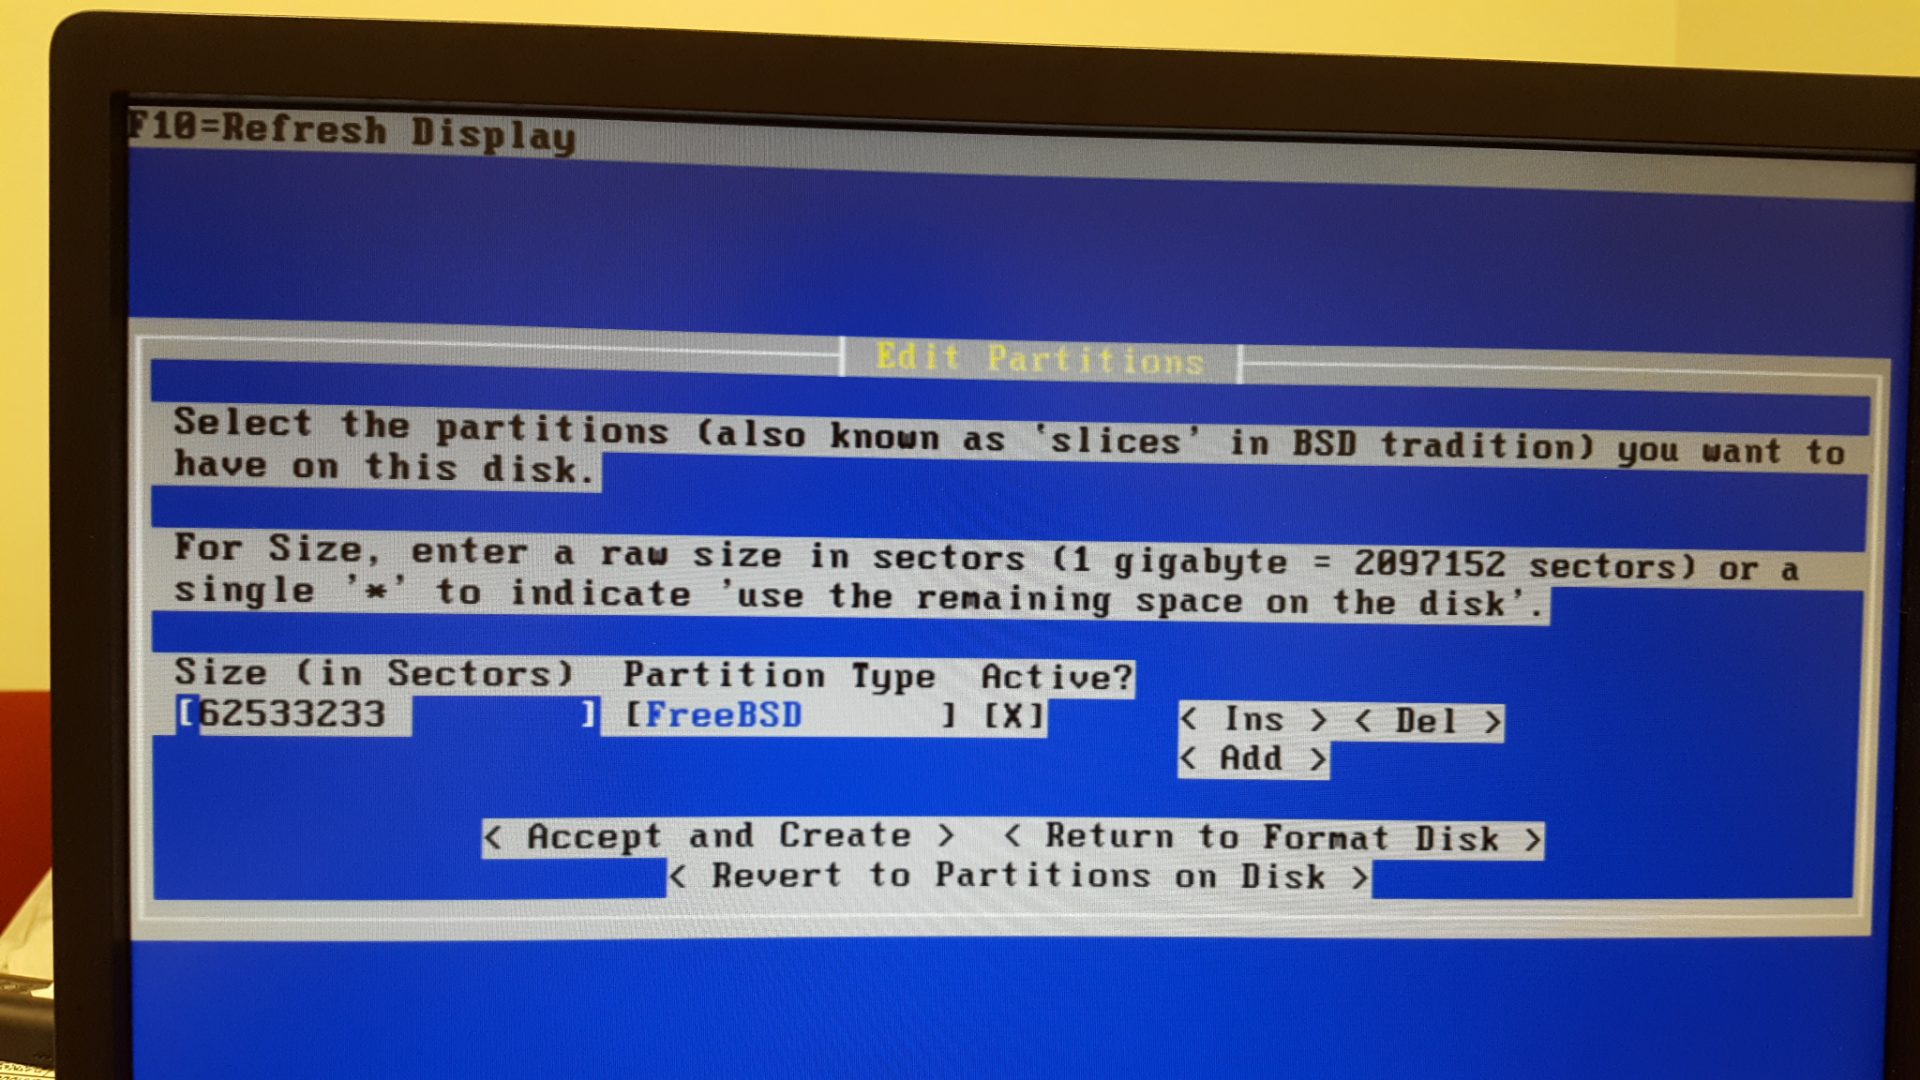
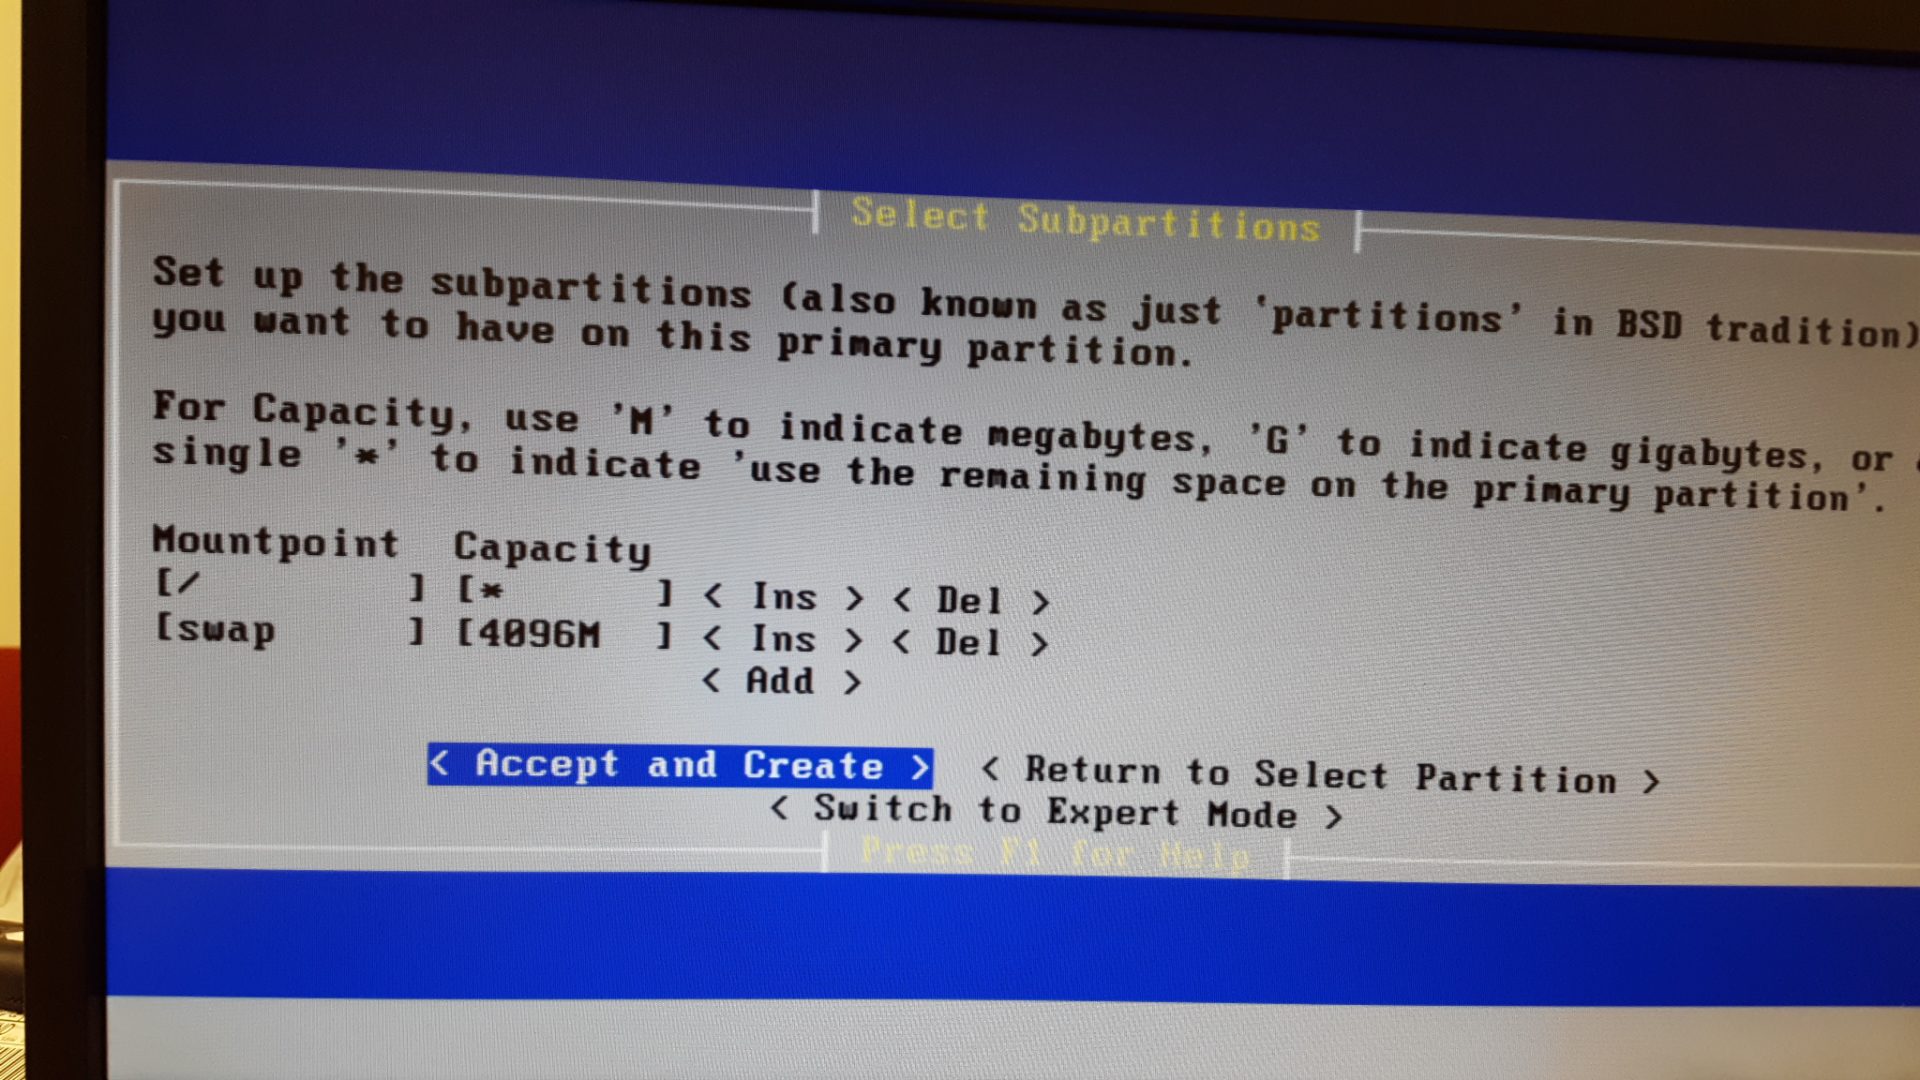
Tab to Accept and Create and hit Enter.
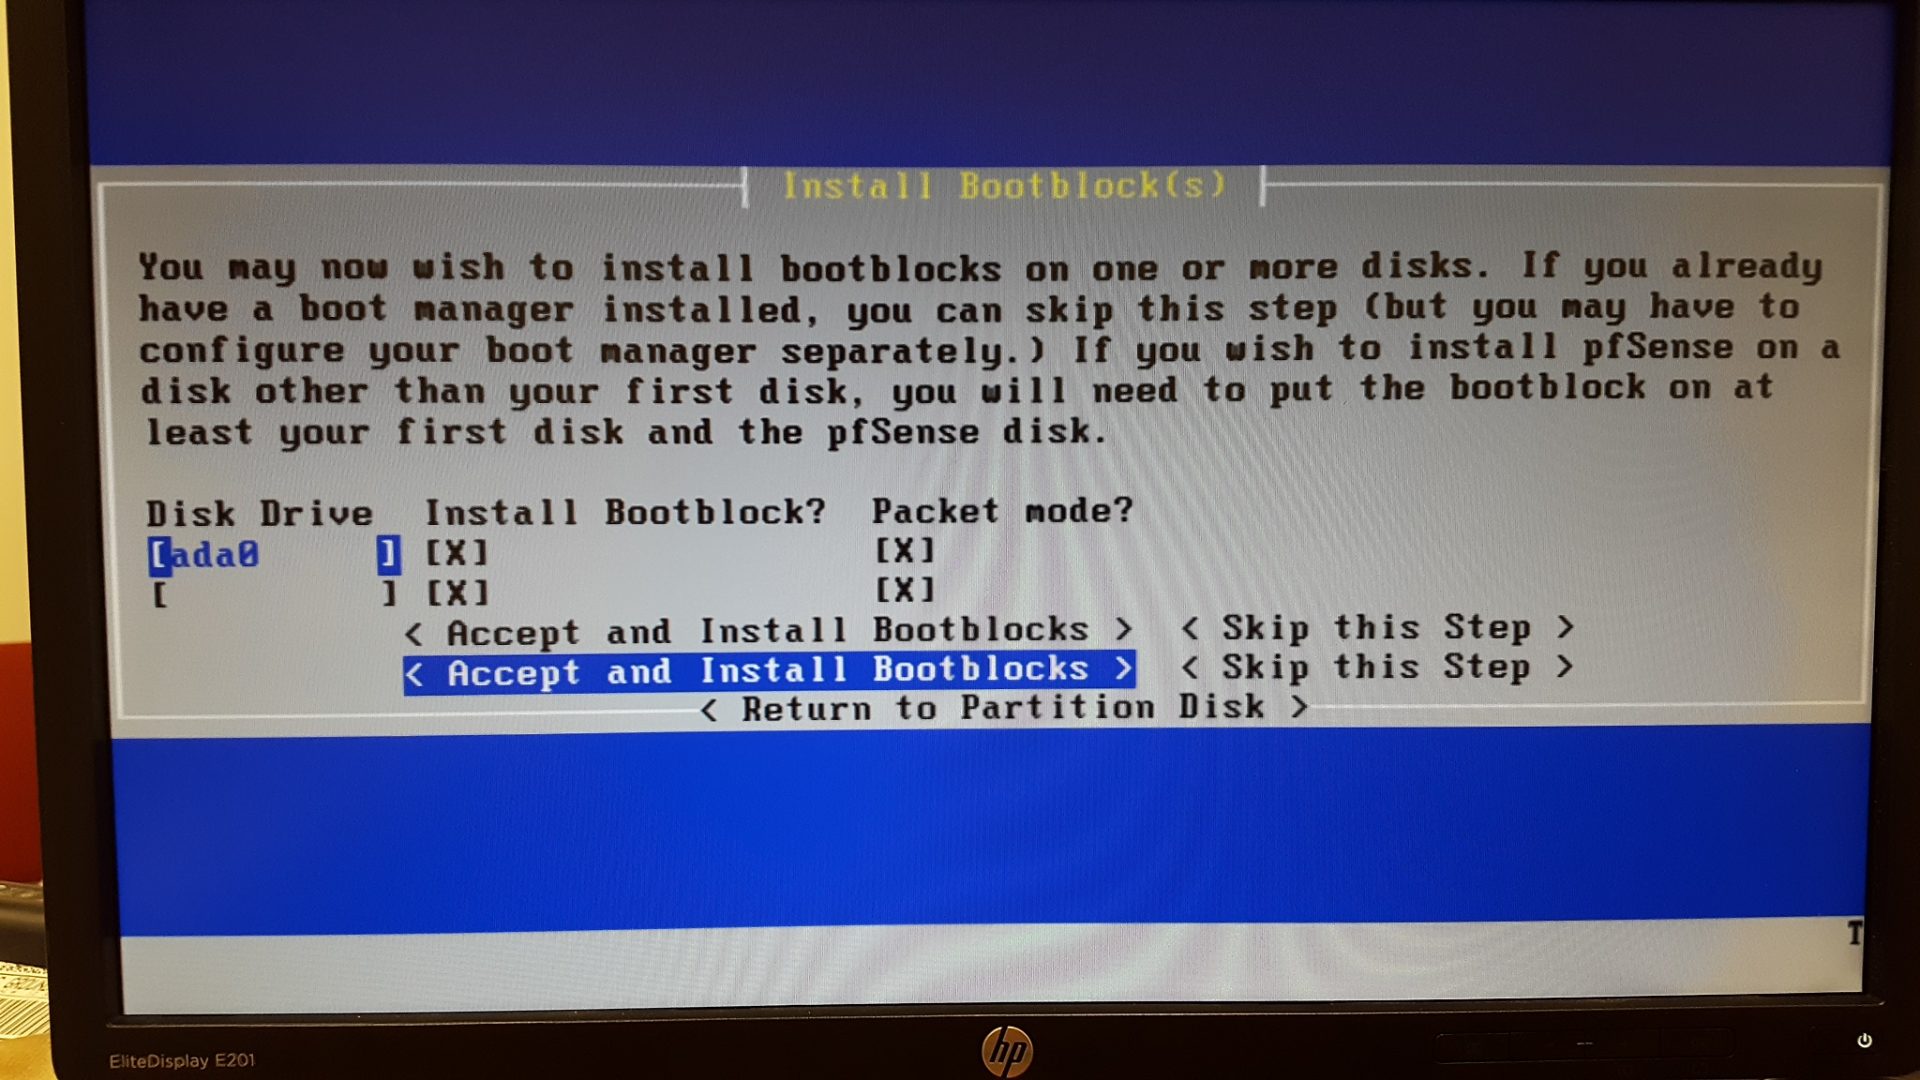
Same thing, Accept and Install Bootblocks.
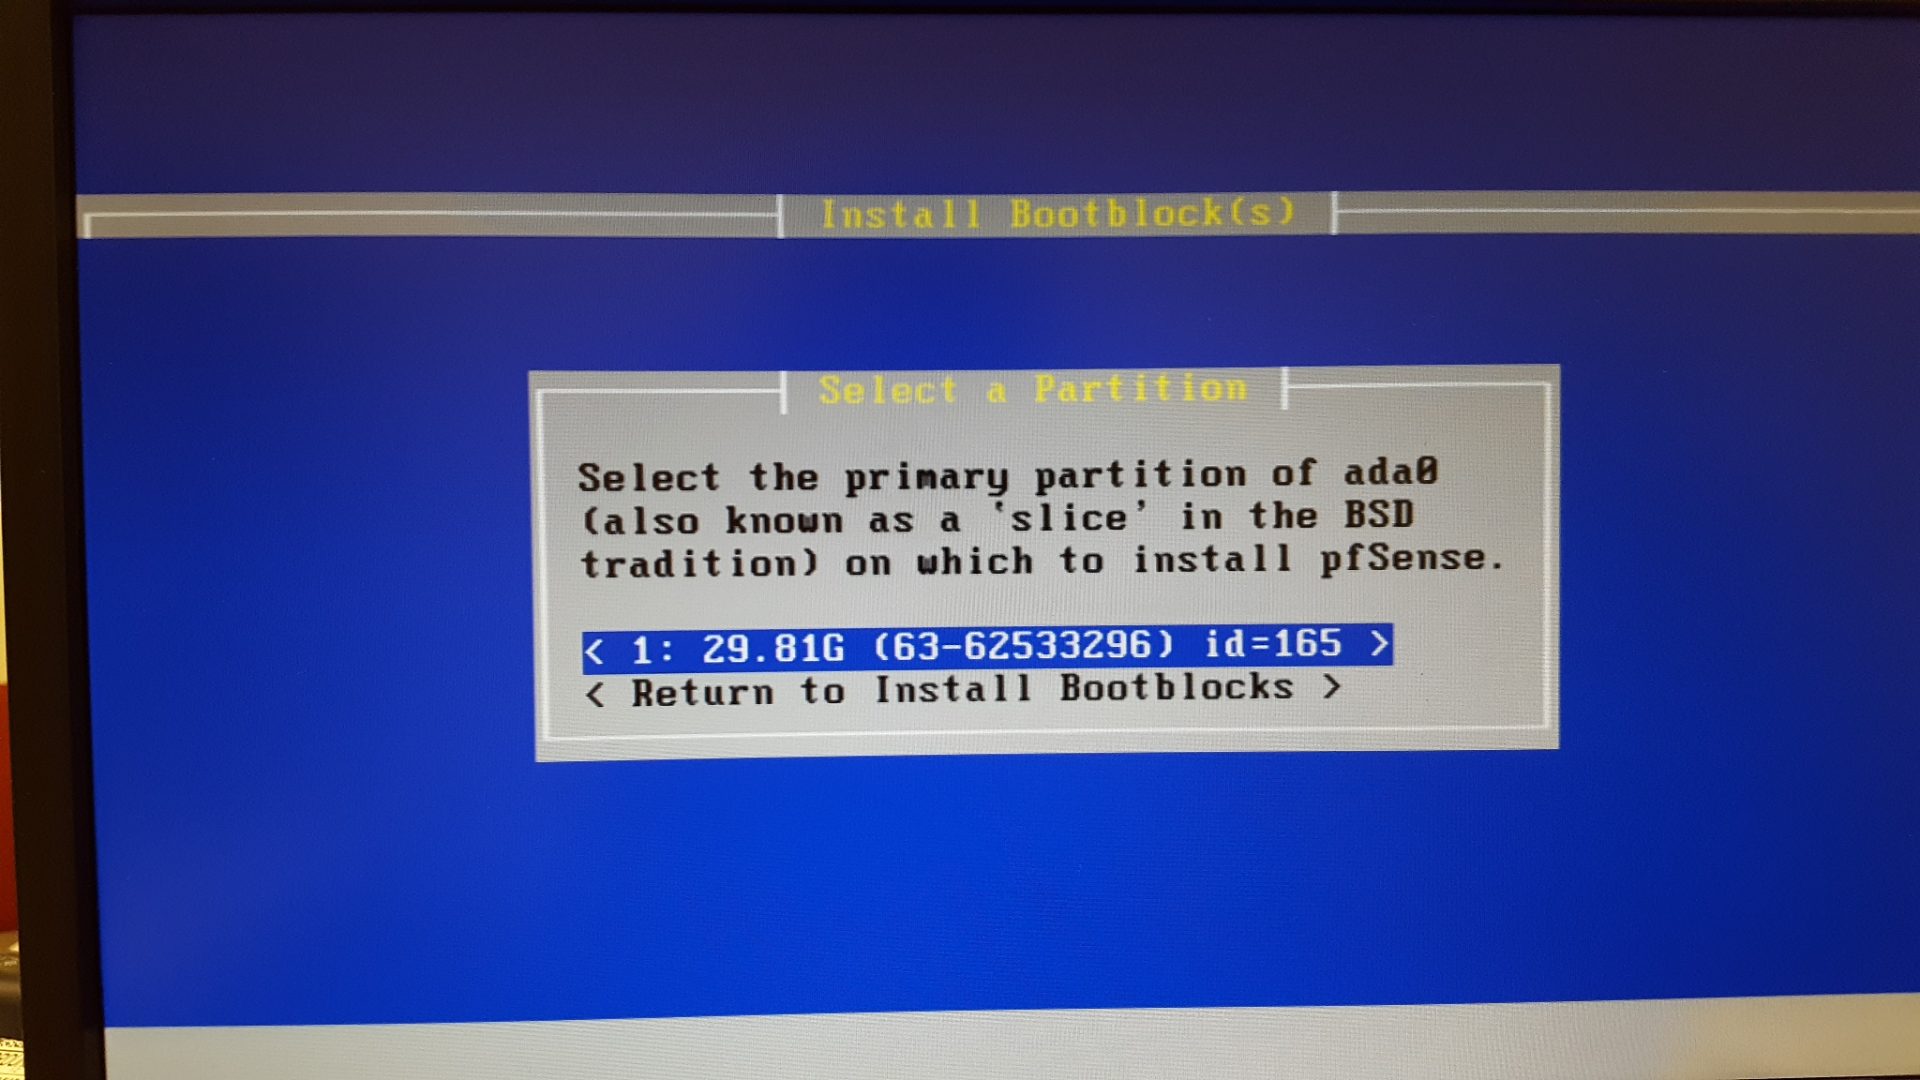
Use the default.
It’s all defaults, 4GB of swap because I have 2GB RAM.
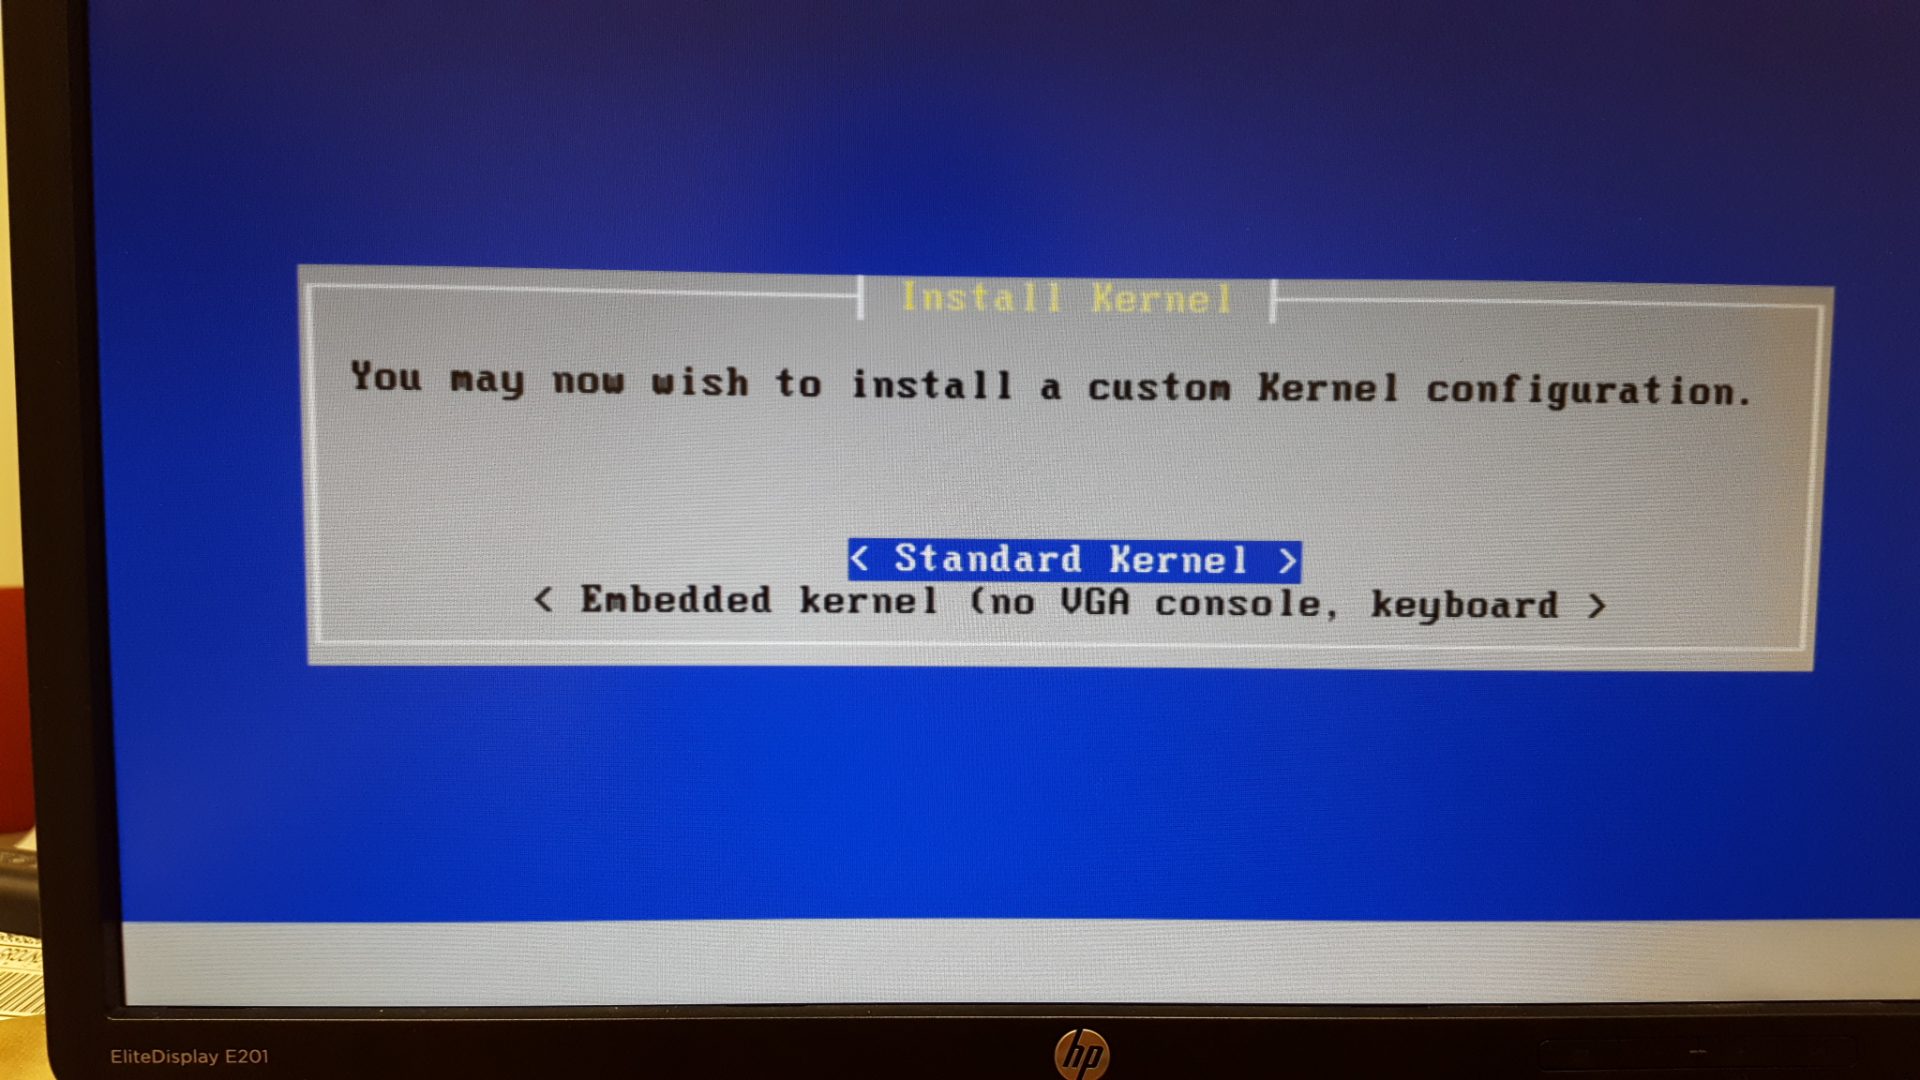
Use a standard kernel.
Hit reboot and remove the USB stick.

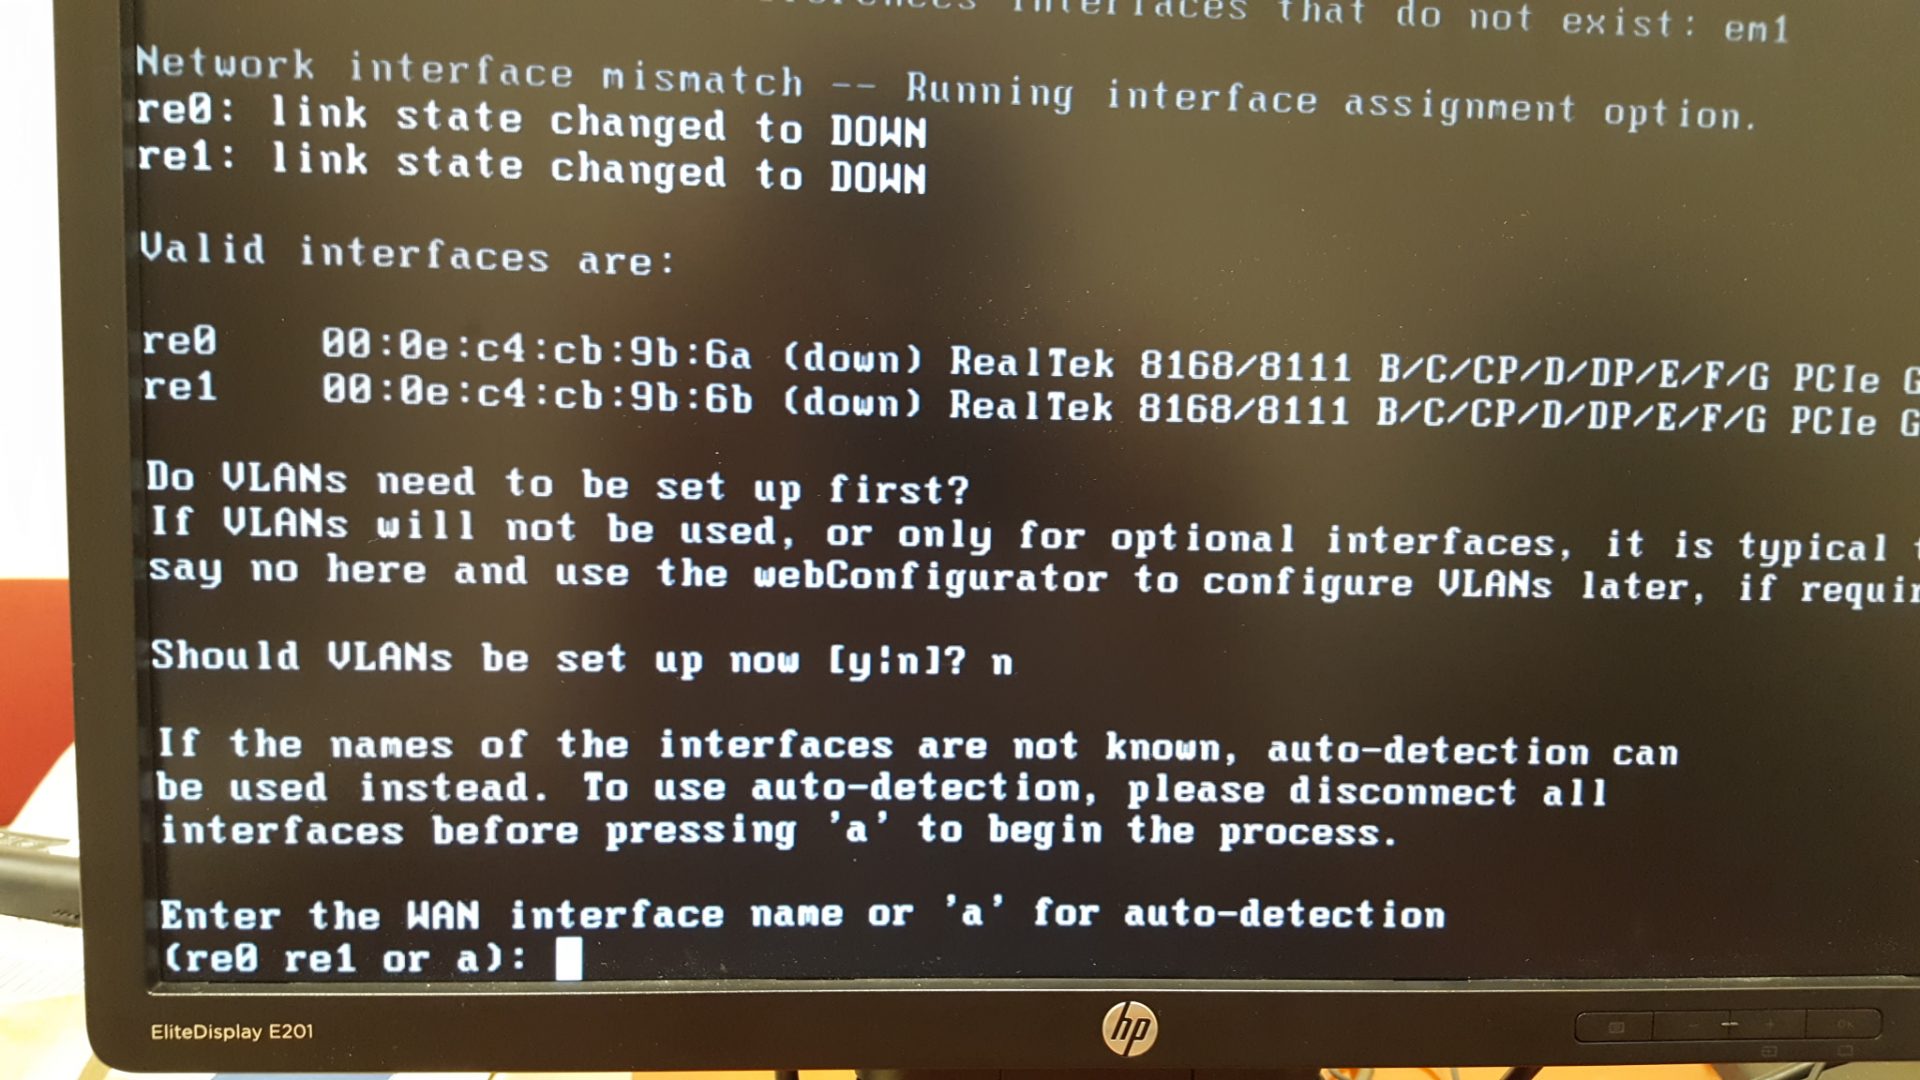
Once it comes back, choose no for VLANs.
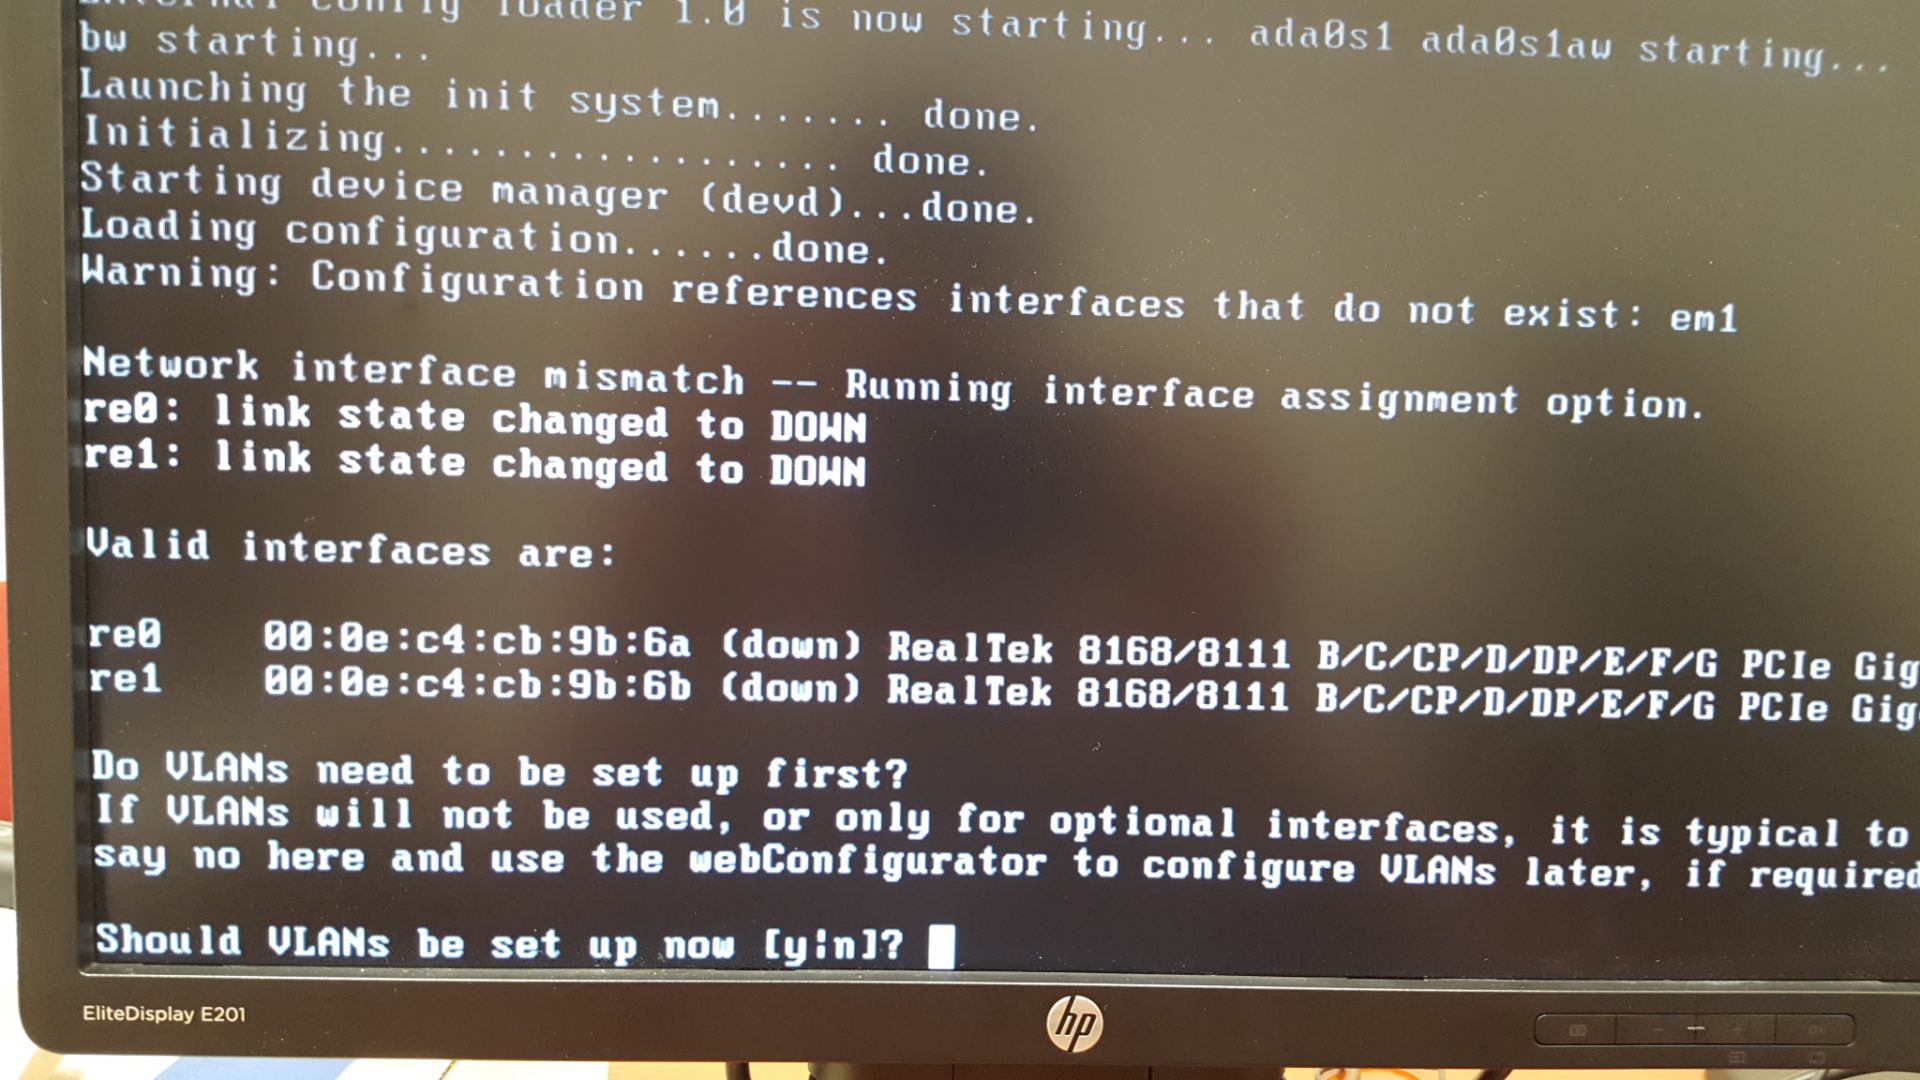
At this point, you’ll have to know where you plugged your cable from your cable/DSL modem into the unit. You should plug your external cable to the NIC that’s marked as 1 and your internal switch or Wi-Fi router to NIC2. pfSense marks them as re0 and re1. re0 is the NIC1, re1 is NIC2. I used re0 because my cable modem is connected to NIC1.
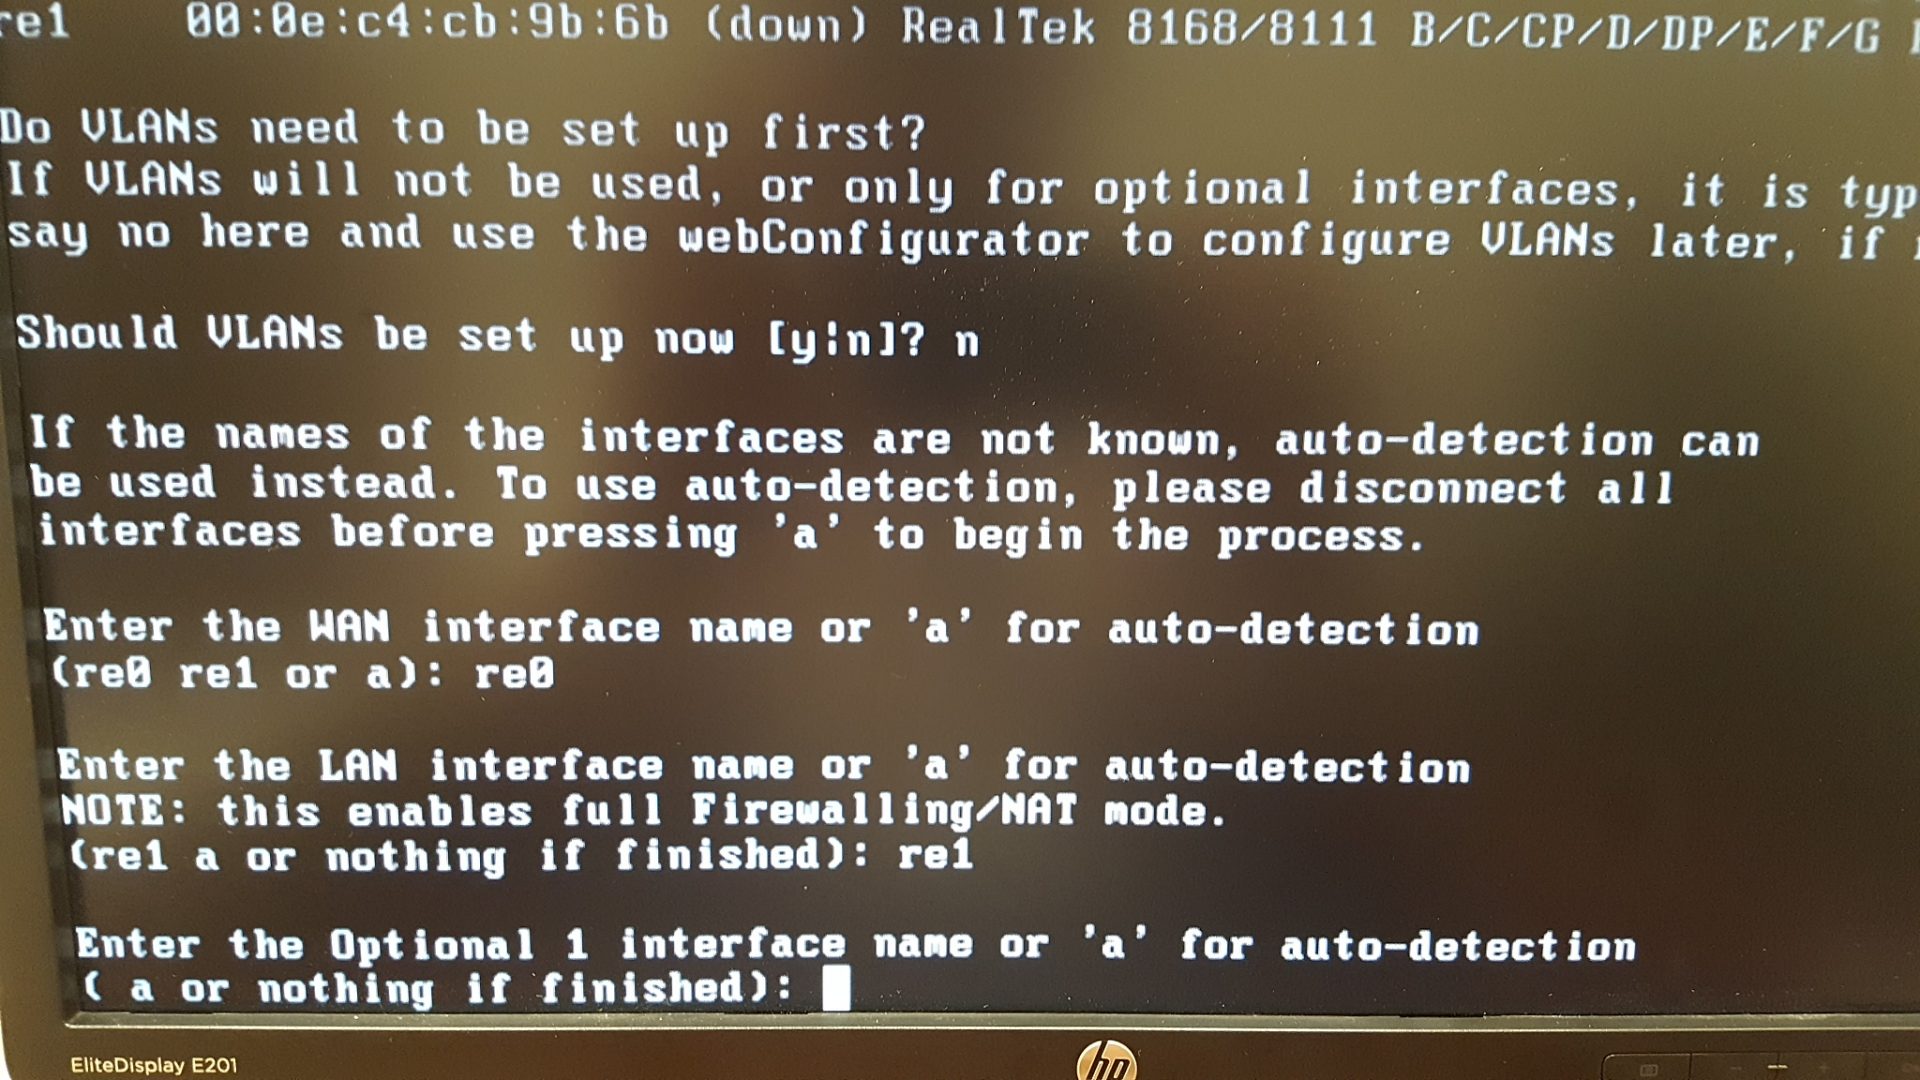
Use re1 for the internal LAN.

Hit Enter key.
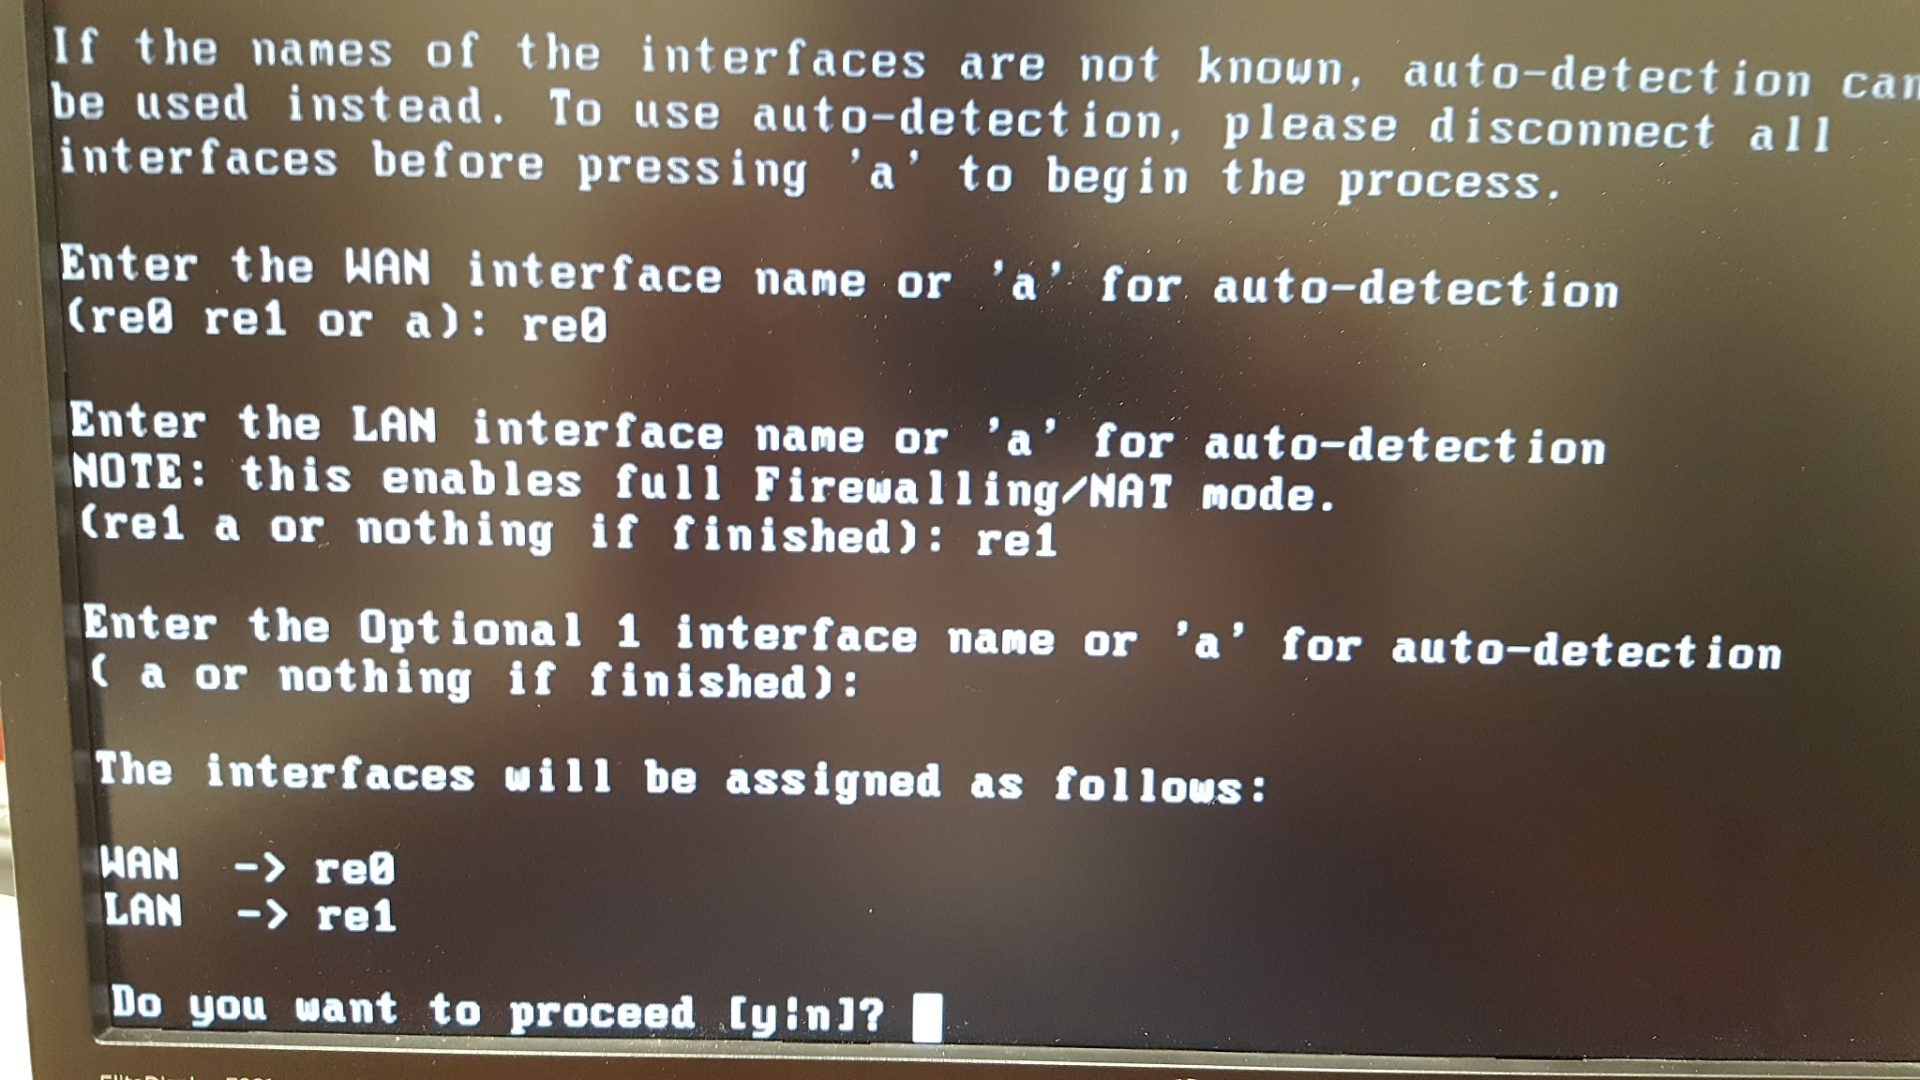
Verify all is OK and type y to proceed.
At this point you are all set. The IP for the internal interface is set to 192.168.1.1/24.
All you have to do is to point all your internal devices to use 192.168.1.1 as gateway and be on the same subnet.
You can log in to http://192.168.1.1, use admin/pfsense as password.
In my next posts I’ll go over VPN, squid etc…
6 comments
I currently have a firewall that is a bottleneck for my network, the firewall has a max throughput of 100Mbps and I have a 200Mbps Internet connection. I was researching and thinking of using the Qotom-Q180S as a firewall and content filter. I came across this post, very helpful and informative (Thanks!) but wanted to know if you know what kind of throughput you are getting through the Qotom-Q180S running pfSense? I know the NICs on the Qotom-Q180S are Gigabit (10/100/1000) but interested in the actual throughput of the application on this device.
Thanks in advance
Art
I get about 120Mbps DL and 40Mbps UL speeds normally with my cable provider. I’ve never had any network latency, slowness and dropped packets but I have only 3 regular users behind my pfSense. Qotom comes with Realtek NICs and they are not recommended for any production use. For home it’s fine, for anything more serious go with Intel or Broadcom.
Hi,
Love the article. Wanted to mention that when i tried to follow your instructions, it went a bit differently.
instead of the iso image installer, i used the USB Memstick. Pfsense themselves say that for VM use image installer, but if for baremetal no VM, use the usb memstick. Also when i did attempt using rufus with the image installer, it didn’t work, but the USB memstick version did.
I used lawrences tips for restoring the config from my pfsense VM from a different device
https://www.youtube.com/watch?v=QD511ir2dhY
For pfsense install setup i more or less followed the instructions here
https://www.youtube.com/watch?v=ThGLEkzKlTU
But i did it a bit differently, as i plugged in a cable from the qotom to my monitor, as well as add a keyboard as well as the usb memstick loaded with pfsense which was made bootable using rufus.
When booting up qotom, it loaded the pfsense installer. But if it doesn’t, you can hit “delete” when the nuc starts up to enter bios, to then select to boot from the memstick. You have to hit “delete” quickly though because it flashes by fast.
If backup config was on a memstick, you could import it to pfsense from the shell. Then change the interfaces to match what is available on the Qotom. in my case it was br0, br1, br2, br3. I setup br0 as wan, and br1 as lan.
i encountered a bug where my dns resolver was not working. i managed to fix it by booting pfsense into individual user mode, then running the “fsck -fy /” command. It is recommended to repeat the command run 5 times, even if it says no problems detected. In my case the first run detected a issue which it fixed. Then type “reboot”. On startup i confirmed that dns resolver and thus pfblocker worked again.
another setting i had to adjust was in pfsense settings to add the QOTOM sensor which is intel cpu sensor. The default none has no reading, so i recommend to edit this.
I also noticed my connection to switch was 100mbit, but i later found out the ethernet cable was bad. replacing it fixed the problem. I get 1gbit speeds now when testing using iperf.
tested on speedtest and i got my full 100mbps dl, 50 mbps ul. with 4ms latency. 40ms latency if i use vpn. Not bad.
Hey great info here, many thanks for you! I was wondering…..what was your original subnet on the cable modem before you plugged it in NIC1/re0? 192.168.1.1/24? Doesn’t the cable modem usually occupy 192.168.1.1 by default?
I was wondering…..what was your original subnet on the cable modem before you plugged it in NIC1/re0? 192.168.1.1/24? Doesn’t the cable modem usually occupy 192.168.1.1 by default?
It depends. My cable modem has an external IP only. If you are getting a 192.168.1.0/24 IP from the cable modem, it means the connection is already NATed.