In this post I’ll explain how to get started with AWS AppStream service. AppStream is managed application streaming service. It’s like Citrix XenApp but much simplified. There are 4 steps that you have to complete to get started. First, you have to create the image, then create the fleet, the stack and assign the users once you publish your application. In my example, I’ll publish Visual Studio Code editor. You can pretty much publish anything that runs on Windows 2012R2. If you have an application that’s heavy on graphics, e.g. some photo editing or CAD app, you can publish that too if you choose a base image that supports heavy graphics lifting.
Table of Contents
Create an image
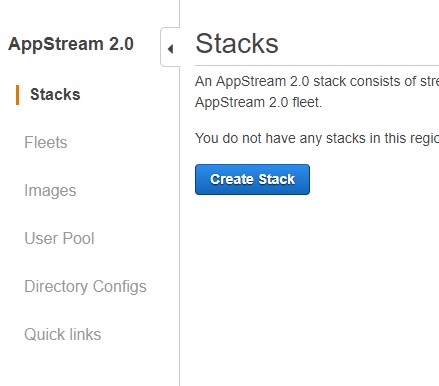
From the AWS console go to the AppStream service. If you see the getting started screen, skip it. Your console should look like this.
Click on the Images on the left and then the Image Builder tab.

Then click on Launch Image Builder button.
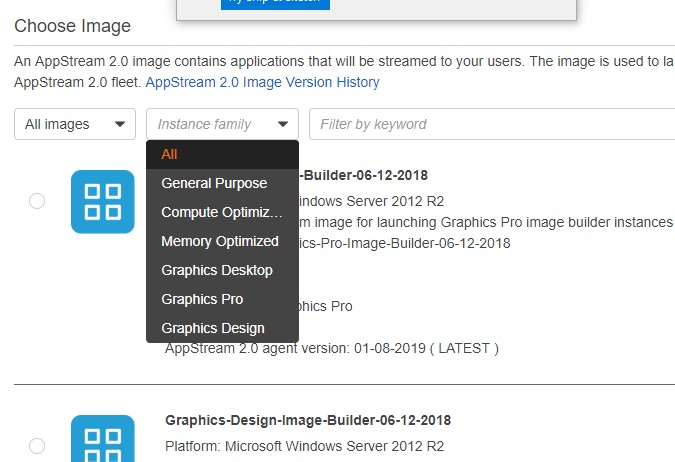
What you see here is a list of available templates for the images that you can use. They are all based on Windows 2012R2, so make sure your application is compatible for this OS. If you click on the Instance Family filter drop-box, you’ll see different types of template images, e.g. for general use, for high CPU use, for graphical use…In our case, we’ll choose the General Purpose image. You’ll probably see two or more template images. The date may vary as AWS deploys newer and updated template images, so pick up the latest and click Next at the bottom right.

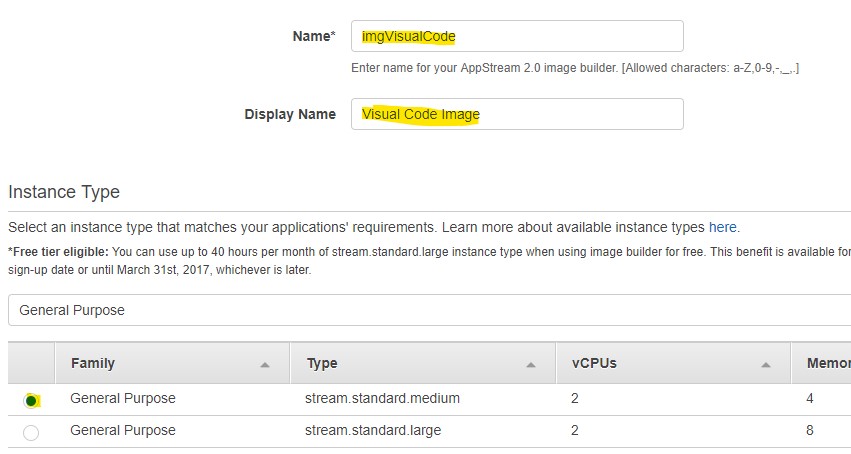
Enter the name of the image, the display name and choose the type of the image. Mind that the type of the image you choose here has nothing to do with the running image that will be used later for the end user. Right now you are specifying the resources for the image that you are creating and using. Once you create the image, you can choose the instance type later for the users. But, it’s advisable to choose the same type of image when creating the image and the fleet. Once you enter the name, the display name and the instance type, click Next on the bottom right.
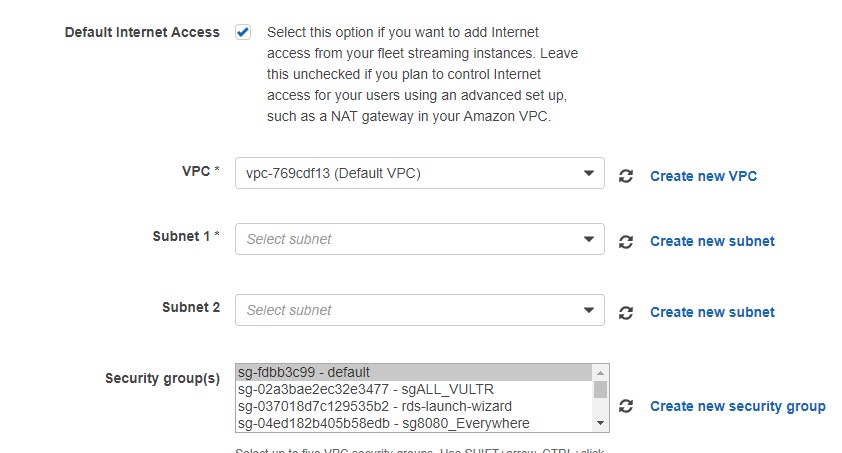
In the next screen, make sure that you check the first check mark so the template has an Internet access, so we can download the application. Choose the VPC, the subnet and the security group that you want to assign to the image. Don’t worry about any ports for RDP. Even if you choose the default group, you can still test the image. You won’t be using RDP to connect. E.g., the security group is used if you want to transfer any files from other instances. In our case, we won’t be doing any of that.
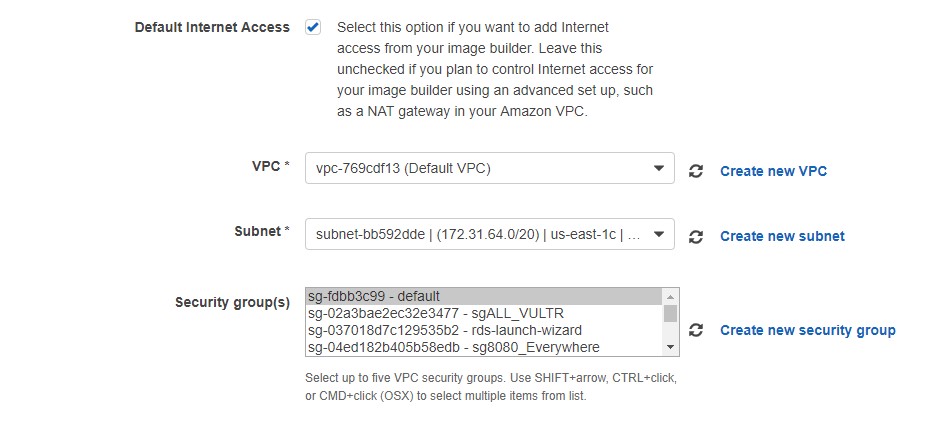
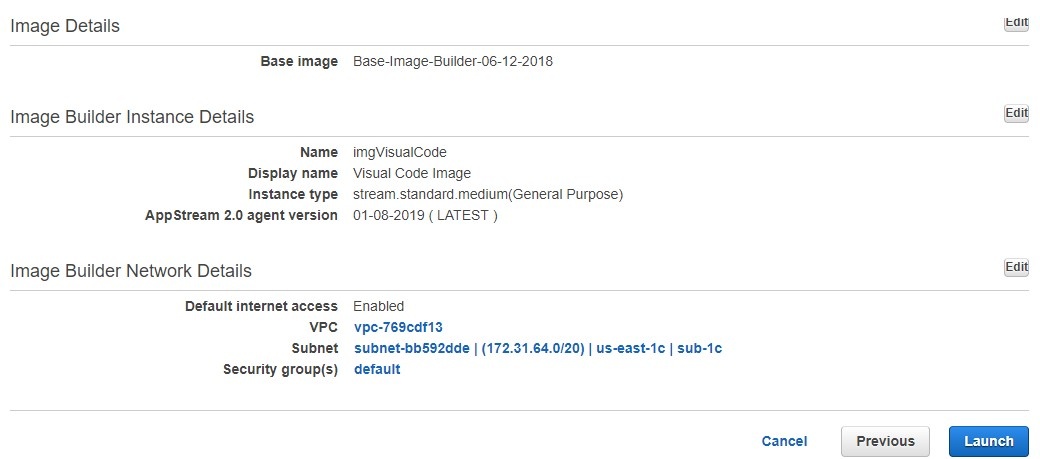
At the bottom of the screen, there is an option to join the instances to your AD in case you want to do that. Click Review after you are done and if everything looks OK, click Launch.
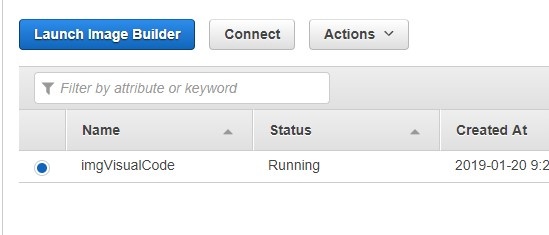
Once you click Launch, it takes about 10 mins to create the image from your template. You can see the status of the image under Image Builder tab.

When the status changes from Pending to Running, you are good to go with the testing.

On the same screen, select the image that you just created and click the Connect button. Make sure you allow pop-ups for this page. In Chrome, the pop-up was blocked when I was testing.
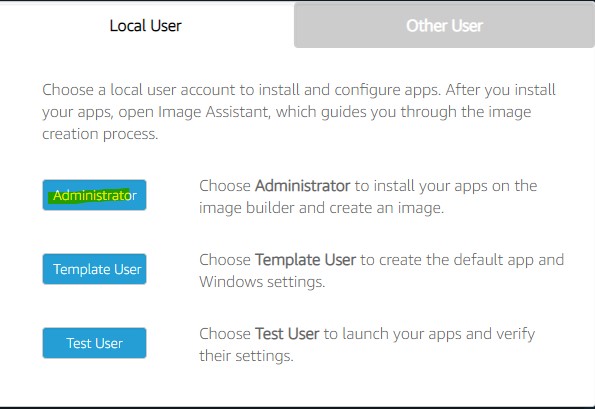
This is what you’ll see. Click on Administrator.
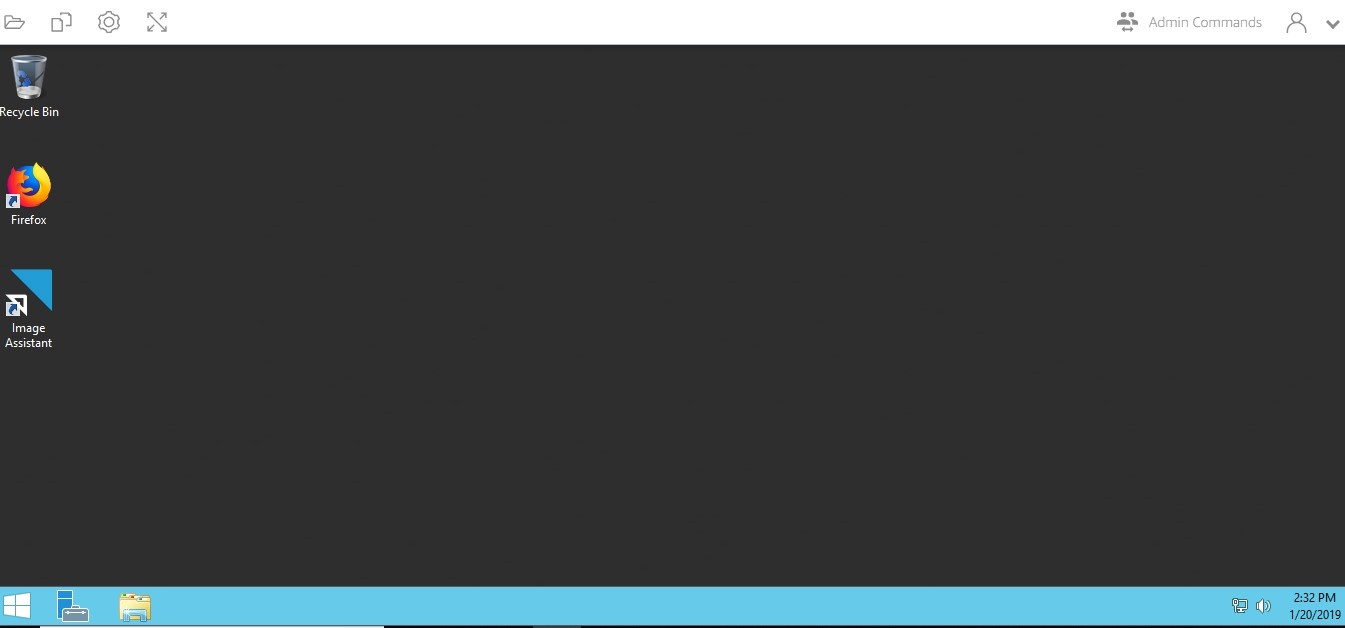
 You’ll see the desktop of your image.
Launch Firefox and go to https://code.visualstudio.com/download. Ignore any warning that Firefox is out of date or that’s not a default browser. Just download Visual Studio Code (64-bit System installer) and install it. Do not install the User Installer. CLose any windows that pop-up and close Visual Studio Code if it starts.
On the desktop you’ll notice an icon named Image Assistant. Double-click to run it. Click Add App.
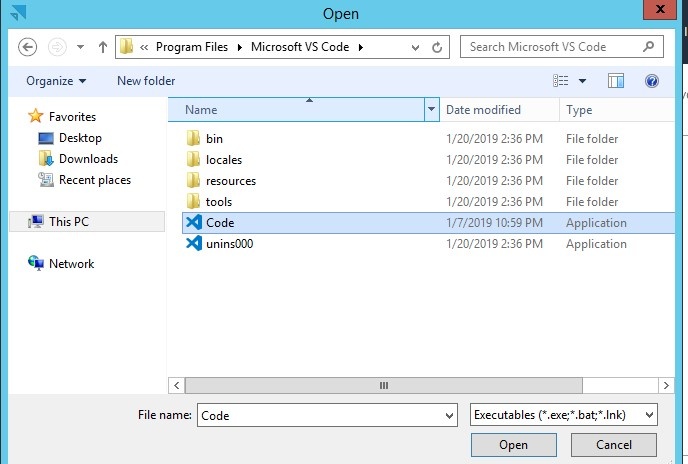
Browse to C:\Program Files\Microsoft VS Code and select Code.exe. Click Open.
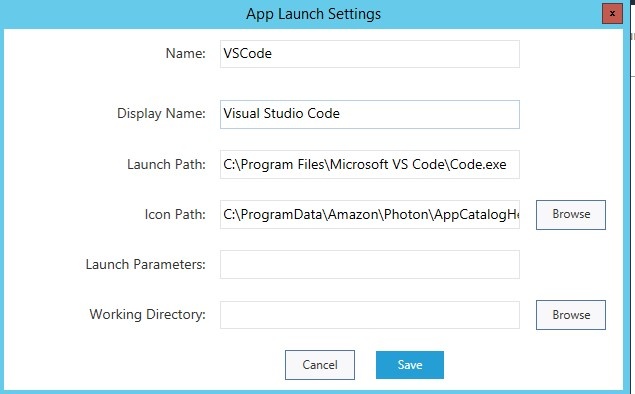
Fill out the App Launch Settings dialog box and click Save.
Click Next.

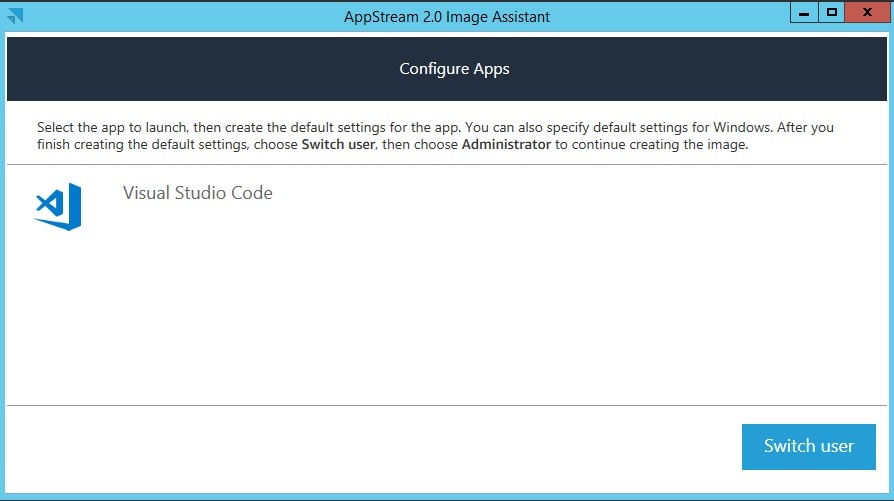
Click Switch User.
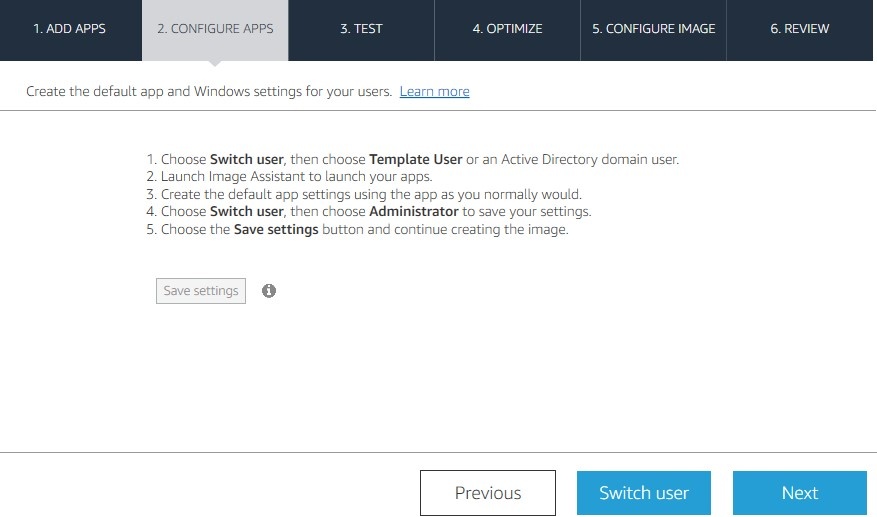
Click Template User.

The idea is to test the application as the template user. Double-click the Image Assistant and then click on Visual Studio Code.
Once the application opens up, make any changes in the settings of the application, close any pop-ups and close the application. Again, click on Switch User and then click Administrator. Advance to the next menu with Next and Switch User again, but this time as the Test User. Once again, close any pop-ups when you start the application and the close the application.
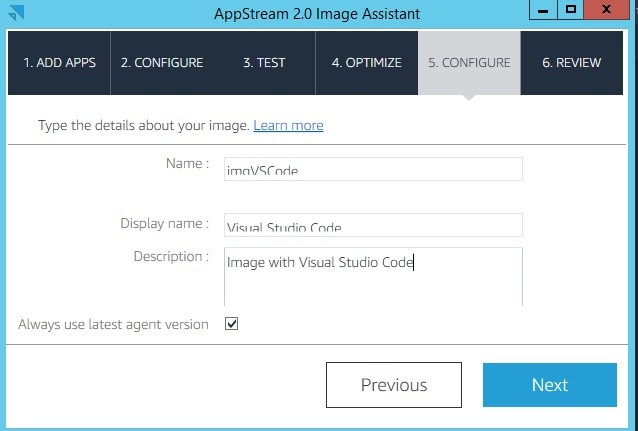
NOTE: Do not star the application from the start menu. Always use the Image Assistant to start and test the application. Follow the prompts on the screen and fill out the form on the fifth step (Configure).
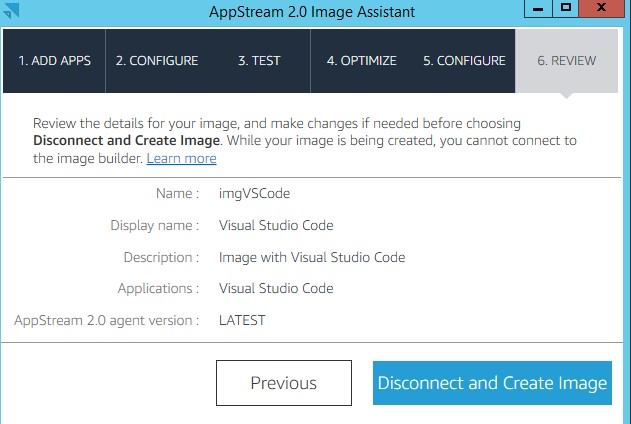
Finally, click on Disconnect and Create Image.
You’ll be disconnected from the image session, so in AWS Console go to the other tab Image Registry. You’ll see your image in pending state. Wait for about 20 minutes.

Once the status says Available, you are done with the first step.
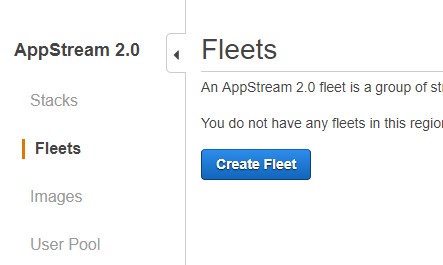
Create a fleet
In AWS Console, click on Fleets on the left and then click Create Fleet. A fleet is where you specify the resources that will be used.
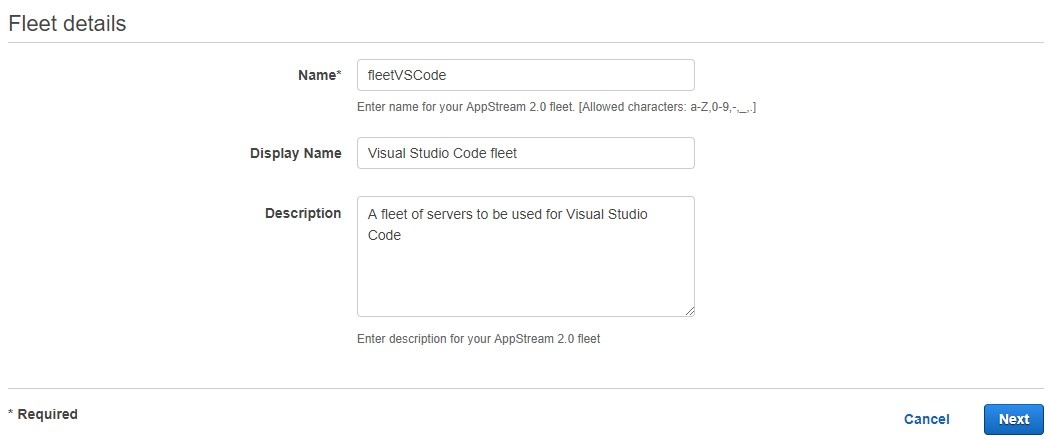
Fill out the fleet details and click Next.
Choose your image and click Next.

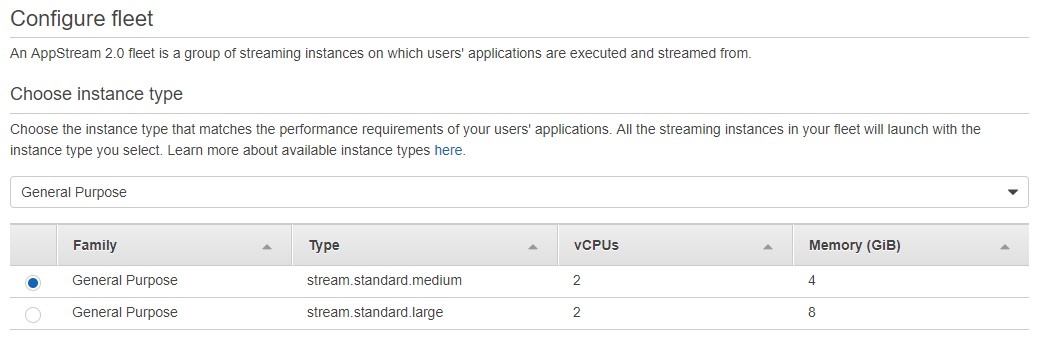
Now, you have to configure the fleet. As you can see you can choose the types of the instances that will be used for your application. I am using General Purpose instance with 2 CPUs and 4GB RAM.
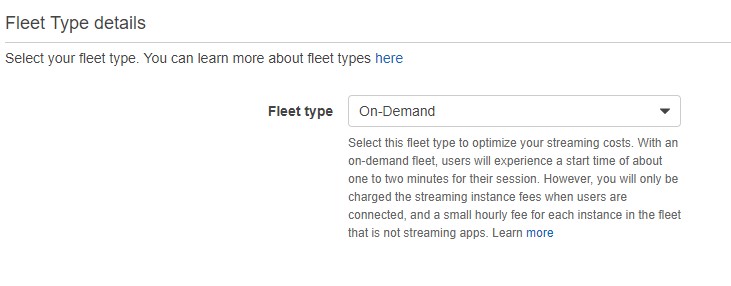
The fleet type in my case is On-Demand. This means that the servers will be running whenever a user initiates a session. It takes 2-3 minutes from the moment you initiate a connection to the moment that you’ll get your application on the screen. But it’s much cheaper than the Always-On option, which means the application is instantly available because the servers are on all of the time.
You can leave the User session details or modify the settings to suit your needs.

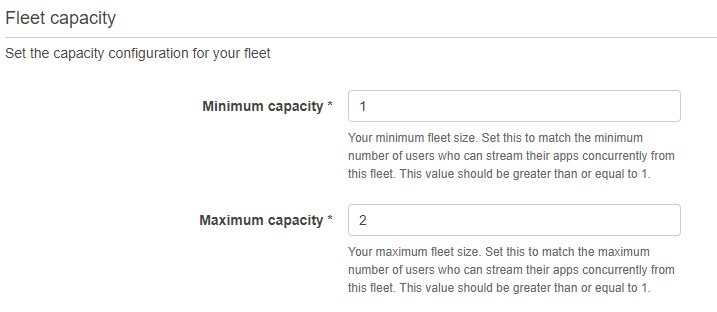
Choose the fleet size. For each user a server is needed. I’ll choose maximum of 2 servers.
Leave the Scaling policy as-is. Click Next.
Check if you want Internet access or not and assign a VPC and two subnets. There is no need to choose any security groups as long as your app is not interacting with some other EC2 instances. AppStream is not using RDP so there is no need for that port to be opened. Click Next and if everything is OK, click Create.
It takes another 10 minutes to create the fleet. The status will change from Starting to Running.
Create a stack
The third step is to create the stack. The stack deals with associating the streaming URL, users and the fleet.
In the AWS console click Stacks on the left and then click the Create Stack button. Fill out the info needed for the stack.

Choose the fleet that you’ve created and click Next.

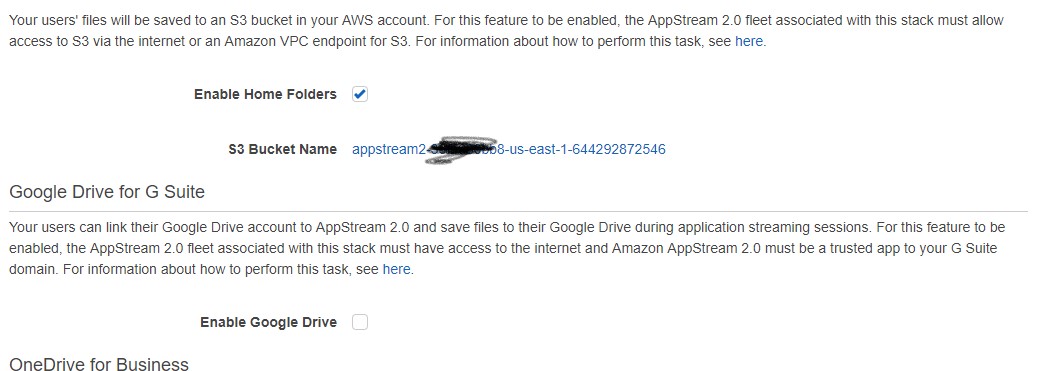
In the next step, choose where to save files from Visual Studio Code. By default, they’ll be saved in S3. Mind that you don’t have access to the underlying servers once the app starts streaming. You can use Google Drive or OneDrive.
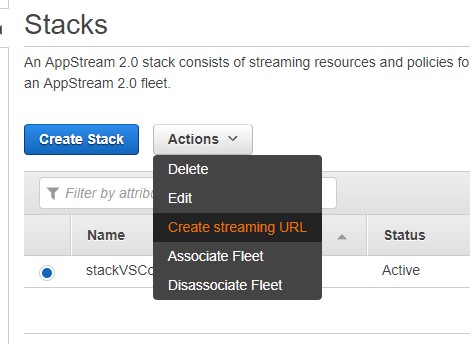
You can leave the User settings as defaults or change them if you want. Click Review and then Create. Select the stack and from the Actions, choose Create Streaming URL.
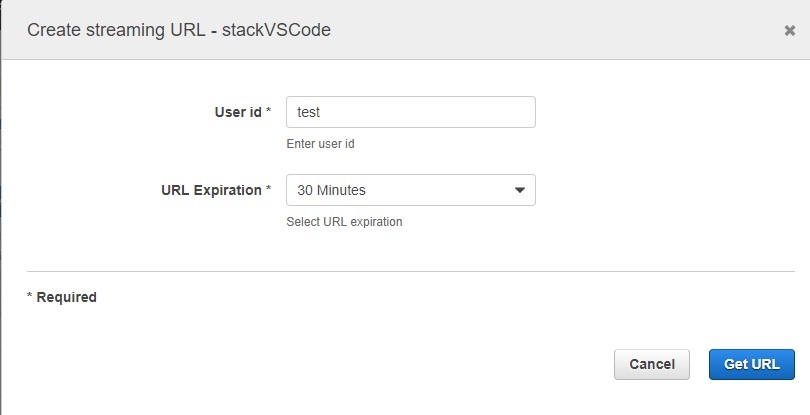
Type some user for the test and click Get URL.
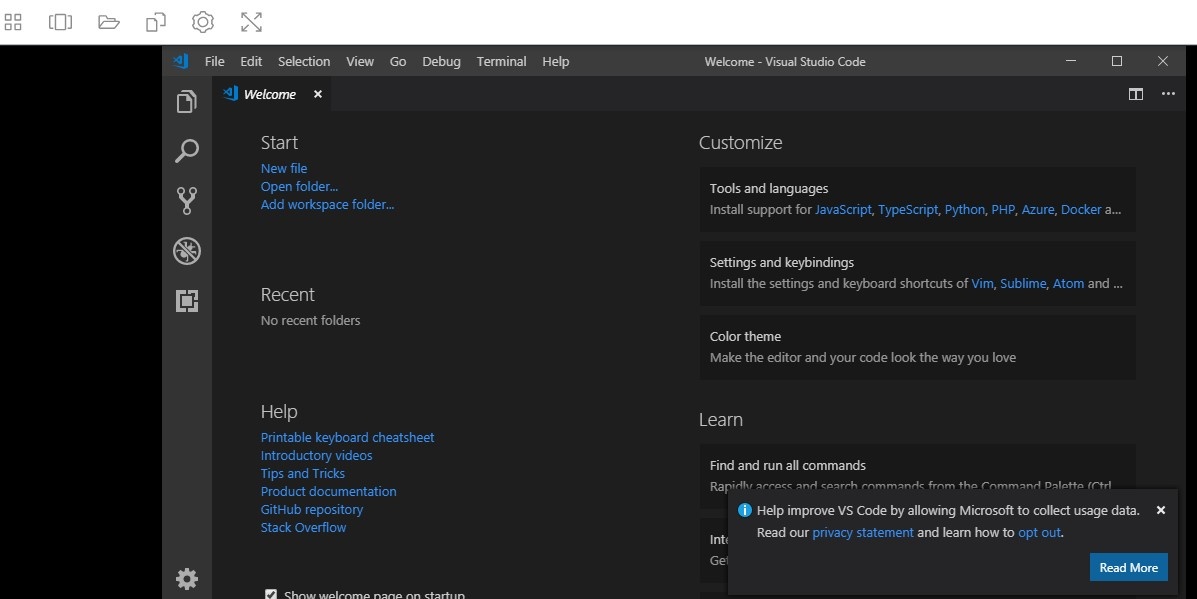
Copy the link and launch it in the browser. You’ll see your application published. Click on the icon to start streaming. It might take some time to provision the servers. This is because we choose On-Demand instead of Always-On.
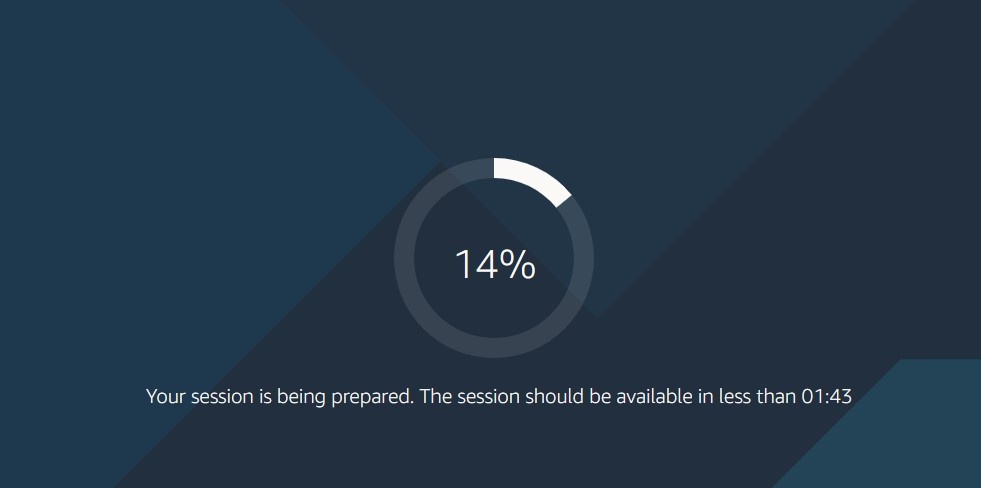
And the app starts. Close the pop-ups.
Now, the link that you have in your browser will last for 30 mins. After that the URL won’t be available. Max you can go with this approach is 7 days. But, what if you need the URL to be accessible for more than 7 days. In that case you have to assign permanent users to the stack.
Create users
On the left side in the console, click User Pool and then Create User.

Create the user specifying a valid e-mail.

Select the user and click on Assign Stack. Make sure that the check mark is checked and then click Assign Stack.

You’ll get two e-mails. Make sure you keep them. That’s where your username, password and URL will be.

Once you log in, you’ll be asked to change the initial password. And once you do that, you’ll see your app in the browser.