
Recently I was playing with the new Elastic File System (EFS) that AWS provides. It’s an NFS v4 implementation and my goal was to use it as a shared repository between two different systems. The access is based on security groups and by default when you create a new file system, the mount targets are created in all availability zones for that region.
Table of Contents
Create NFS security group
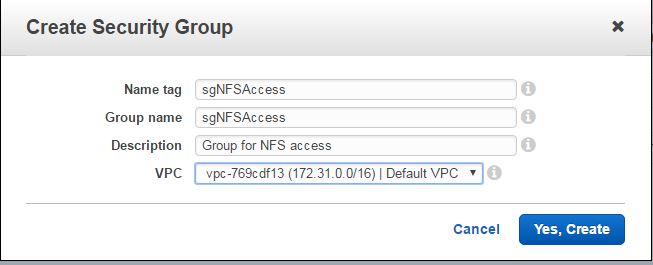
NFS access is based on security groups. So, if you have an instance that needs access to an NFS target, you have to make sure that the instance belongs to the same security group that NFS target belongs. We’ll create a security group that grants access to TCP port 2049. This is the port that NFS uses.
Go to the main AWS menu, click on VPC, then Security Groups and click on Create Security Group.
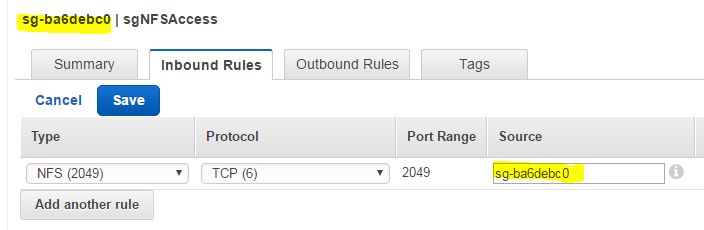
Once created, click on the Inbound Rules tab and then click Edit.
From the first drop down box on the left choose NFS (2049), for the source choose the same Group ID as the group itself and click Save.
Create EFS
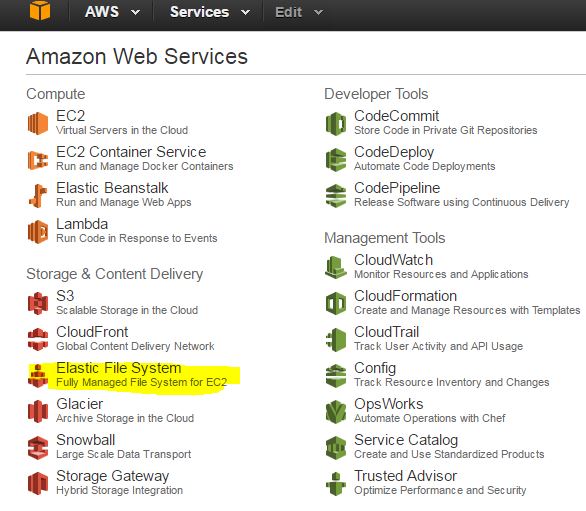
From the main AWS menu, click on Elastic File System.
Then, click on Create file system. This is how my default looks like.
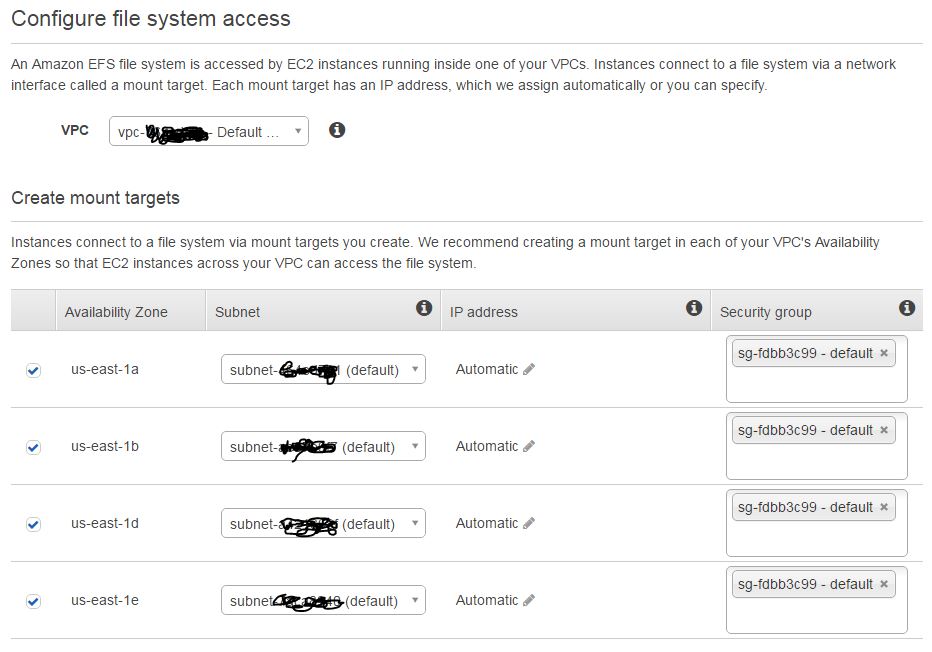
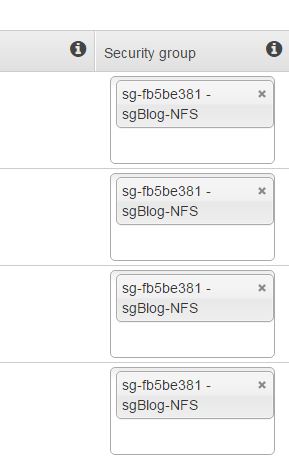
At this point, you can change the availability zone for the mount target. If you plan to launch instances in different zones, then go with the defaults. Remove the default security group on the right and add the security group that we just created for all of the zones, so the right part looks like this.
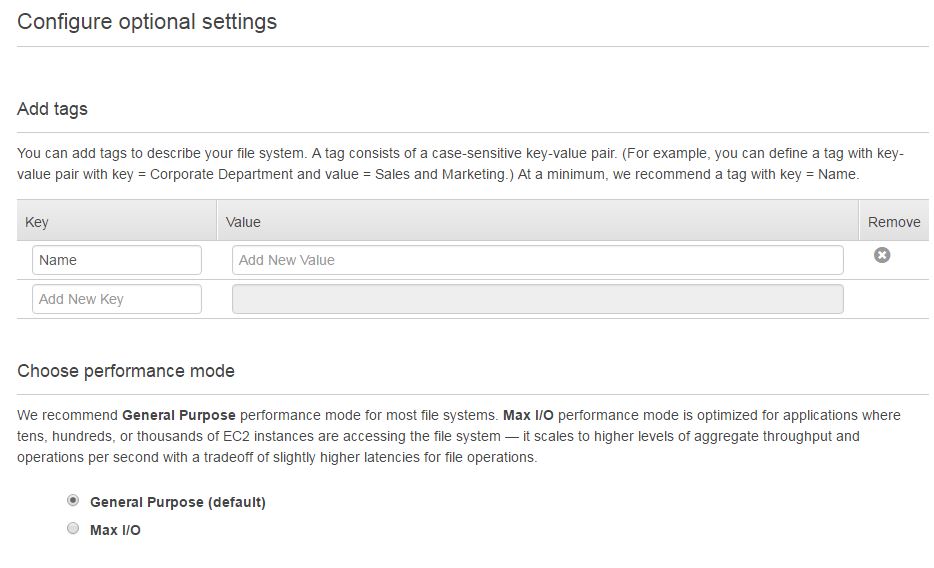
Click on Next Step and fill out the optional settings for the tags and the performance.
Click on Next Step again, review and click Create File System.
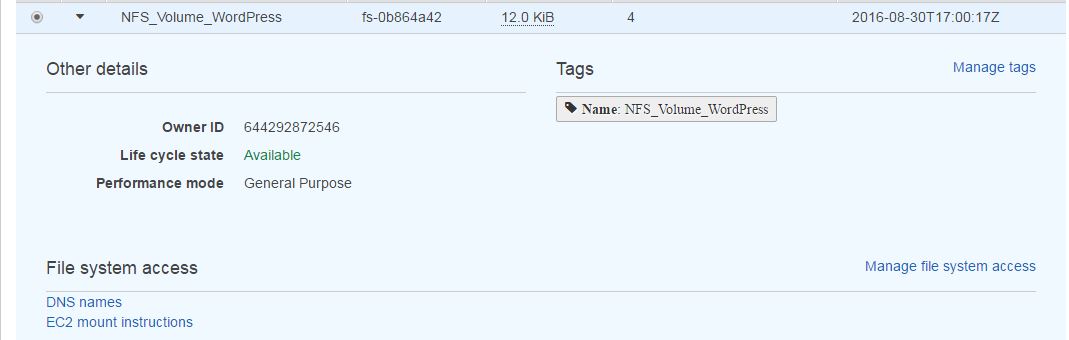
This is what you will have once you create your file system.
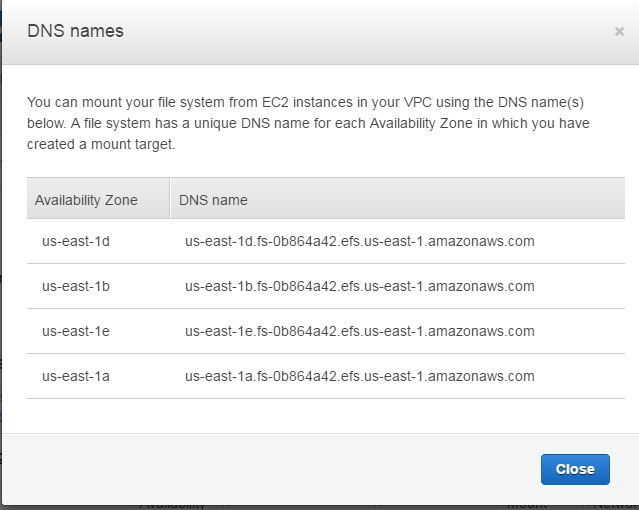
If you click on DNS names, you’ll see your server names (for the mount target).
And that’s all what we need. If you click on EC2 mount instruction, you’ll get a quick guide on how to mount your new file system.
FreeBSD
For FreeBSD, we’ll have to put this one line in /etc/rc.conf.
nfs_client_enable="YES"
and then start the nfs client with
service nfsclient start
In order to mount the NFS target, we’ll need to know what zone our instance belongs to. As you can remember from the above, each zone has a different DNS server name for the target. So, if you need your zone you can see that from the EC2 menu or if you have curl installed, you can browse your instance metadata.
curl -s http://169.254.169.254/latest/meta-data/placement/availability-zone/
Install curl with pkg install curl if you don’t have it.
We also need a mount point. In my case I’ll mount my new file system under /root/efs. I don’t have the directory created, so I’ll do.
mkdir /root/efs
The easiest way to mount the target without looking at the zone where the instance belongs is to run this one liner.
mount -t nfs -o nfsv4 `curl -s http://169.254.169.254/latest/meta-data/placement/availability-zone`.fs-0b864a42.efs.us-east-1.amazonaws.com:/ /root/efs
This means mount a new file system of type NFS, make sure it’s NFSv4 (-o), get the zone with curl and append it to the DNS server name of the NFS server and mount it under /root/efs.
If you want to unmount the filesystem, do
umount /root/efs
For some reason, under FreeBSD I was getting RPC time out errors, so if you want to remove the mount instantly, force it.
umount -f /root/efs
Now, if you reboot your server the mount points are gone, so you’ll have to make sure that on each reboot your NFS mounts on. Edit /etc/fstab and add this line.
us-east-1d.fs-0b864a42.efs.us-east-1.amazonaws.com:/ /root/efs nfs rw,nfsv4 0 0
What if you have an image in a load balancing scenario and you have it configured to boot up in a random zone. The above /etc/fstab entry won’t work and you can’t query that with curl in fstab. It’s a text file, not an executable script. The solution is to put this little script in your image AMI under User Data. Any time an image launches, this will be executed once on the first boot.

#!/bin/sh
echo "`curl -s http://169.254.169.254/latest/meta-data/placement/availability-zone`.fs-0b864a42.efs.us-east-1.amazonaws.com:/ /root/efs nfs rw,nfsv4 0 0" >> /etc/fstab
mount -a
RHEL/CentOS
Red Hat and CentOS don’t come up with NFS client installed, so you’ll have to install it first.
yum install nfs-utils
In order to mount the NFS target for Red Hat and CentOS servers, we’ll need to know what zone our instance belongs to. As you can remember from the above, each zone has a different DNS server name for the target. So, if you need your zone you can see that from the EC2 menu or with curl you can browse your instance metadata.
curl -s http://169.254.169.254/latest/meta-data/placement/availability-zone/
We also need a mount point. In my case I’ll mount my new file system under /root/efs. I don’t have the directory created, so I’ll do.
mkdir /root/efs
The easiest way to mount the target without looking at the zone where the instance belongs is to run this one liner.
mount -t nfs4 -o nfsvers=4.1 $(curl -s http://169.254.169.254/latest/meta-data/placement/availability-zone).fs-0b864a42.efs.us-east-1.amazonaws.com:/ /root/efs
This means mount a new file system of type NFS, make sure it’s NFSv4 (-o), get the zone with curl and append it to the DNS server name of the NFS server and mount it under /root/efs.
If you want to unmount the filesystem, do
umount /root/efs
Now, if you reboot your server, the mount points are gone, so you’ll have to make sure that on each reboot, your NFS mounts on. Edit /etc/fstab and add this line.
us-east-1d.fs-0b864a42.efs.us-east-1.amazonaws.com:/ /root/efs nfs defaults,vers=4.1 0 0
What if you have an image in a load balancing scenario and you have it configured to boot up in a random zone. The above /etc/fstab entry won’t work and you can’t query that with curl in fstab. It’s a text file, not an executable script. The solution is to put this little script in your image AMI under User Data. Anytime an image launches, this will be executed once on the first boot.

#!/bin/bash
echo "`$(curl -s http://169.254.169.254/latest/meta-data/placement/availability-zone).fs-0b864a42.efs.us-east-1.amazonaws.com:/ /root/efs nfs defaults,vers=4.1 0 0" >> /etc/fstab
mount -a
AWS Linux
See above for Red Hat and CentOS and just skip the part to install the nfs client. AWS Linux comes up with these utils preinstalled.