
Recently, I wrote a blog post about migrating VMs from VMware vCenter to AWS using basic export OVA/OVF files. Amazon made a connector that ties your vCenter to AWS so the export is kind of simplified, but the configuration is not. While using the export as OVA/OVF requires you to change the NIC from vmxnet* to e1000 and changing the static IP of your server to DHCP, with AWS Connector you can leave everything as is. Also, the export as OVA/OVF requires your VM to be powered off, while with AWS Connector you can migrate your VMs while they are powered on (using snaps). I also found that AWS Connector is slower than plain export as OVA/OVF. In this post I’ll show you how to configure the AWS Connector.
IMPORTANT
At time of this writing (mid-September 2017), vCenter 6.5 and 7.0 are not supported.
Make sure you have RDP/SSH enabled on your servers before the migration.
AWS Connector is not just about VM migrations. It has some other useful functions. Check this web page for more information and this PDF for the install/user guide. So, head to this page first and scroll all the way down to the bottom.
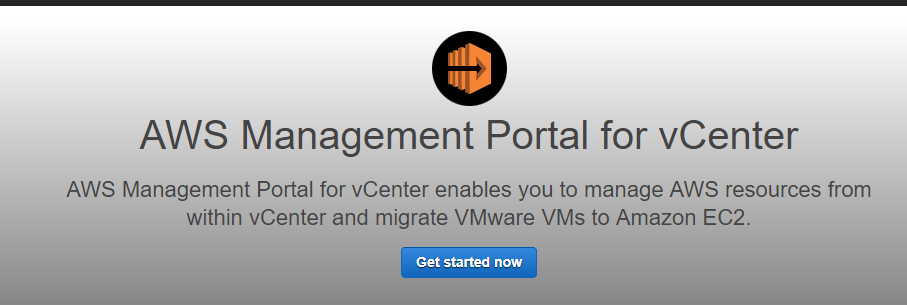
Step 1, Download the AWS Connector. Step 2, click on Setup AWS Management Portal for vCenter. Log in with your AWS account. Click on Get Started Now.
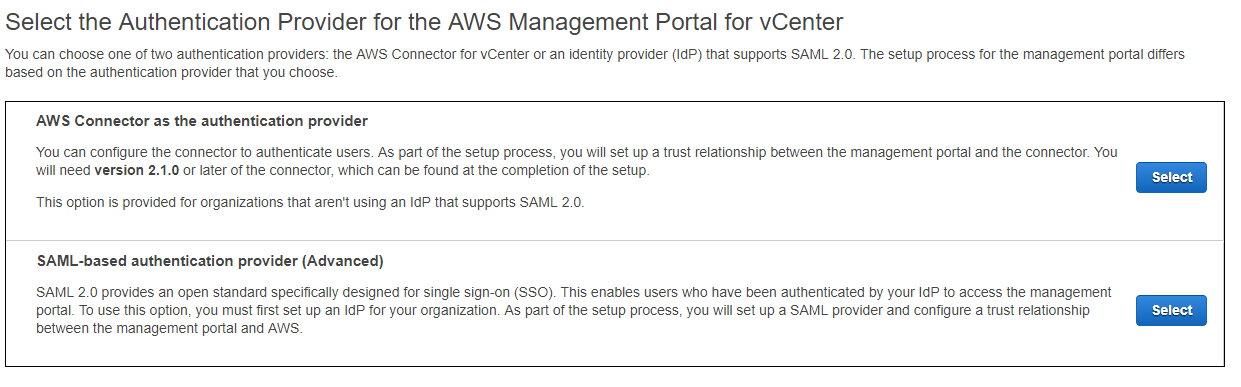
I will use the first option and most likely you’ll do. Option 2 is if you have a SSO (Single Sign-On) to AWS.
Make sure you have some IAM users defined, otherwise you’ll receive this error. As a matter of fact, you’ll want a separate IAM user for this. This user acts as a proxy between AWS and your vCenter.
![]()
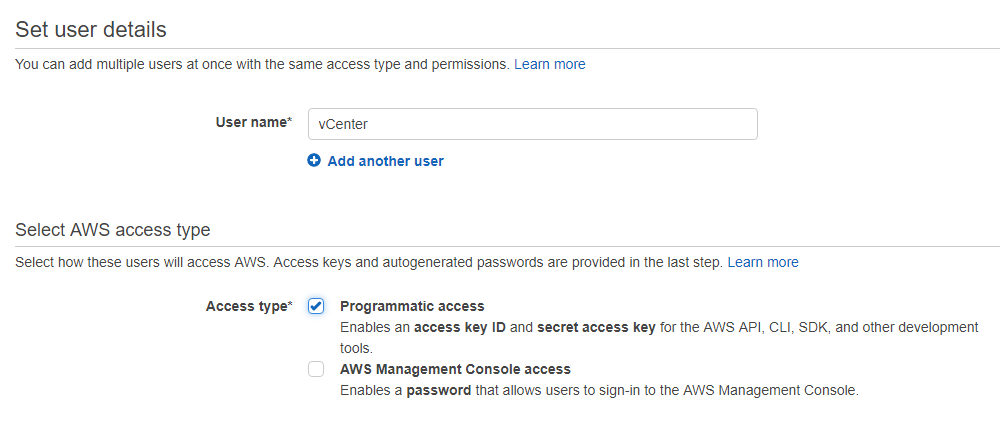
In my case, I’ve created a new IAM user called vCenter. Check Programmatic Access.
On the next screen, click on the Attach existing policies directly and in the Filter: Policy type, start typing AWSConnector. This is an AWS managed policy. Click on the check mark and proceed.
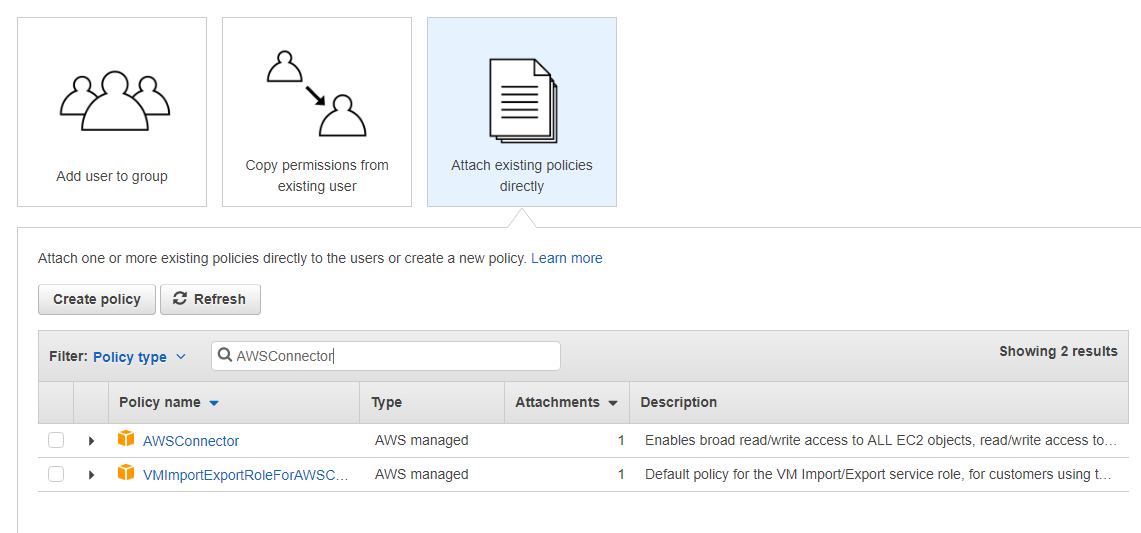
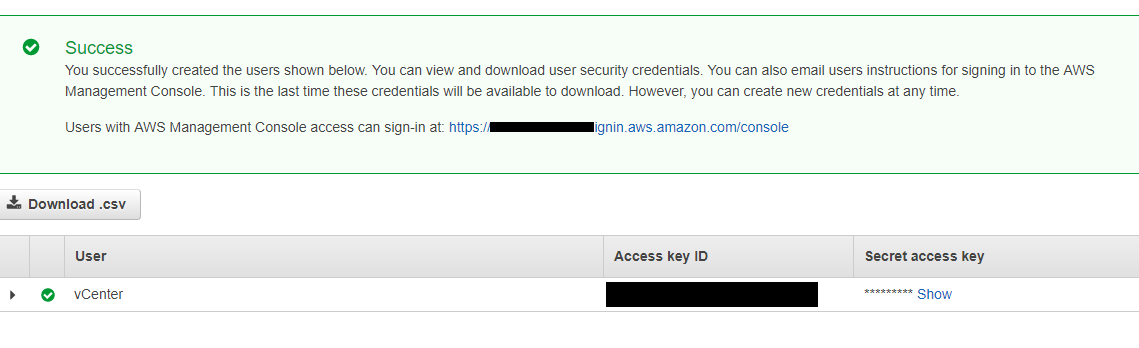
Make sure you download your credentials for this IAM user. They’ll be saved as credentials.csv file on your computer.
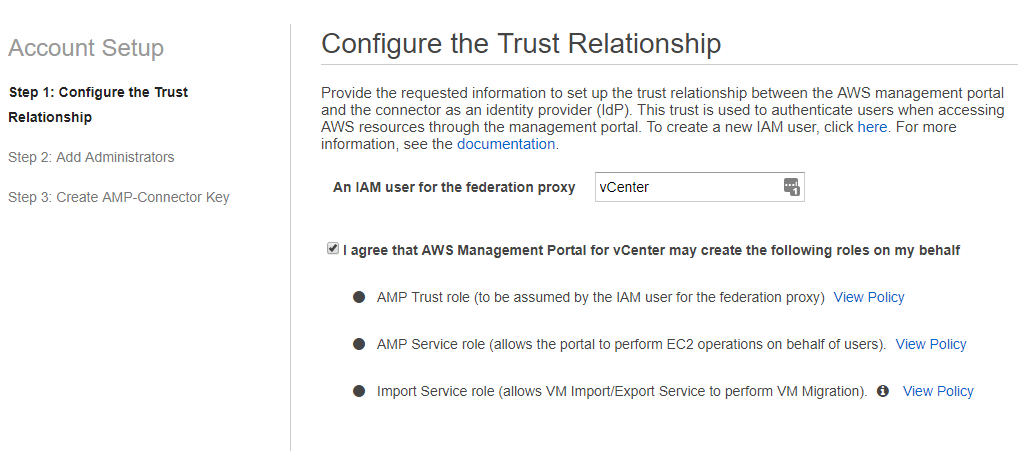
Go back to your first tab (or the initial URL) and hit refresh. Type the username vCenter and click on the check mark that you agree.
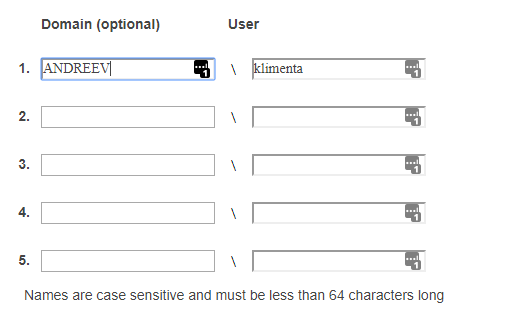
The next step tells you to add the admins for AWS Management Portal. Make sure that these accounts are admins in vCenter. In my case, my vCenter is joined to the domain and I am using my own domain account to manage vCenter. You can create a separate user for this, but make sure it’s a vCenter admin.
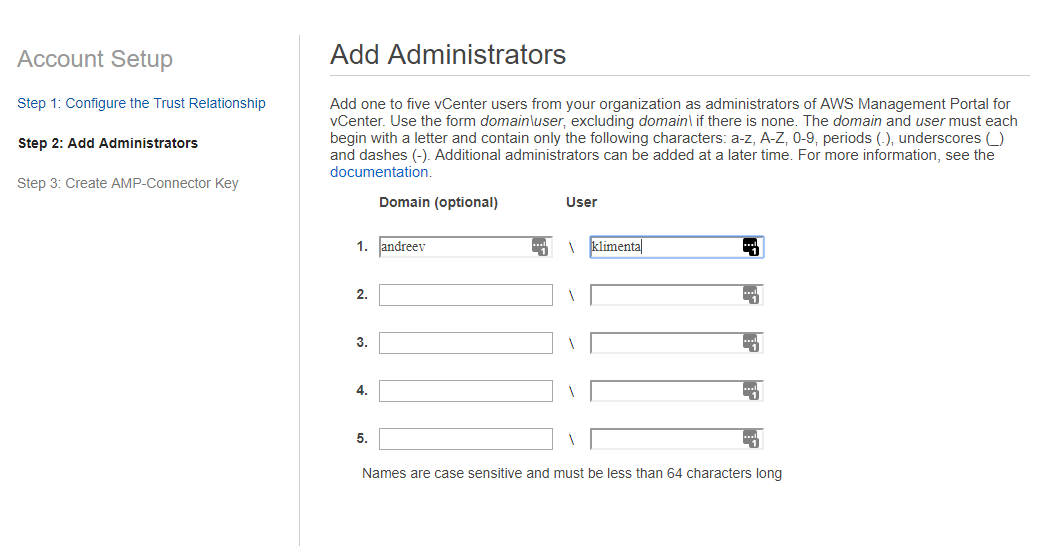
Now, this part is very important. I’ve spent hours troubleshooting this. It was right in front of my eyes, but I didn’t pay attention.
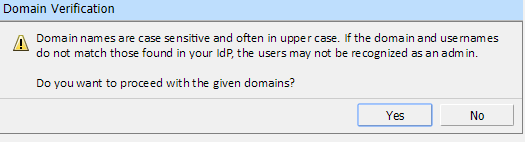
The easiest way is to open a command prompt from your desktop and type:
set | find "USERDOMAIN"
My domain is not andreev. It is actually ANDREEV, so I had to correct the entry.
The last entry will ask you to create an AMP-Connector Key. Just type some name.
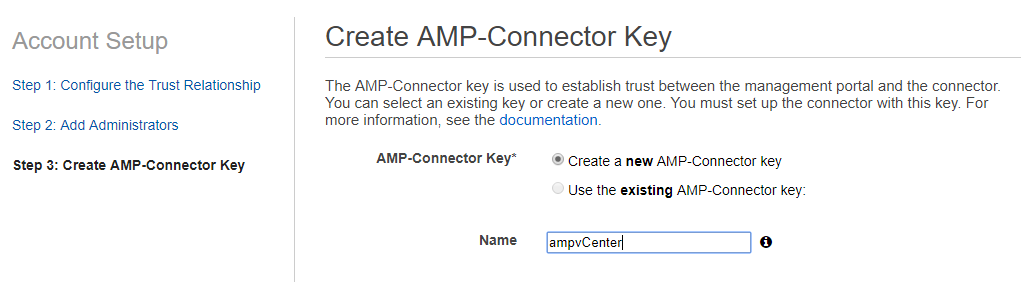
At the end, you’ll have to download the configuration file. It’s a text file with some key text in it.
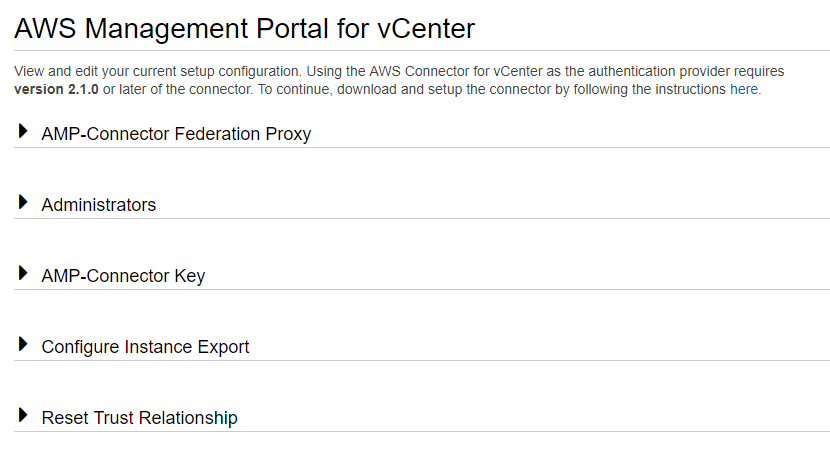
So, you have two files now, one with the credentials for the proxy user and one with the configuration key. After you are done with this, you’ll land up on this page. You can expand the settings and make sure everything looks OK. You can ignore the Configure Instance Export menu. That’s for S3 exports.
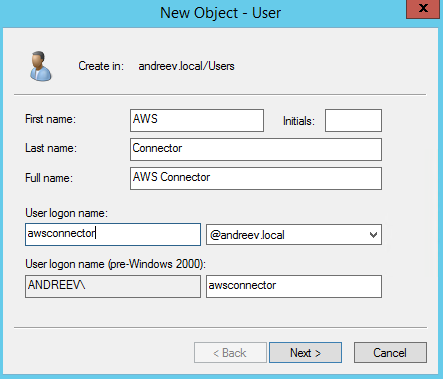
Now, you will need another proxy user, but this time on the vCenter side. It can be a local vCenter user or in my case, I prefer to have an AD account. So, I’ve created an AD account called awsconnector. No special rights needed and don’t add this account to vCenter. Just create a plain AD account as a Domain User.
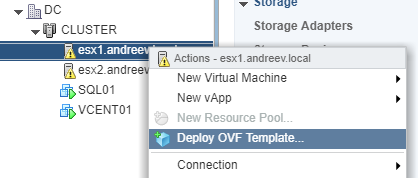
At this point, you should be OK on the AWS side. Head back to your vCenter and deploy the OVA file that you’ve downloaded.
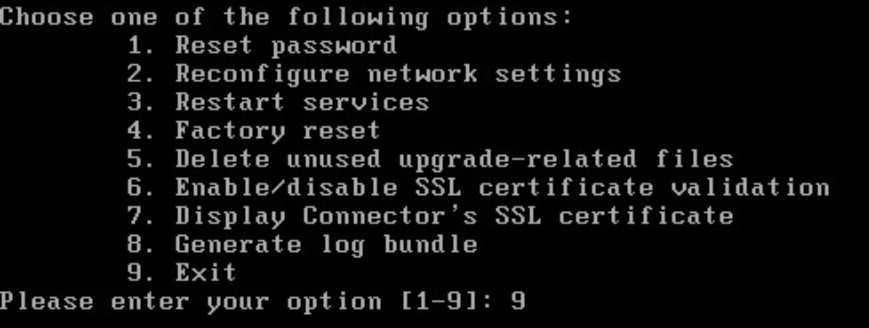
Once the appliance is provisioned, power it up. If you have a DHCP on your network and you are fine with the DHCP assigned IP on this VM, you don’t have to do anything. But, I prefer to have a static IP so open the console of this VM and log as ec2-user with ec2pass as a password. Type sudo setup.rb. Type ec2pass for password. You should see this menu. Choose option 2 to assign a static IP if you need. If you are OK with a DHCP, it’s fine. It’s up to you.
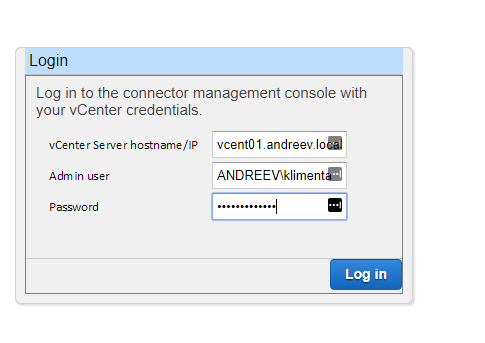
Once you have the AWS Connector on the network go to https://aws_connector_IP address. Make sure to use https. Use your vCenter admin to log in.
Click Trust when you get a certificate warning.
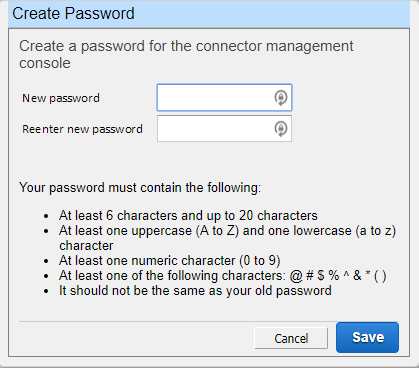
You’ll be prompted to change the web front-end password. There is no user name for this next time you log to your AWS Connector.
Once you log in, this will pop up.
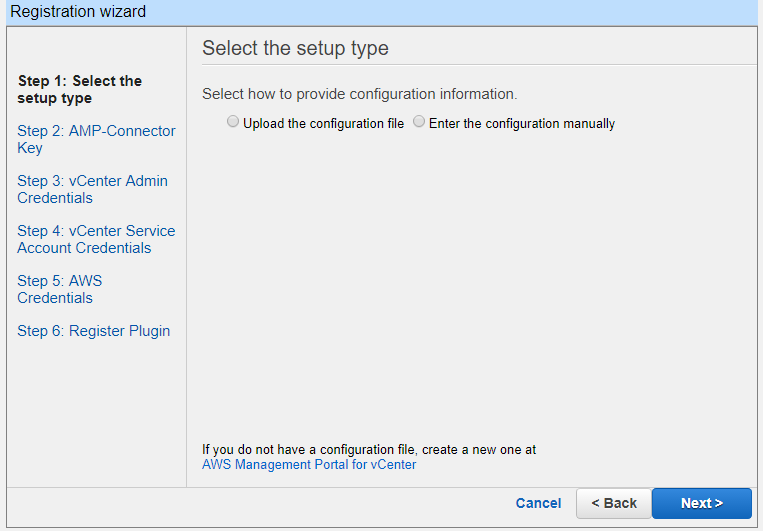
Click Upload the configuration file, select the file that you’ve downloaded from AWS. It’s called AMP_Setup_Configuration.txt and click Next. Again, log with your vCenter admin account.

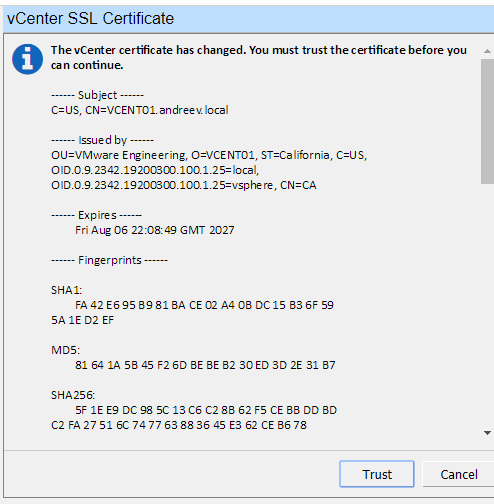
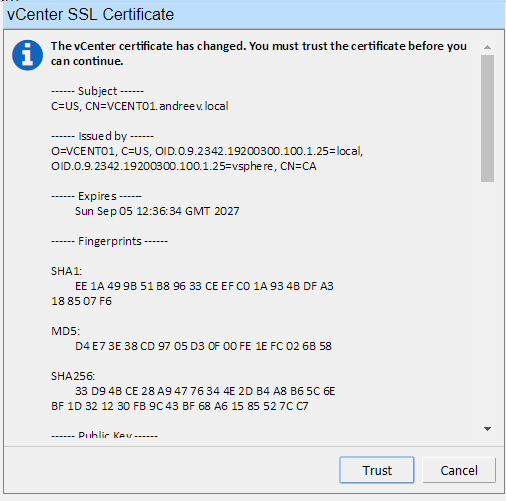
Click Trust.
Now, enter that AD account that you’ve just created.
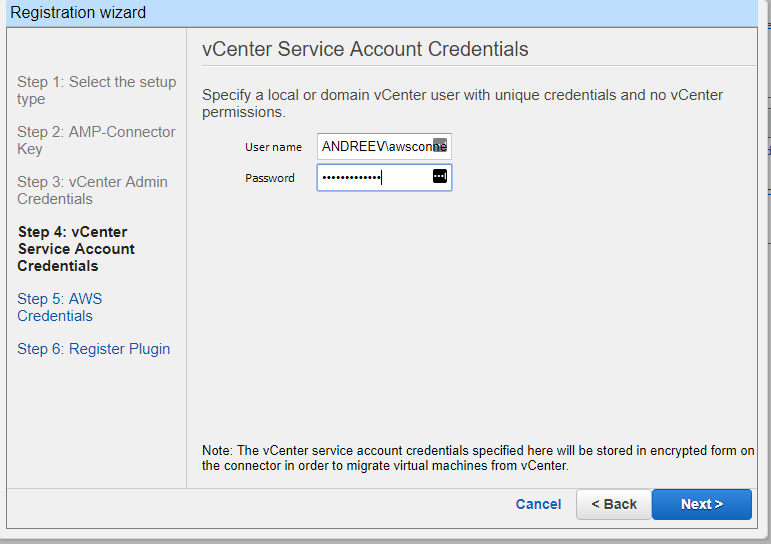
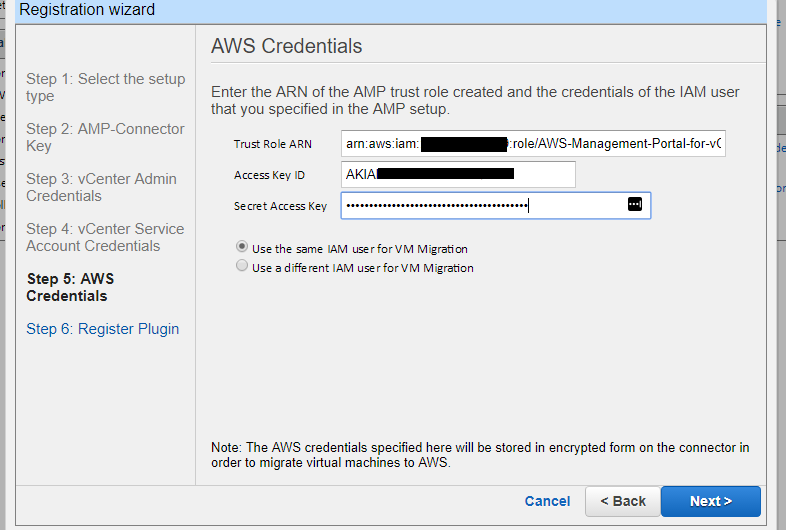
Use the credentials from credentials.csv file to enter the username and password. The Trust Role ARN field should be automatically populated.
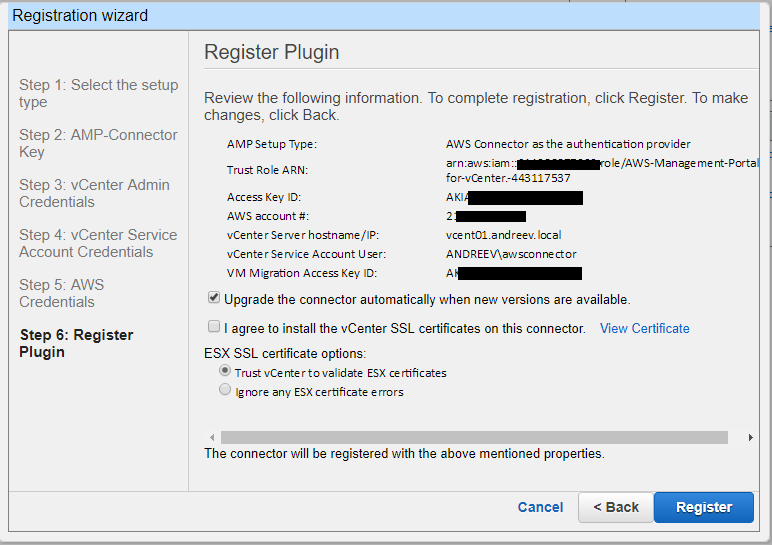
Click on I agree to install the vCenter SSL certificates… otherwise you won’t be able to proceed and click Register.
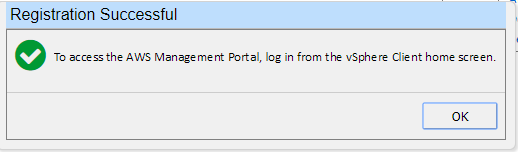
You should get this pop-up which means you are good.
Open the vCenter client and from the Plug-ins menu click Manage Plug-ins…The AWS Connector should be enabled.
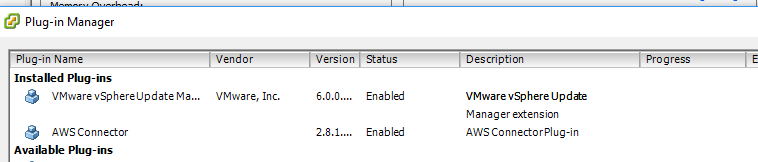
In the web client it should look like this.
Now, it’s time to get some action. Pick a VM that you want to migrate to AWS. Did I say that you need RDP/SSH enabled?
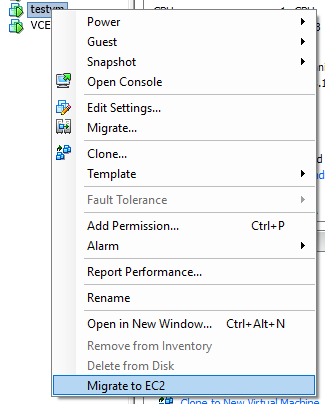
Right-click on this VM and choose Migrate to EC2.
You’ll get this error. AWS Connector is not yet configured.

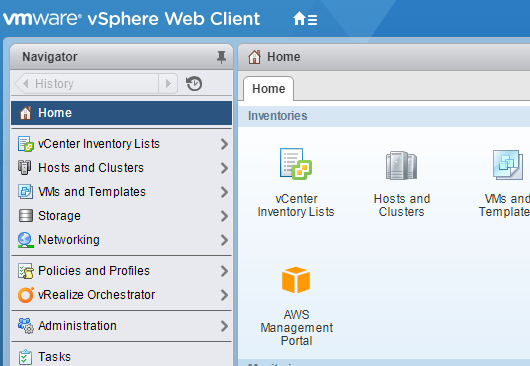
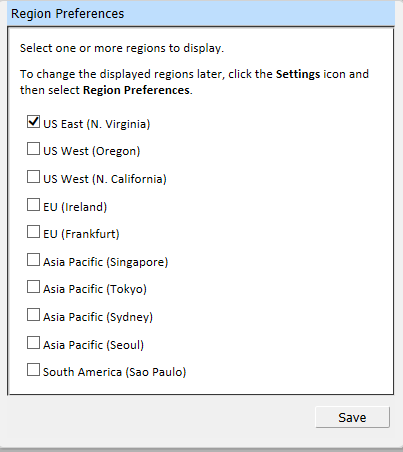
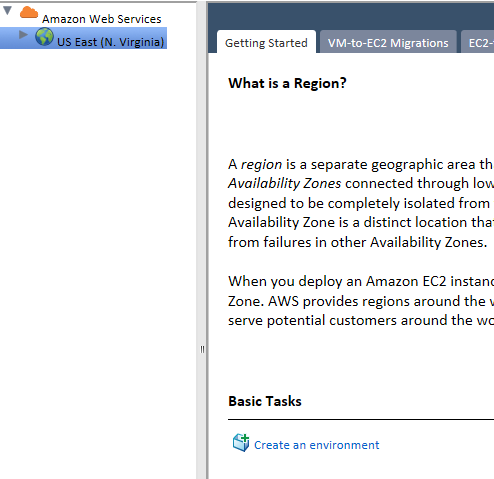
All right, so go to Home -> AWS Management Portal in vCenter and add the preferred region.
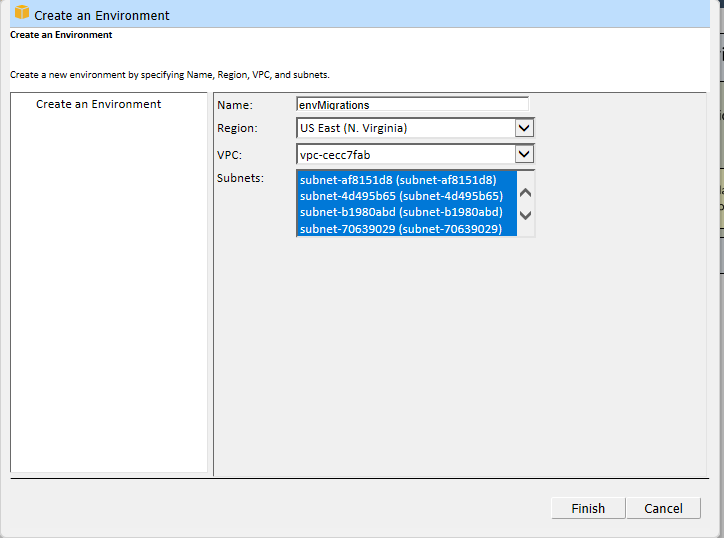
Click on Create an environment.
Select your VPC and choose all subnets.
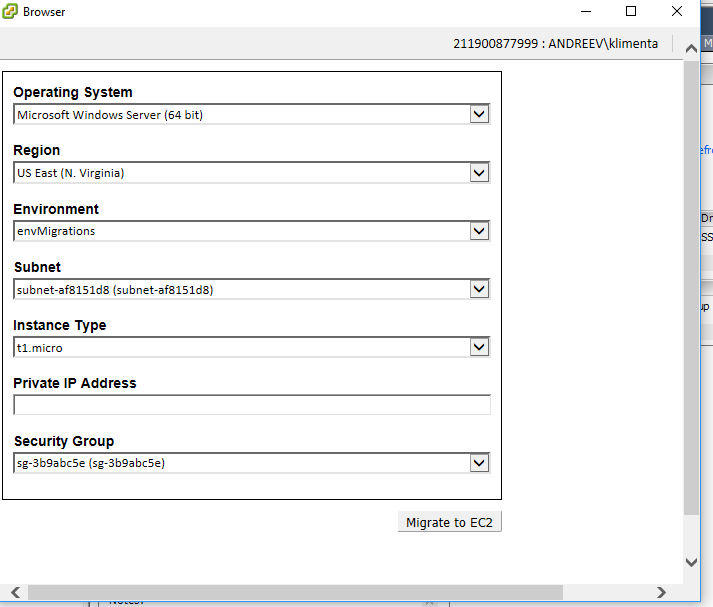
Go back to your VM and try to migrate it to EC2.
Oh, snap!
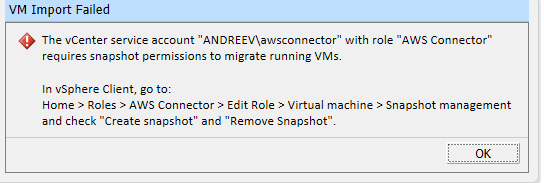
Go to vCenter roles, and follow up the instructions from above.
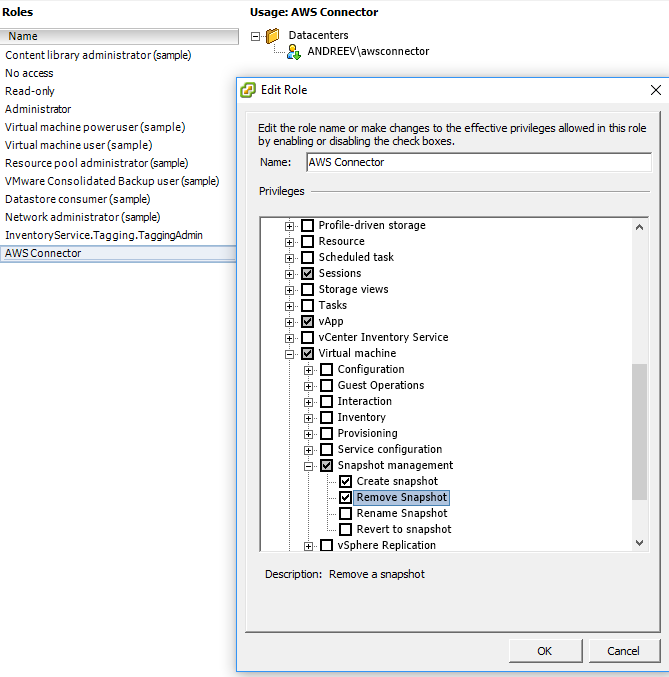
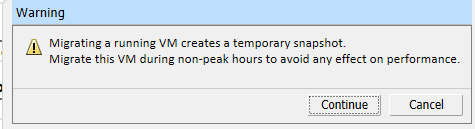
Then again, go back to your VM, right-click and choose Migrate to EC2. You’ll get this warning. It pretty much tells you that while migrating the VM will be slow.
Once the migration starts you’ll see this.
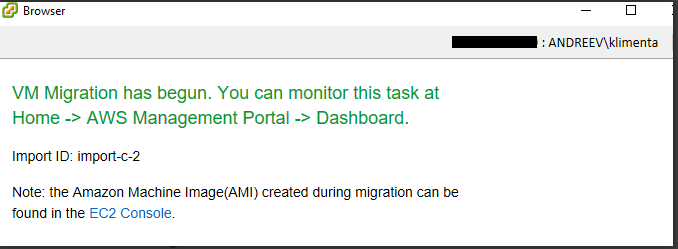
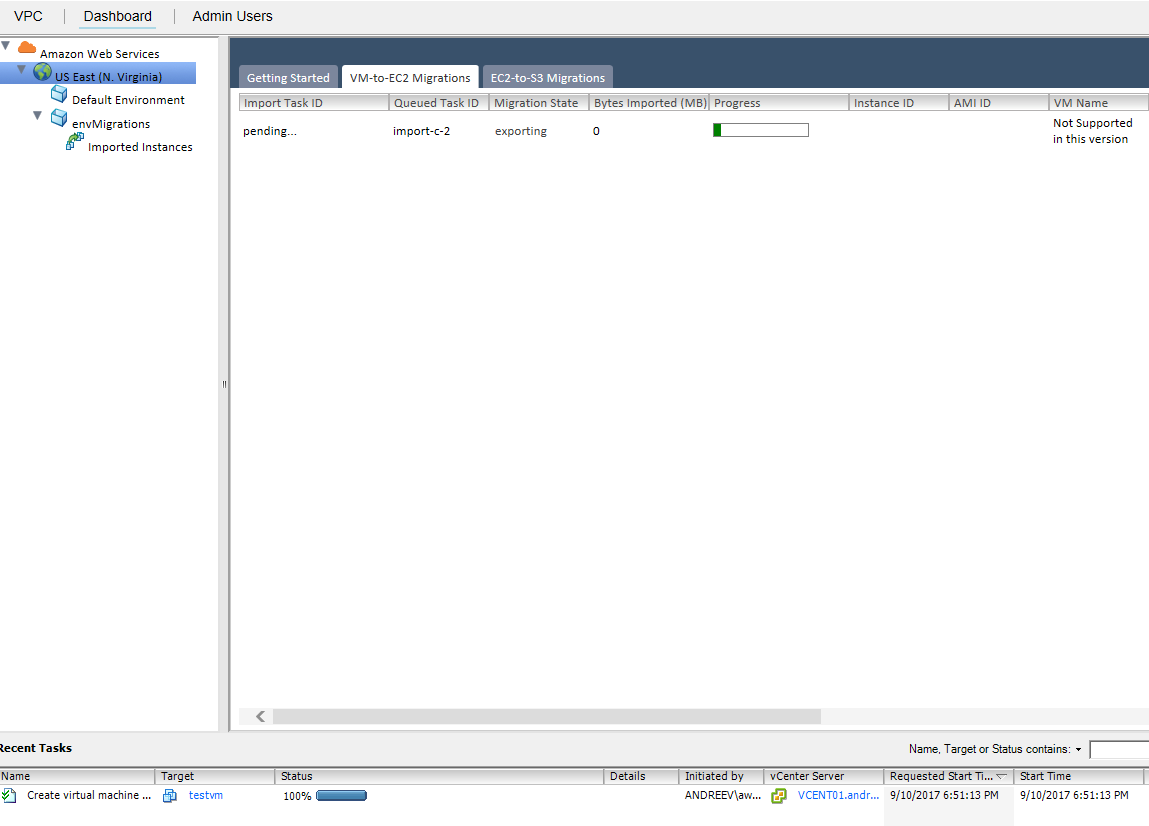
Do that. Go to Home -> AWS Management Portal -> Dashboard in vCenter. You’ll see the progress. If you scroll to the right you can actually see how much is uploaded. AWS is uploading the snap, so my VM has a 30GB disk (thick provisioned), but it was a plain vanilla OS with nothing installed except a text file on the desktop. So the actual size for upload is 4GB.
![]()
Once your migration completes, you can find your instance/VM under IMAGES | AMIs in AWS console.
![]()
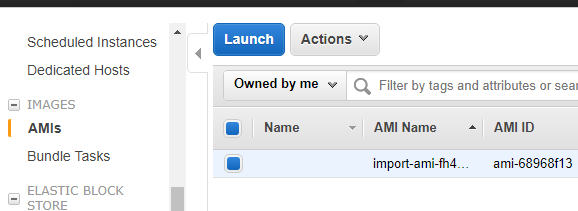
Right-click on the AMI, choose Launch, follow the prompts and you should be all set. You’ll have to specify a key, but you can use your local admin credentials to log in.

IMPORTANT
Make sure you have all your licensing in place. If your on-prem VM uses KMS for licensing, the migrated instance in AWS will need access to your KMS server.